


How to prepare the skin for the application of self-tanner The fundamental steps for a perfect and uniform result
You bought a self-tanner but have no idea how to actually use it. Put it down before you start slathering it on like it's just another body lotion, because there’s one thing you need to know: preparation is everything. That glowy finish only happens if you prep your skin first, not when you're already covered in streaks and frantically Googling "how to remove self-tanner". We've all been there at least once. So here’s how to properly prep your skin for an even, natural, streak-free result.
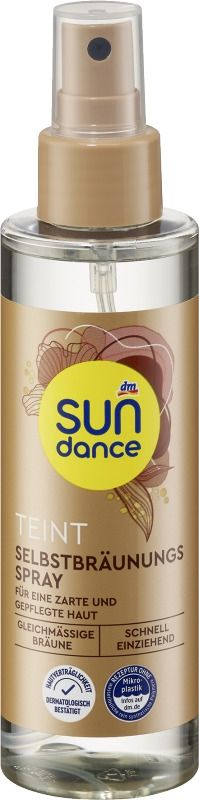
How to prepare the skin for self tanner
Step one: hair removal
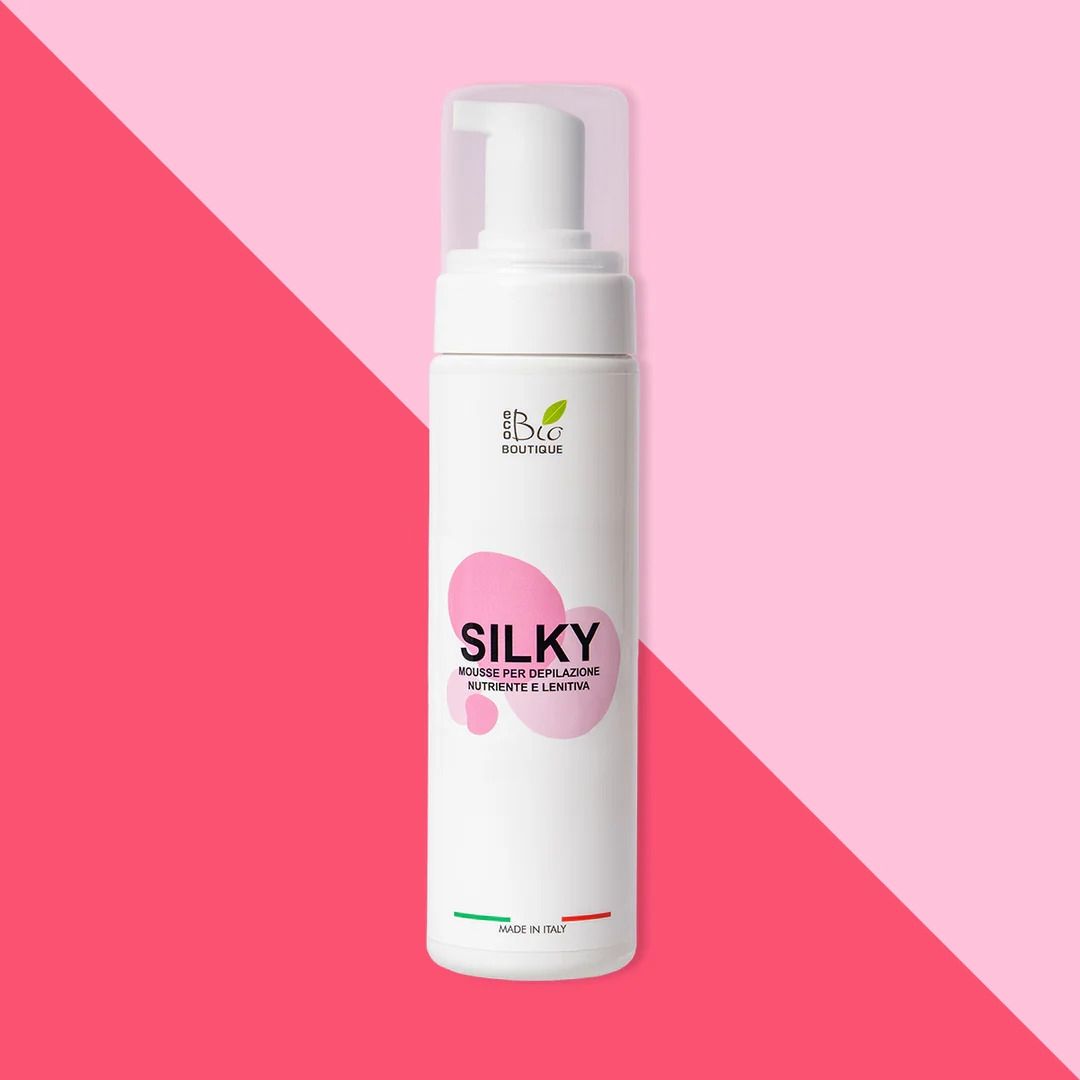


If you’re planning to shave or wax, do it at least 24 hours before. Right after hair removal, skin is more sensitive and pores are slightly open. Applying self-tanner too soon can cause irritation or those annoying dark dots.
Step two: exfoliation
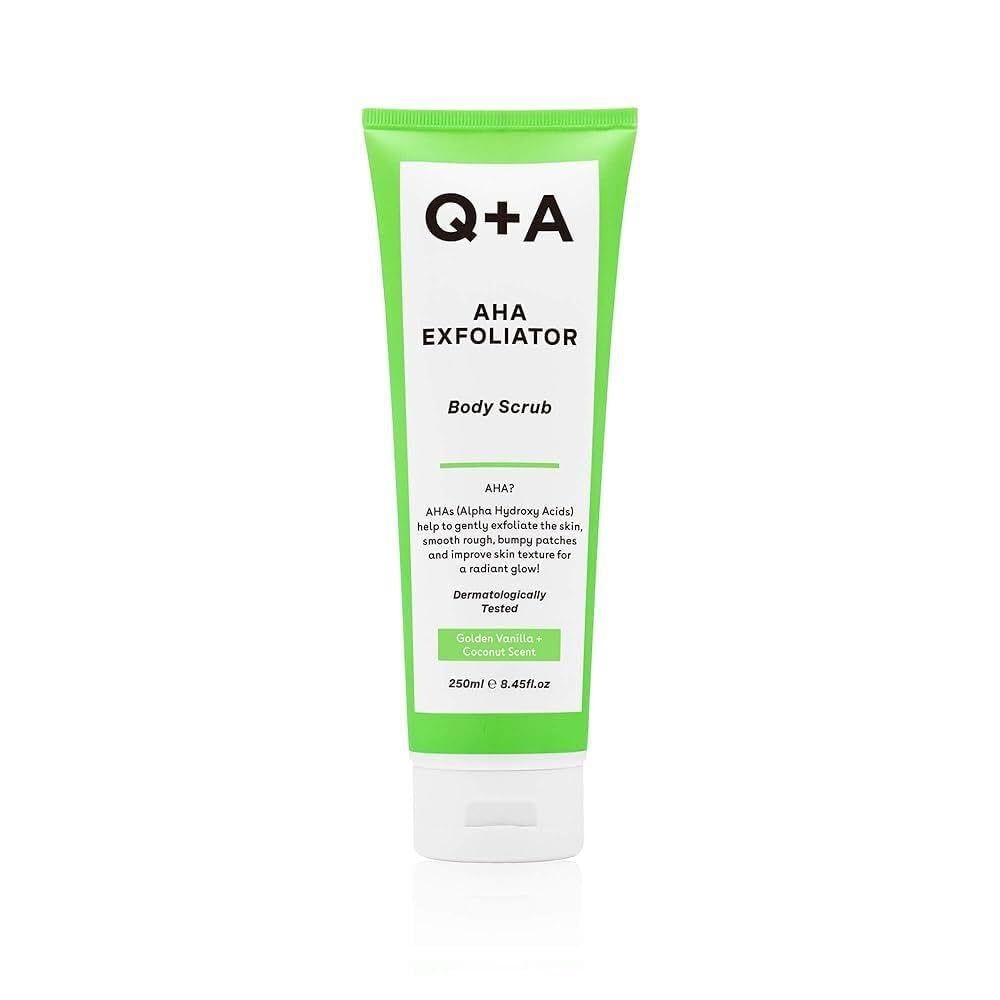

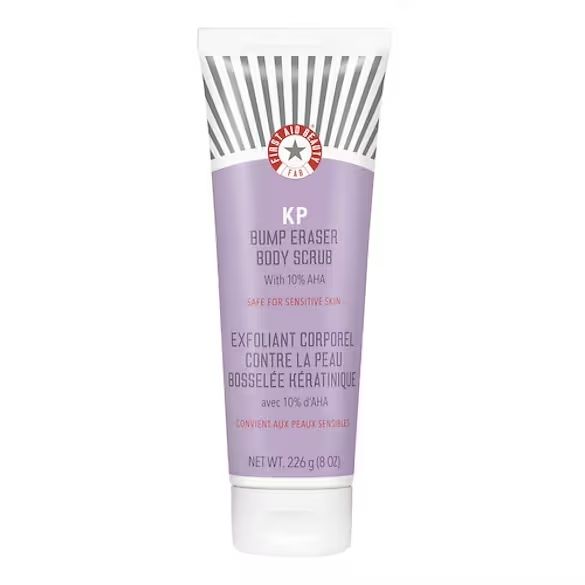
This is the key step: exfoliating. And no, that quick scrub in the shower doesn’t count. Take five minutes to really remove dead skin cells and smooth the surface so the tan doesn’t cling to dry patches. Focus especially on elbows, knees, heels, and ankles. You can go for a grainy scrub or a chemical exfoliant, as long as your skin is smooth and even, you’re good to go.
Step three: moisturizing
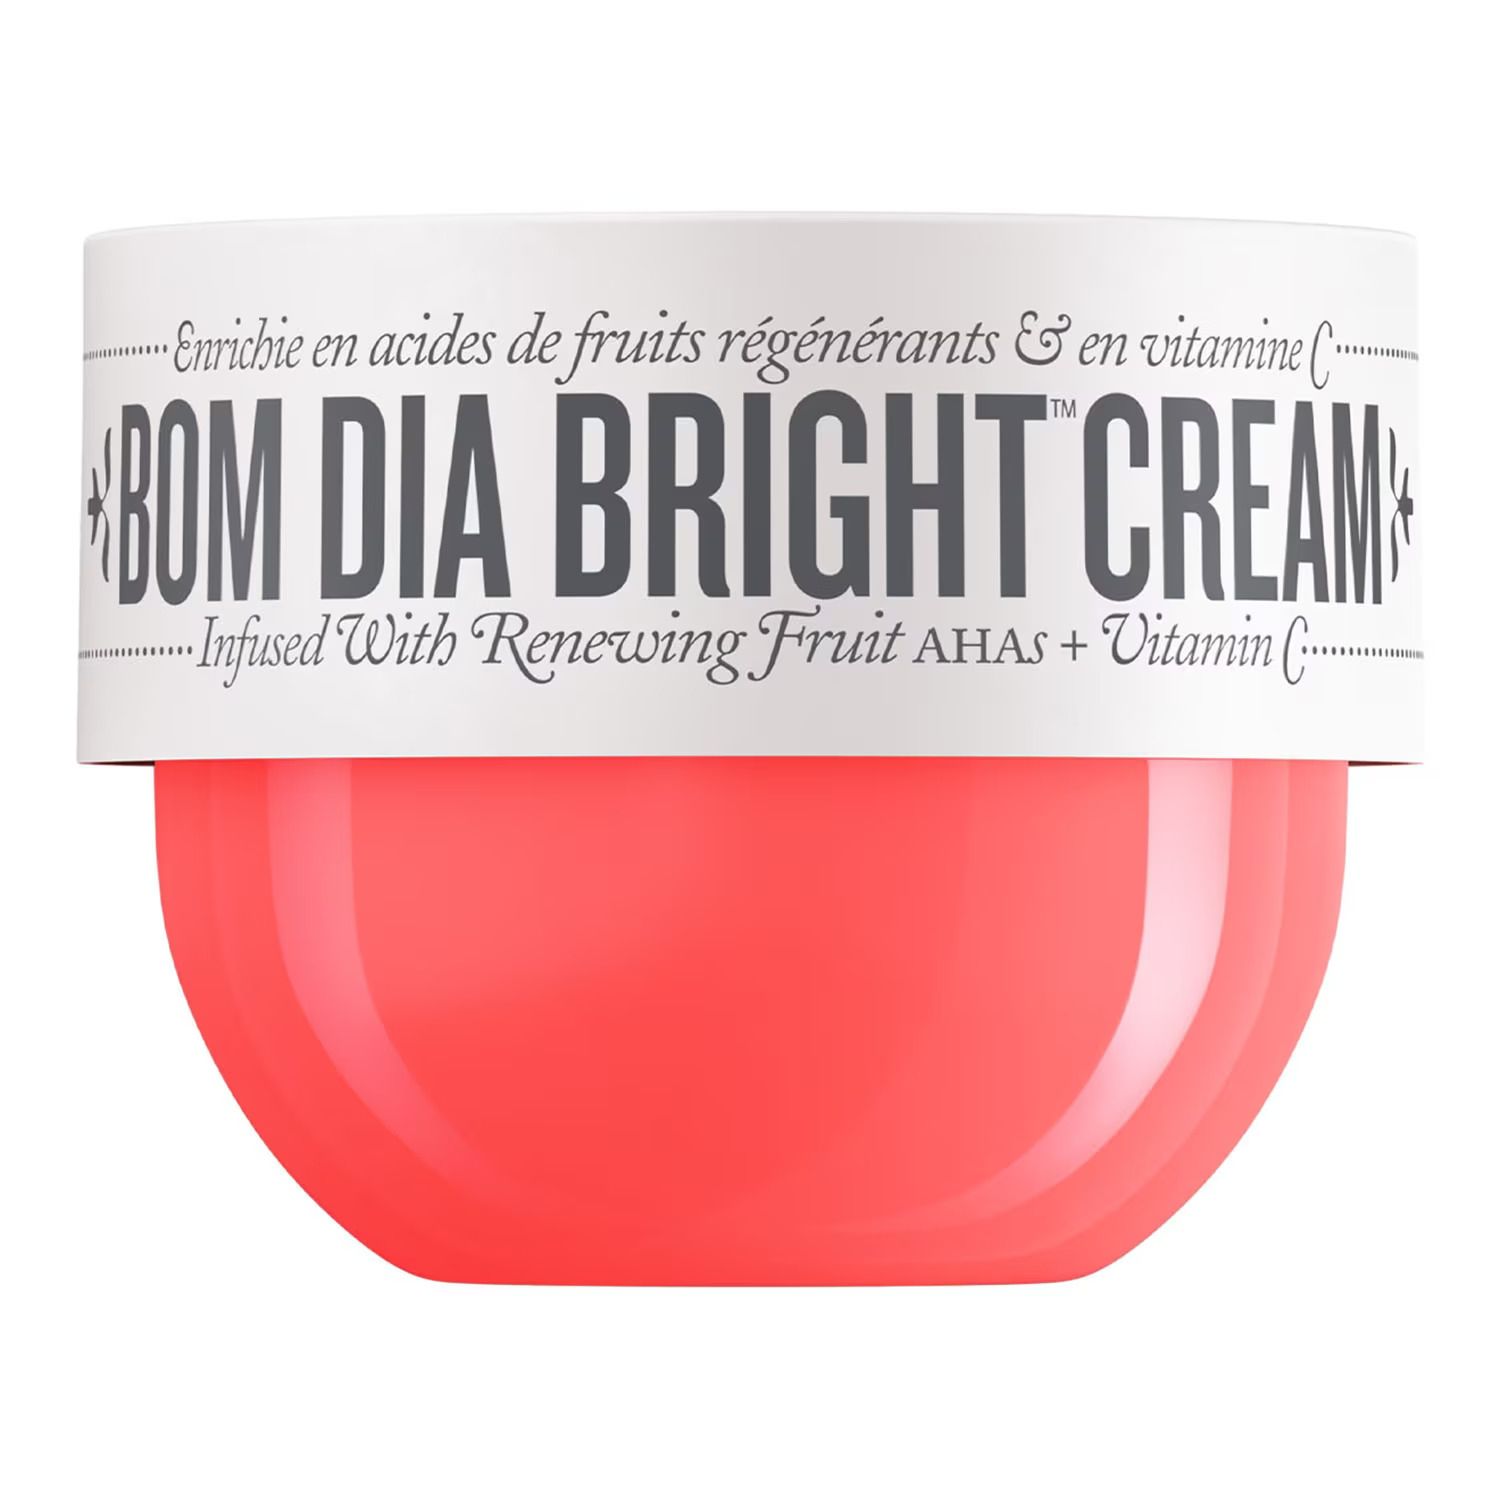
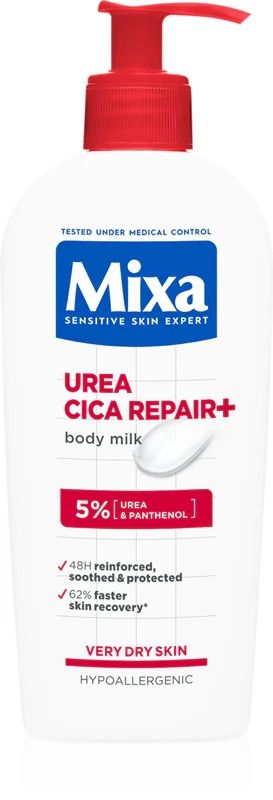
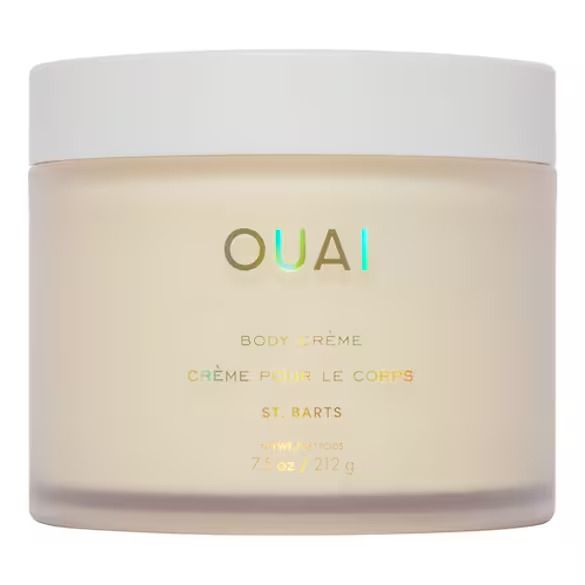
Start moisturizing daily a few days in advance, that way your skin is already prepped and hydrated. After exfoliating, apply a light layer of cream only on dry or rough areas that still feel patchy. This acts like a barrier that controls how much product gets absorbed and helps blend the color smoothly. Look for ingredients like urea, which not only deeply hydrates but also has a mild exfoliating effect. The rest of your body should be dry so the self-tanner sticks evenly.
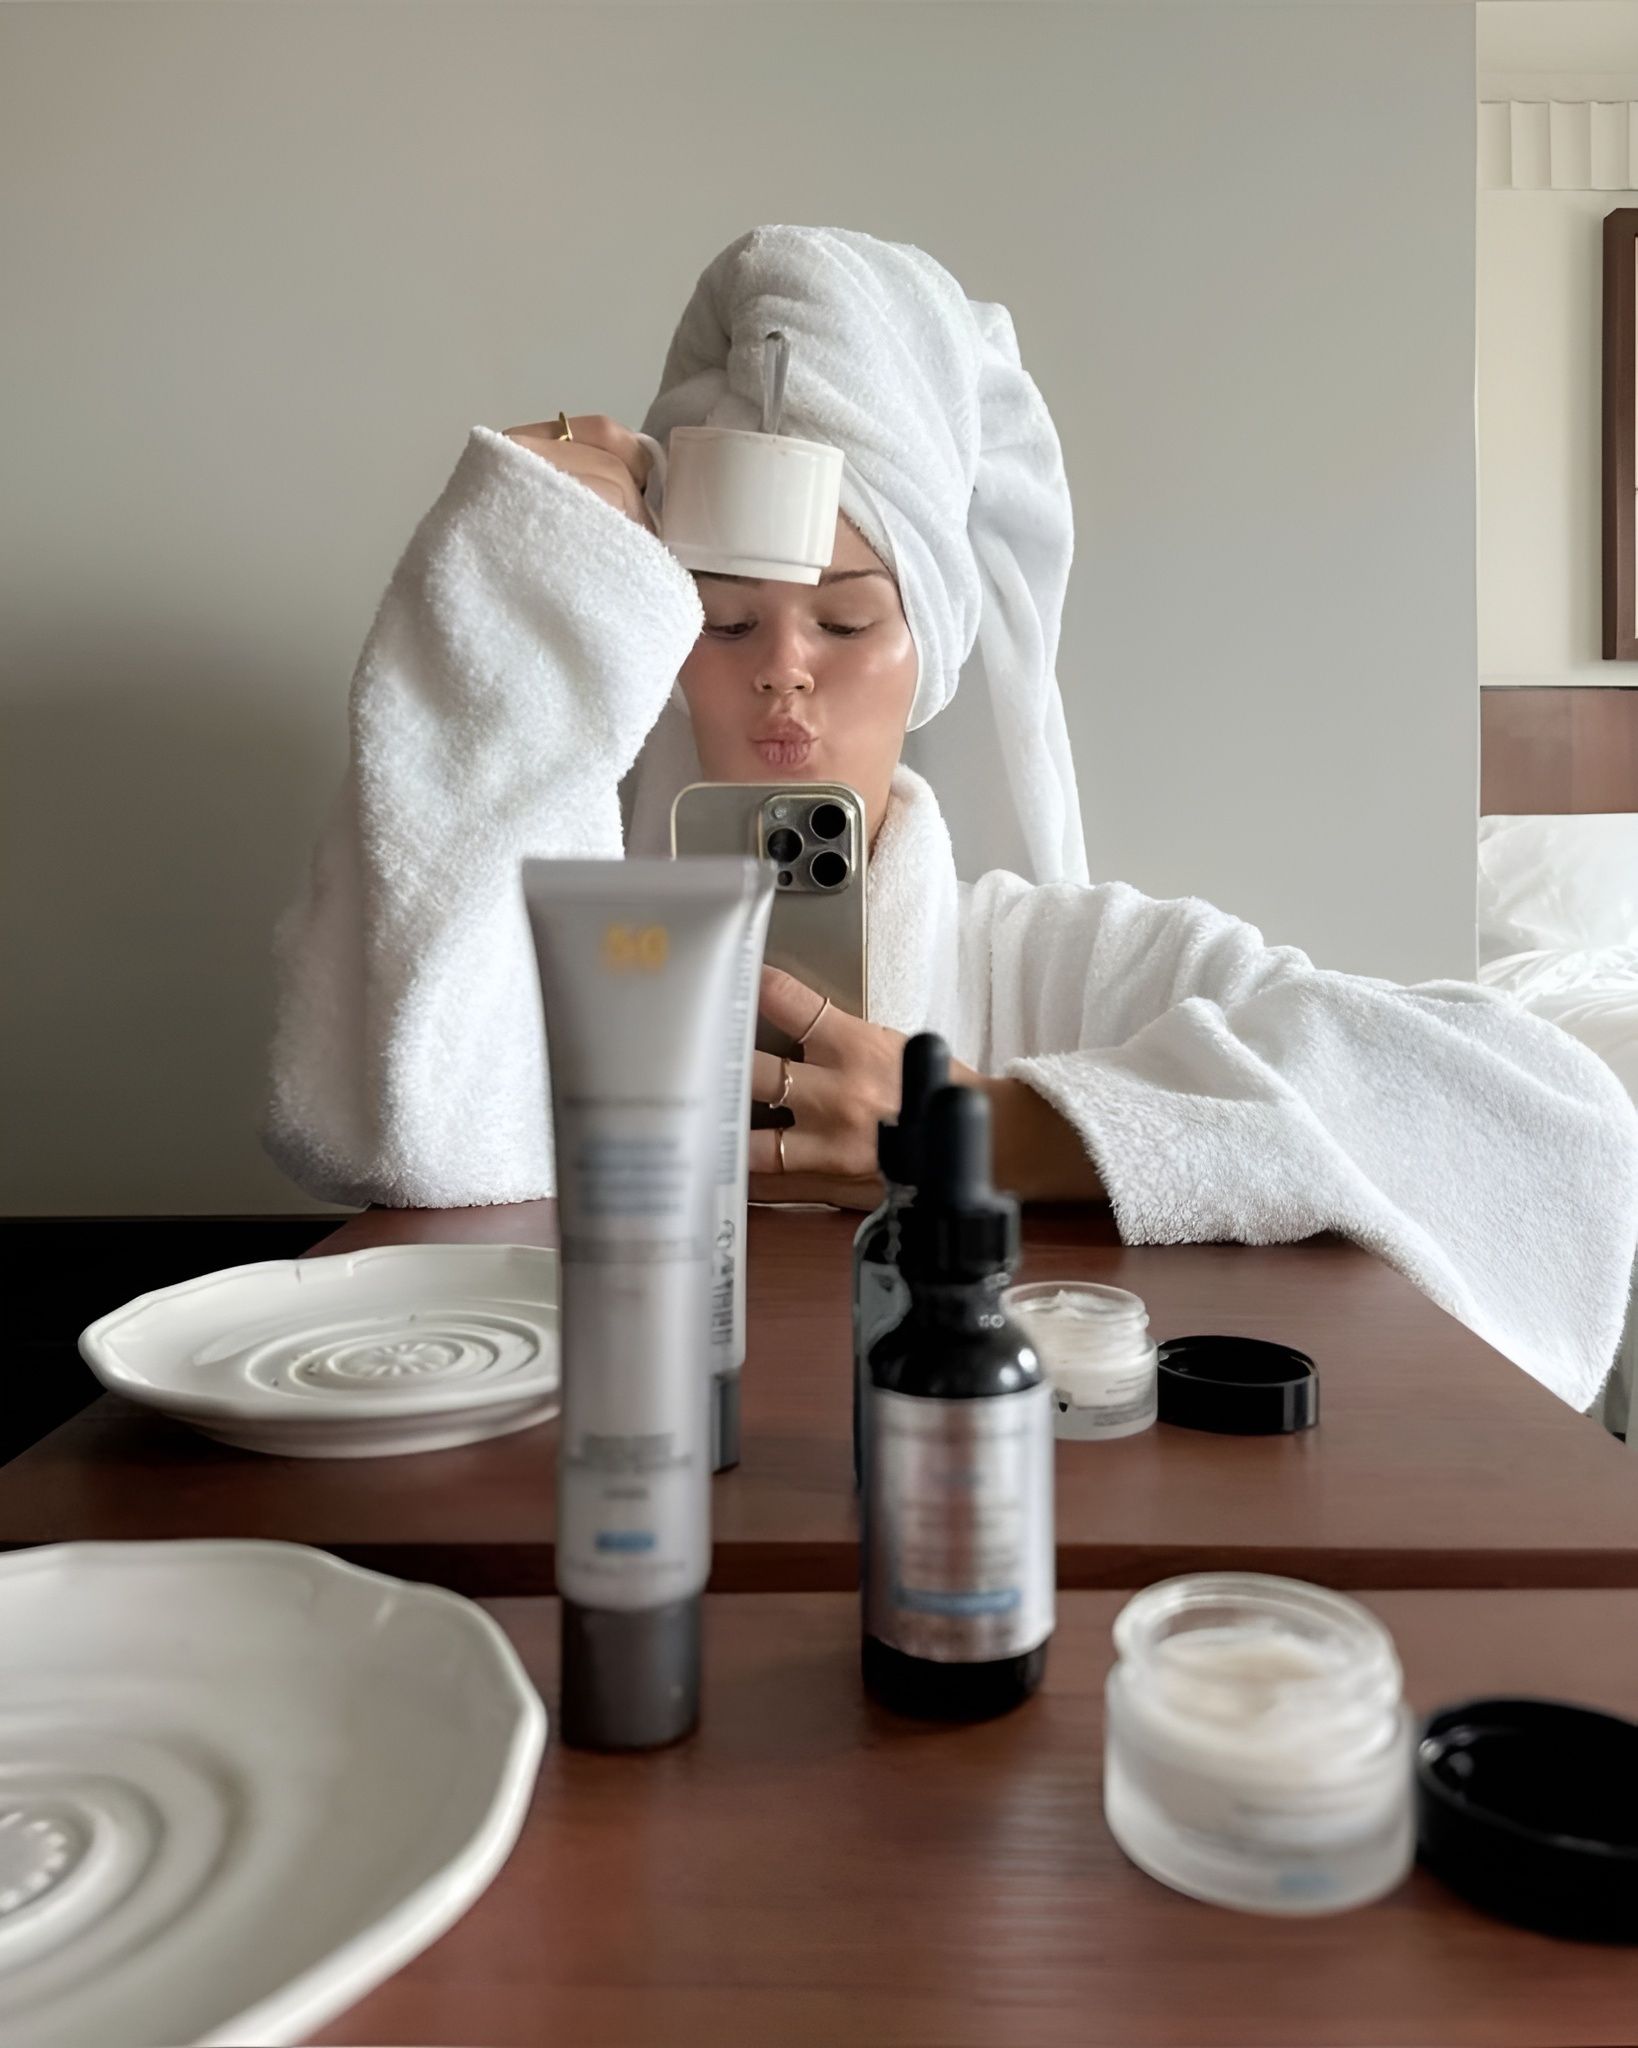
Step four: application
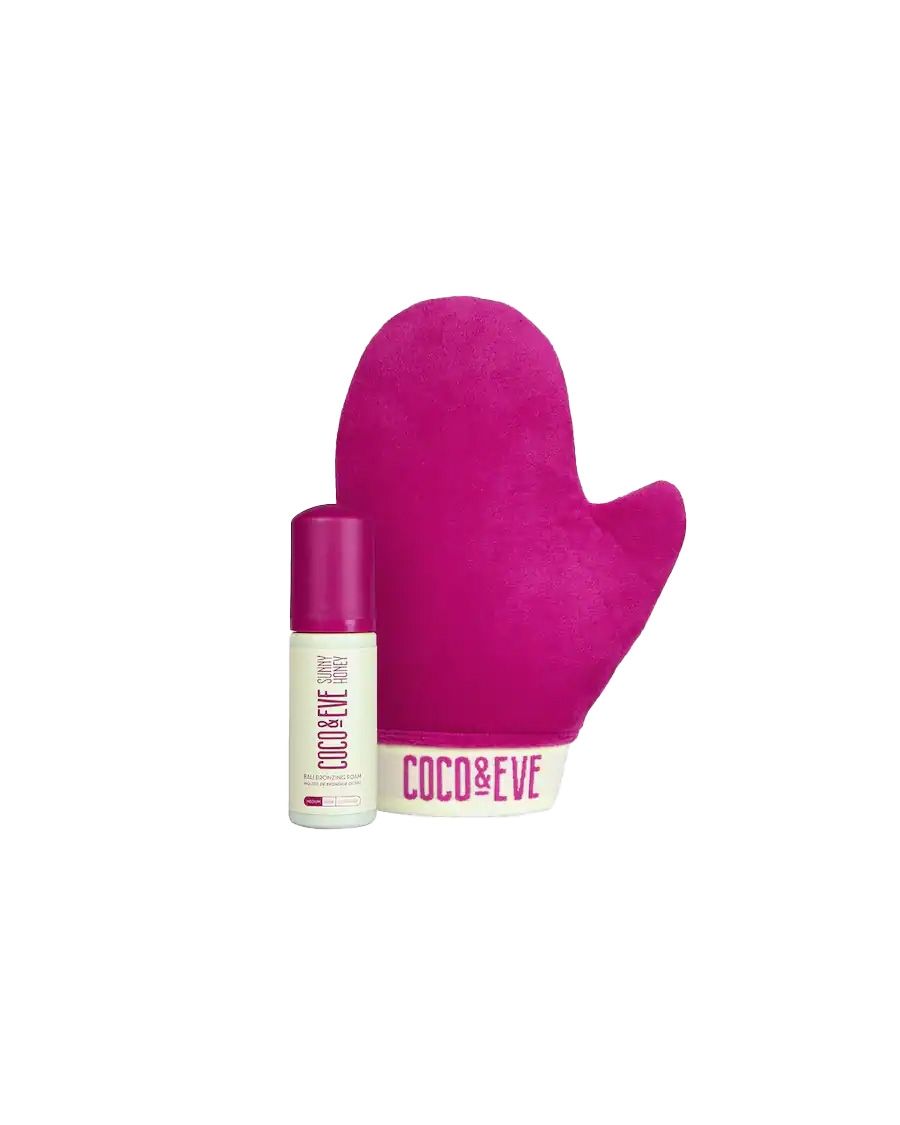
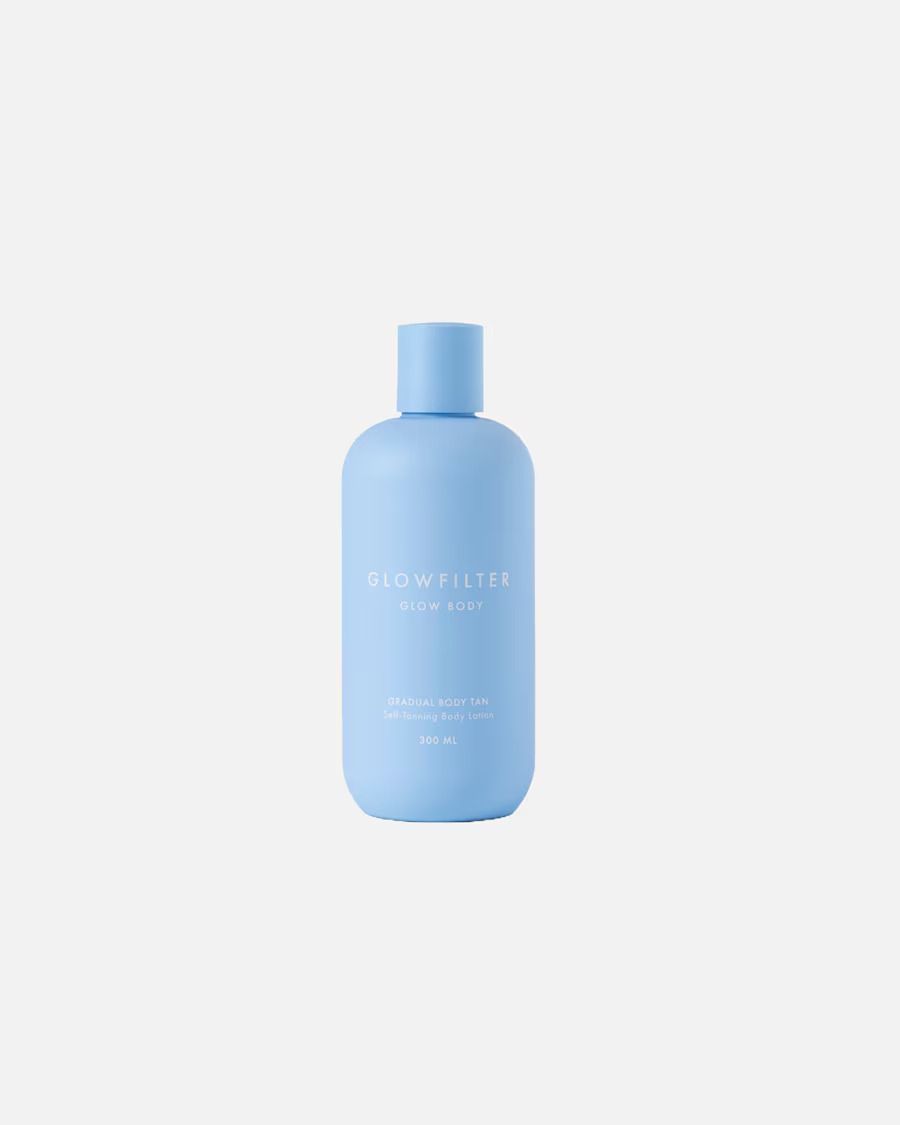
Before you apply the product, make sure your skin is completely dry and free of perfume, oils, or deodorant. Even a little leftover steam from the shower can mess up the application and cause streaks. Use a tanning mitt and apply the self-tanner in circular motions, starting from your legs and working your way up. Less is more: it’s easier to build color than to fix patchy spots. Pay close attention to dry areas like elbows, knees, hands, and feet, use the leftover product on your mitt to lightly blend there. For your face, go for a few drops mixed into your moisturizer or use a dedicated tanning serum. Just don’t forget to wash your hands thoroughly afterward. Once you’re done, wait at least 10–15 minutes before getting dressed - and yes, expect a little transfer. In the hours after, avoid water, sweat, and skincare. When it’s time for your first rinse, use just water, no soap, and pat your skin dry without rubbing. From then on, moisturize daily and skip exfoliation for a few days to keep that glow lasting longer and fading evenly.