


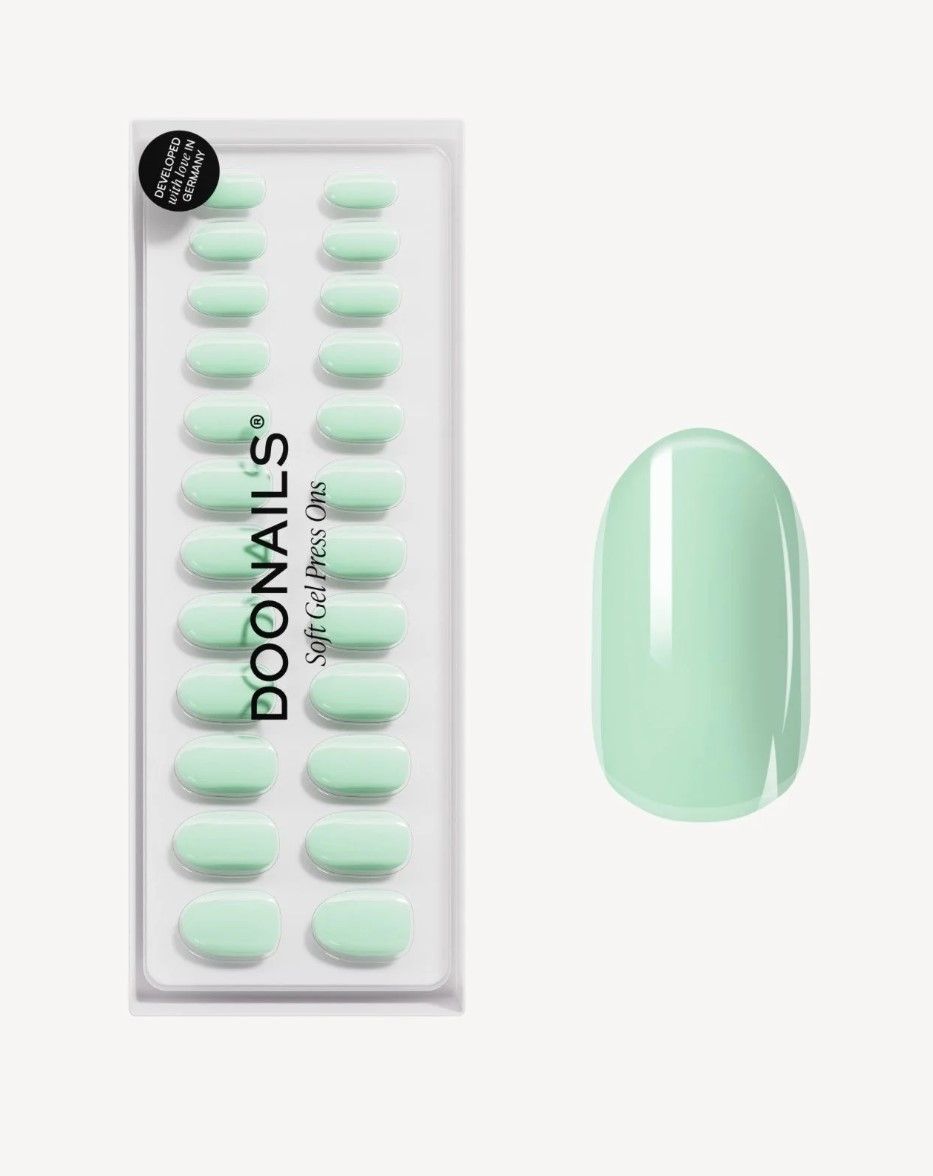
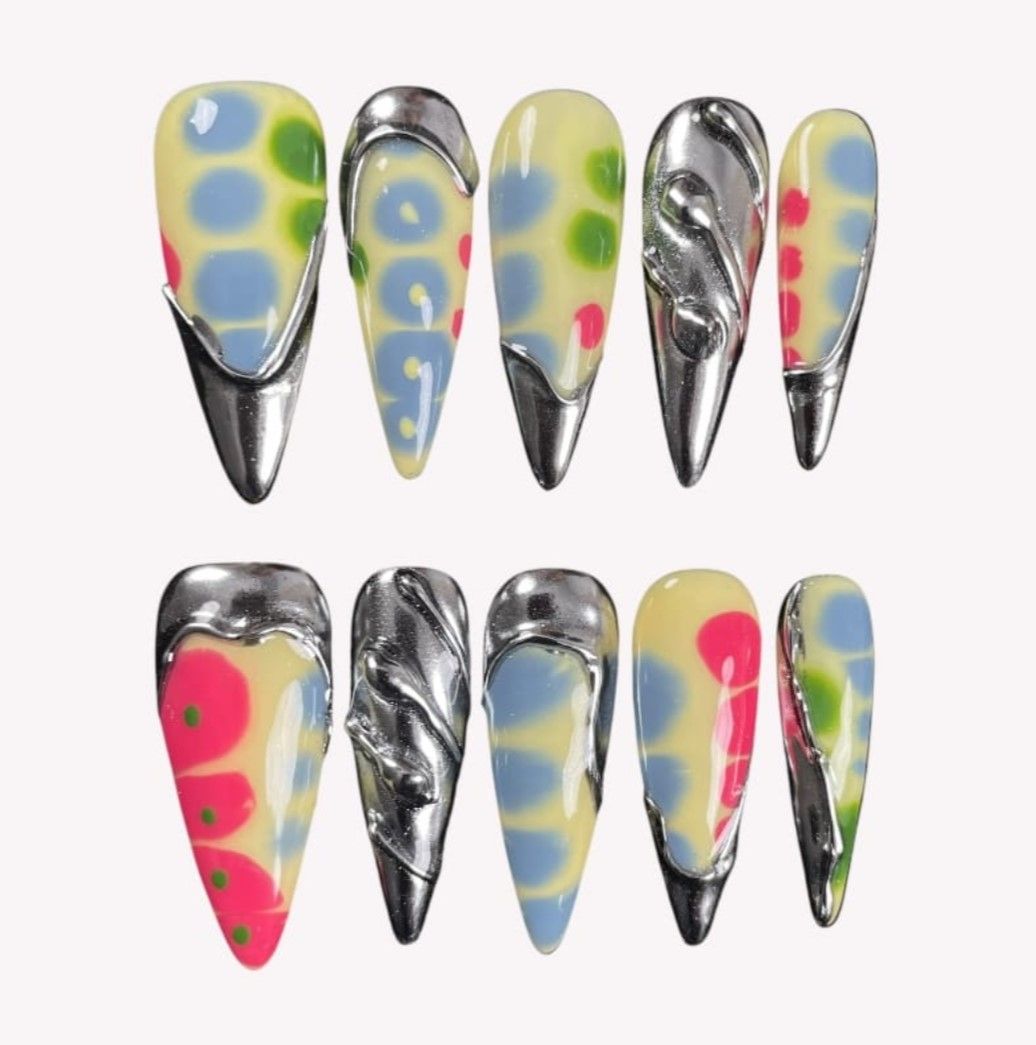
Press-on nails: the complete guide to applying them (and making them last) From the preparation of the base, to the application, to their removal
Press-on nails are the perfect ally when you want a professional-looking manicure but have basically zero free time between work, university and (rightfully) your social life. They’re quick, affordable, and now so well-made that no one would guess you're actually your own go-to nail tech, and that you stuck them on under the dim light of your bedroom 10 minutes before heading out. But to make them last, you need a few small tricks: here’s a complete guide on how to apply press-ons and make them last for weeks.
How to apply press-on nails
Prep work: boring but essential
@glamnetic The perfect press-on nail application doesn't exi- @connie.wi wearing Fall Mauve #pressonnails #fallnailinspo #nailhack original sound - Glamnetic
Before attaching any press-on, you need to focus on prepping your natural nails. This step is crucial if you want them to stay on for more than two minutes and not pop off at the first sign of movement. Push back your cuticles, remove any dry skin and lightly go over your natural nail with a buffer. You don’t need to file it too much, just mattifying the surface is enough. This way, the press-ons grip better and don’t fly off after two minutes. Don’t forget the corners: they're always the first to lift if not properly prepped. Finish with a bit of alcohol on the nail and you’re ready for the next step.
Applying your press-on nails
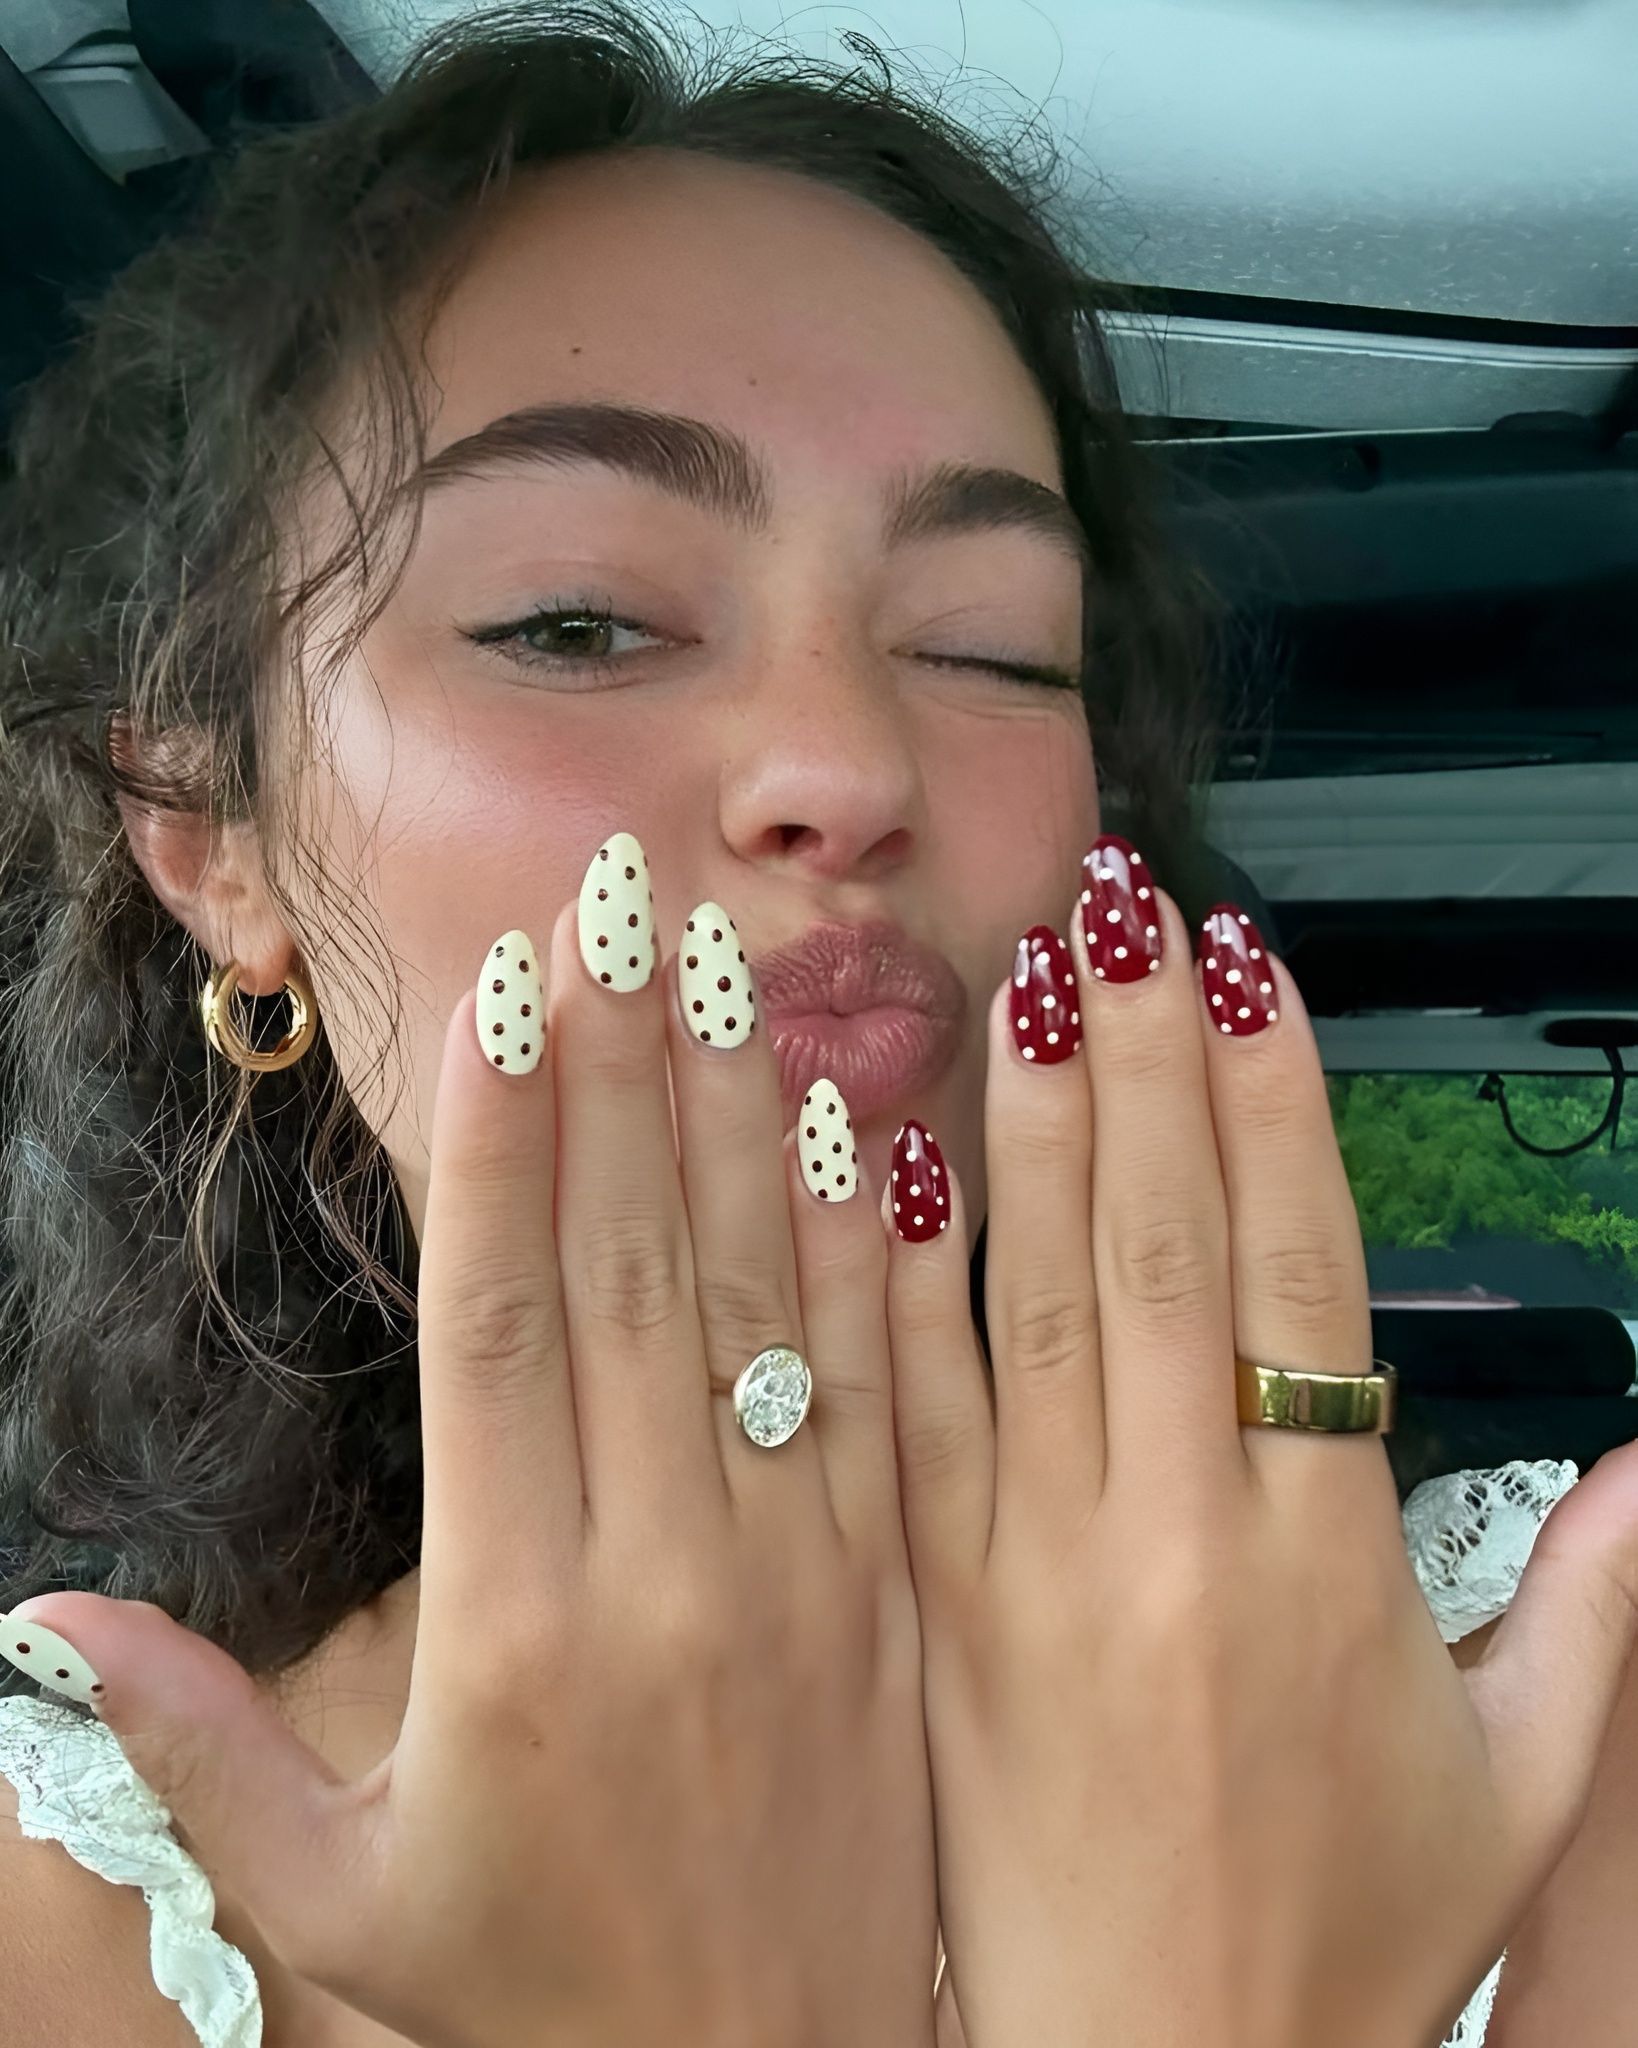
Here comes the satisfying part. Choose the perfect size for each finger: a press-on that’s too wide not only looks fake from a mile away, but also leaves room for unwanted moisture to sneak in during showers and handwashing. Avoid that at all costs—unless you want the thrilling experience of fungal infections. Many nail artists create custom press-on sets, so if you want a flawless result, trust them. In any case, once you’ve found the right size, grab your glue and apply a small amount on your natural nail and on the press-on itself. Position it starting from one corner at a 45° angle and roll it down until it’s fully adhered. Press firmly for a few seconds to make sure it stays in place. Then repeat the process for all your nails.
Maintenance and removal
Okay, now that your press-ons are on, you need to wait at least 2 hours before getting your hands wet. After that, you can forget about them until you get tired of looking at them. When you’re ready to take them off, avoid any wild ripping. Soak your hands in very warm water (the hotter, the better) with a bit of soap and a few drops of oil. Leave them there for 10-15 minutes, just enough to soften the glue. Then you can use a cuticle pusher or, for a surprisingly efficient DIY method, dental floss to gently slide the nail off. The best part about press-ons is that you can reuse them forever. Just file off the glue residue on the fake nail and they’re good as new, ready for another perfectly applied round.
