
10 steps to create a perfect tie dye effect One of the trends of the season to revive a basic item like a white t-shirt
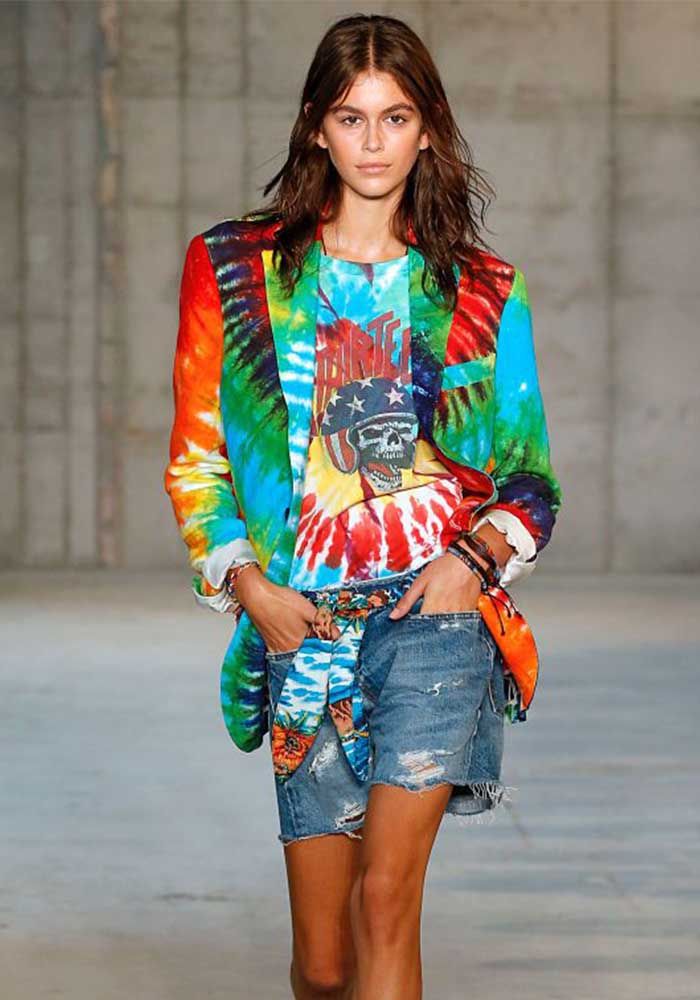
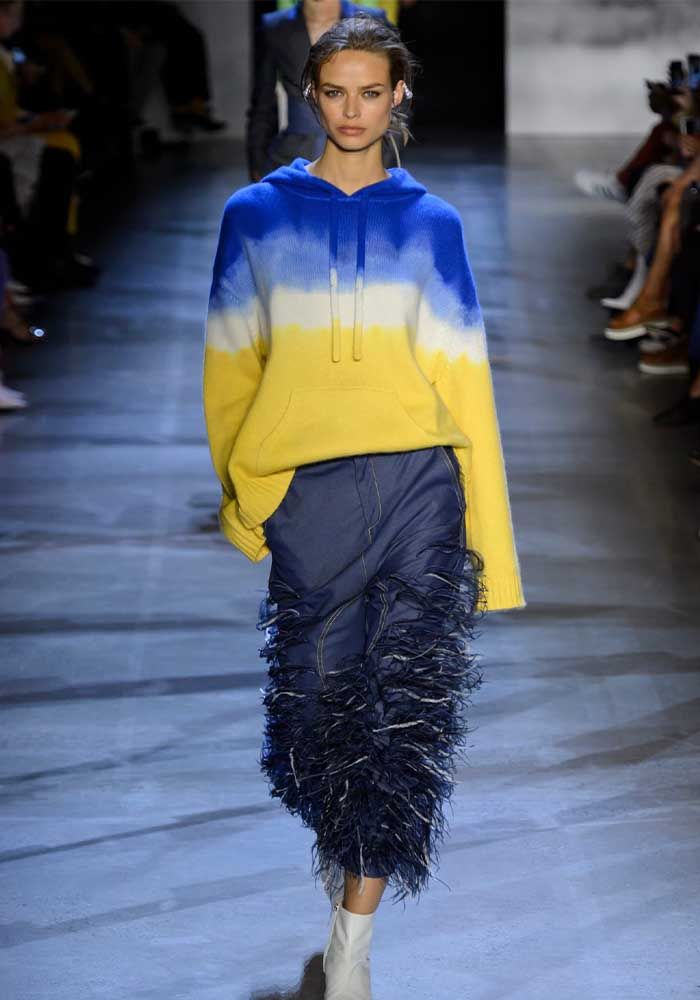
Born from the hippie culture of the 60s and the strong need to convey a message of peace, thanks to the use of bright colors on "rainbow" tones, the trend of tie dye is back, making its way on the catwalks and streets around the world.
During the 90s and 2000s, the trend was quite active and occurred frequently, especially among the streetwear brands like Stüssy, BAPE, Obey; but more recently it has been the protagonist of the collections of Palm Angels, Off-White, Daily Paper, and more.
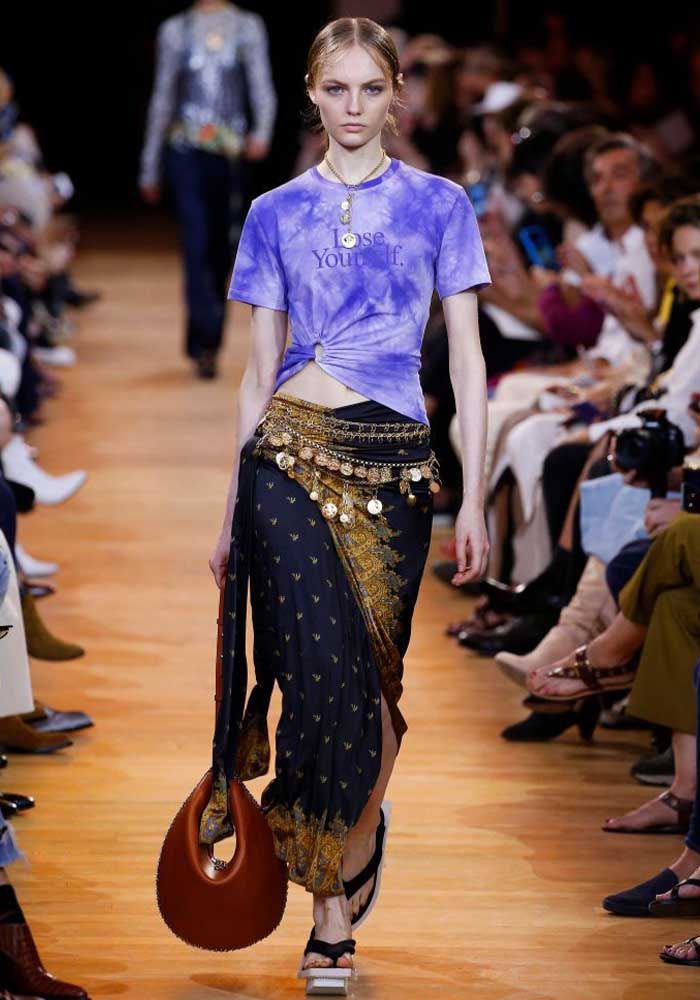
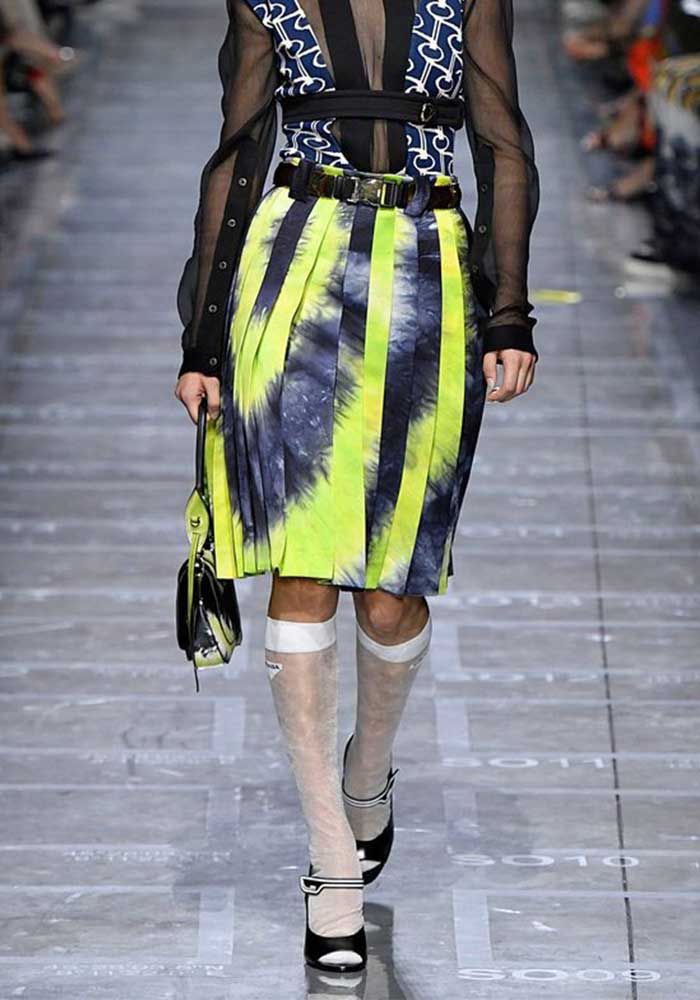
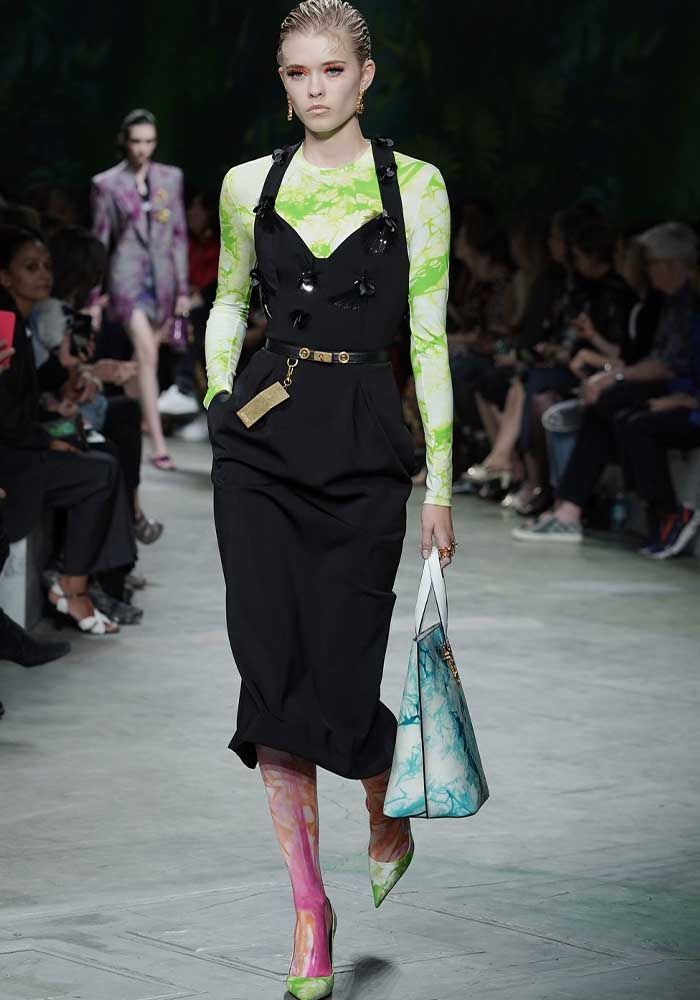
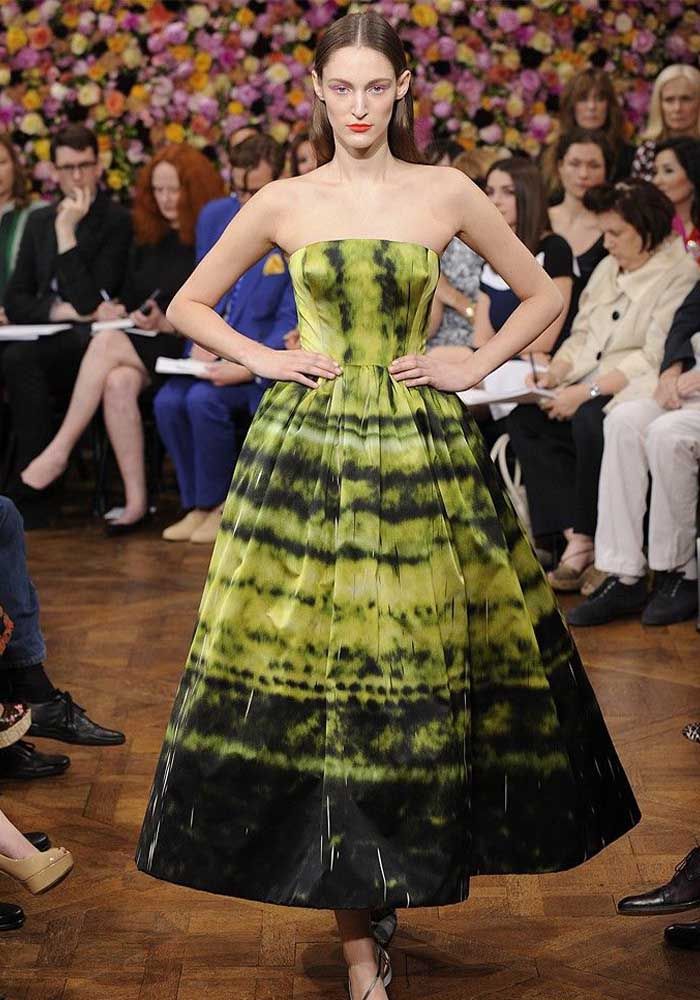
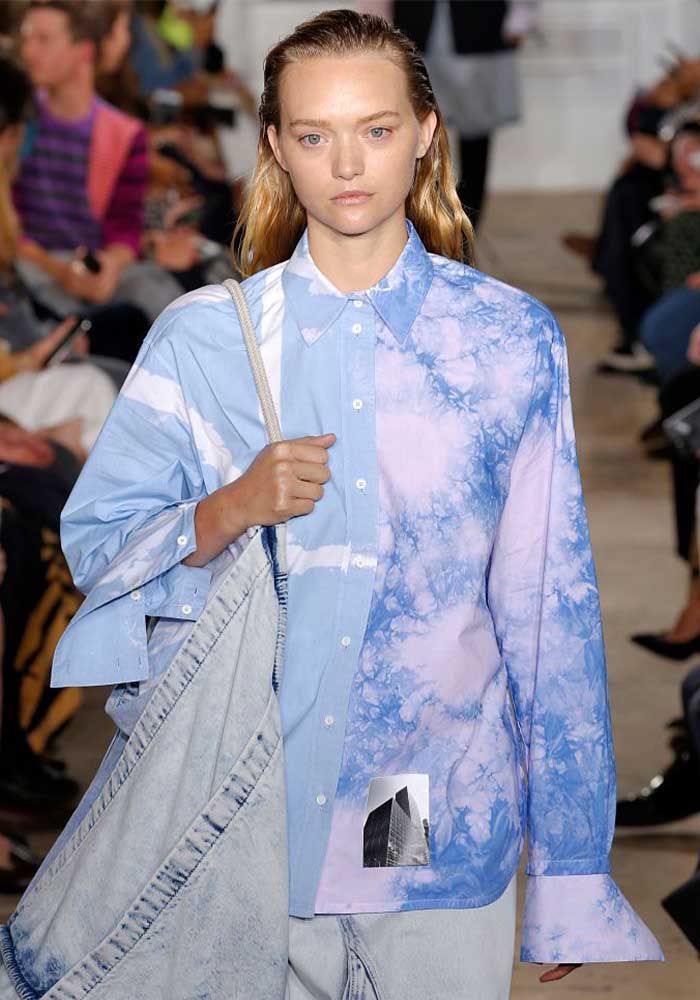
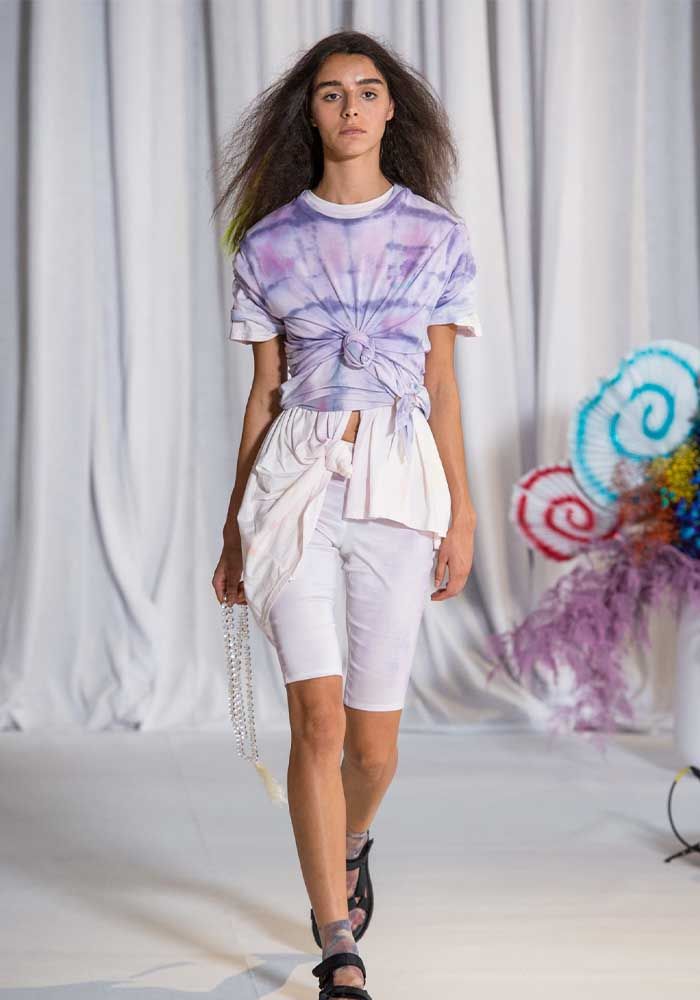
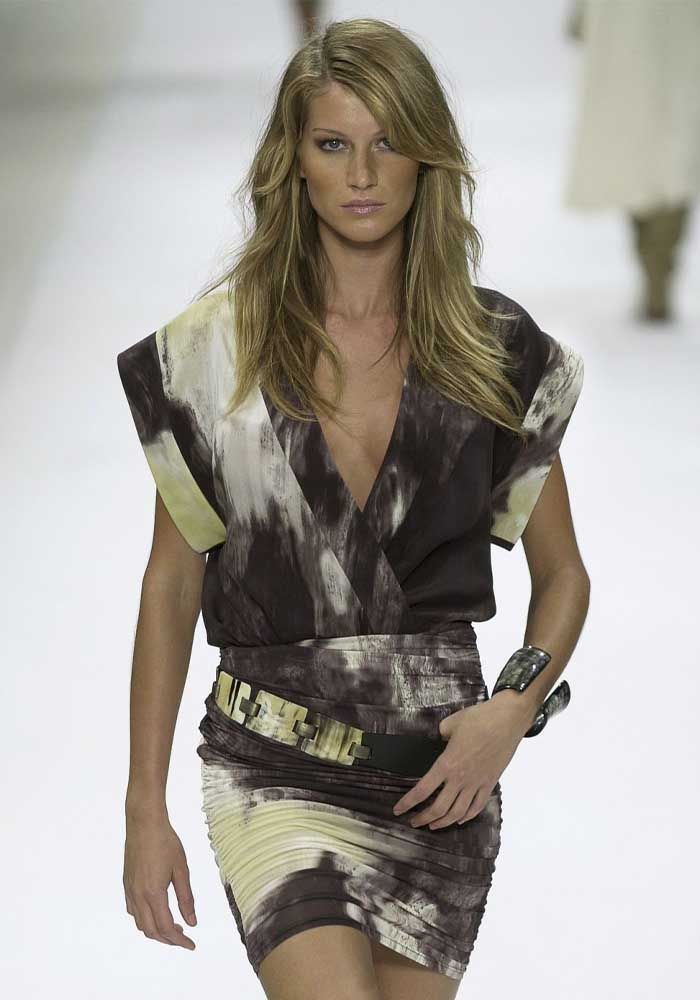
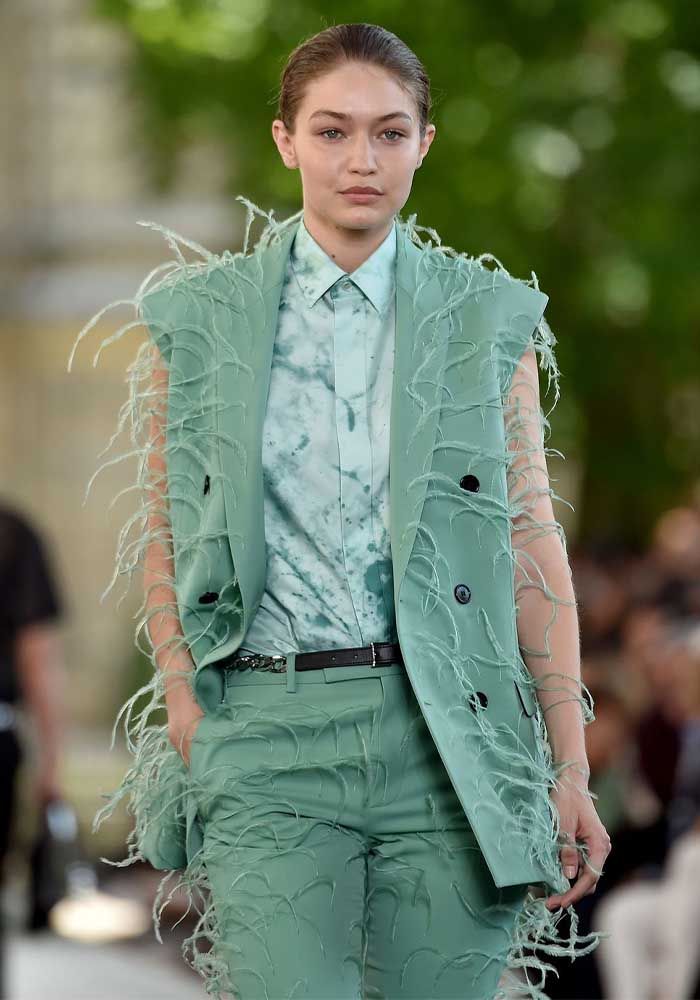
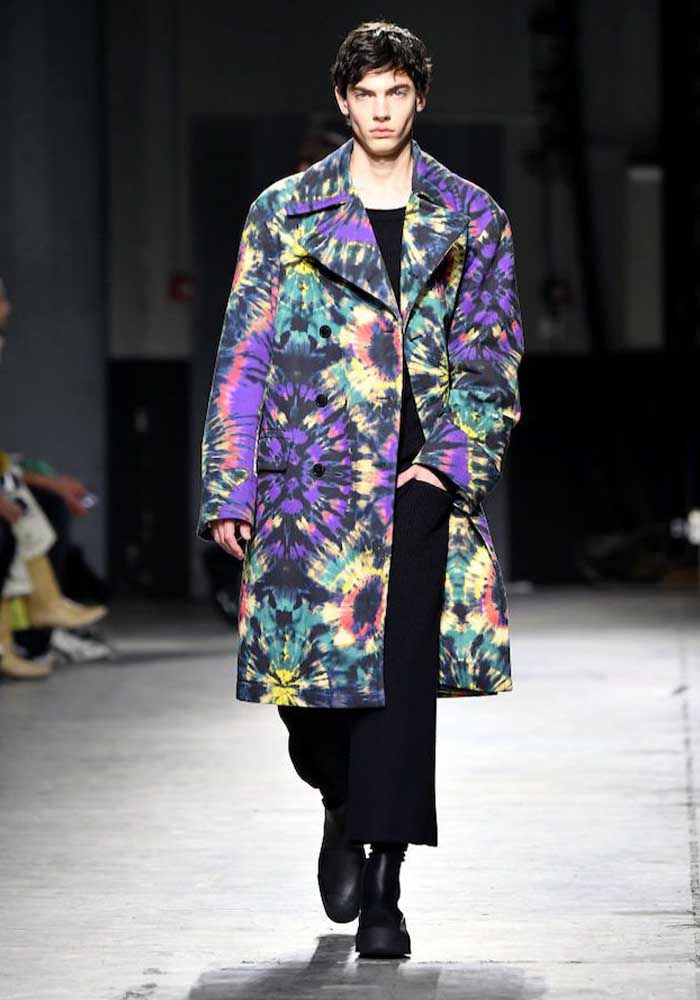
Not only streetwear, many luxury brands perceived the potential and started to incorporate this technique in their collections, re-interpreting it and making it softer and more delicate as in the case of Prada and Versace, or using it in the creation of new bold patterns as in the case of the kaleidoscopic ones of Dior and Dries Van Noten.


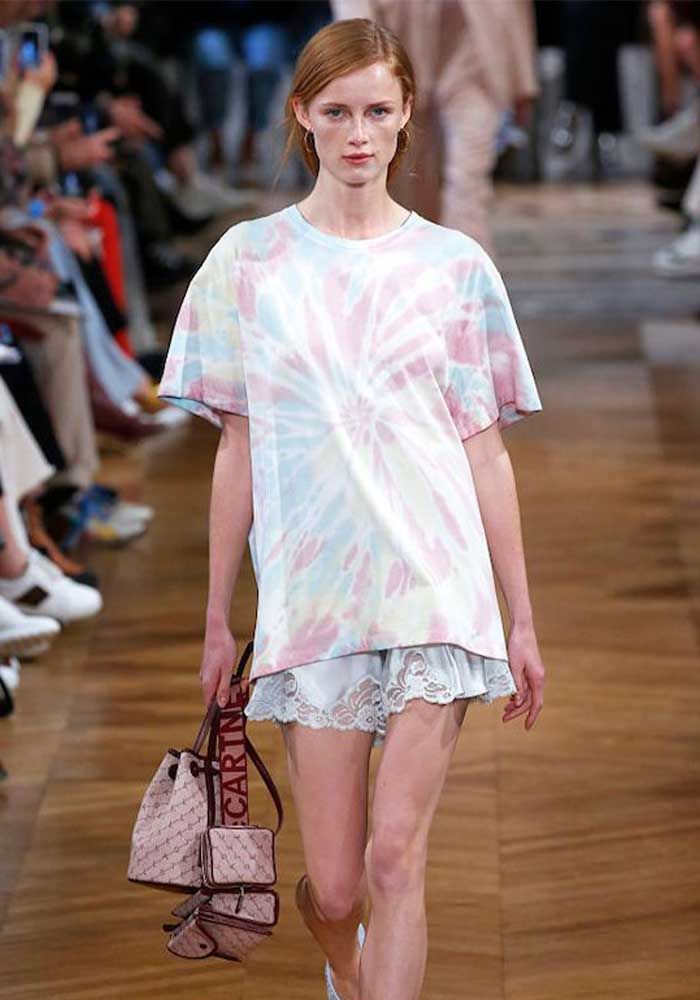

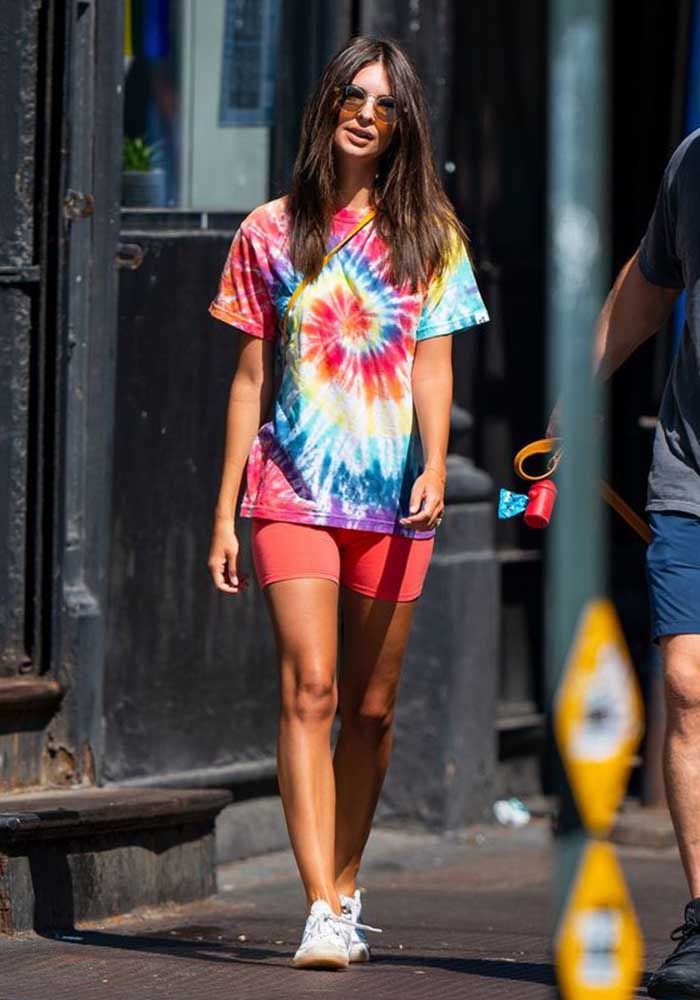
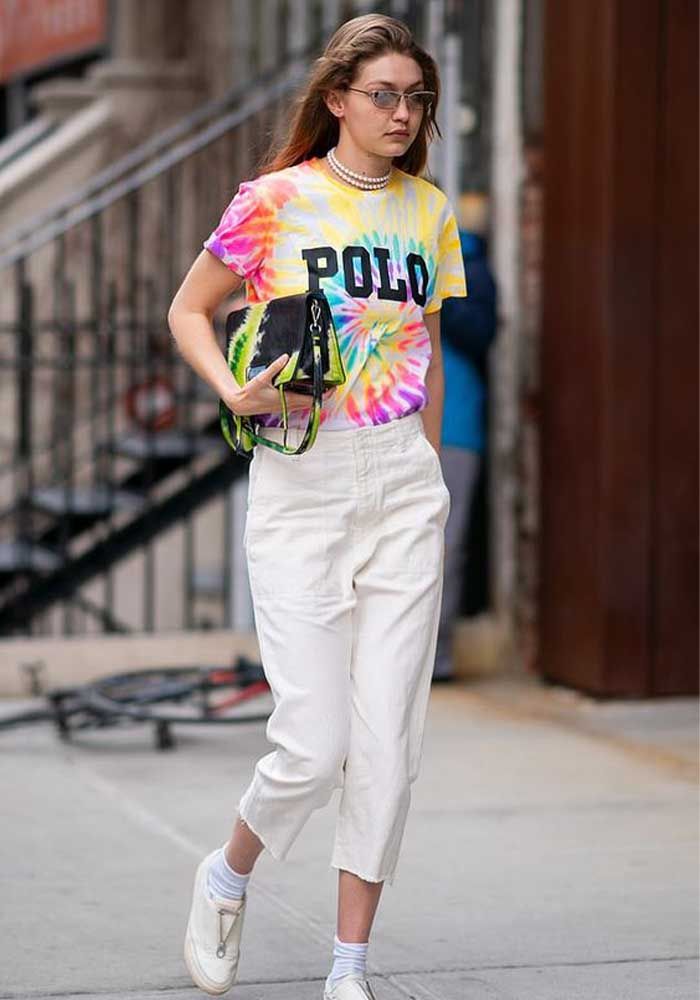
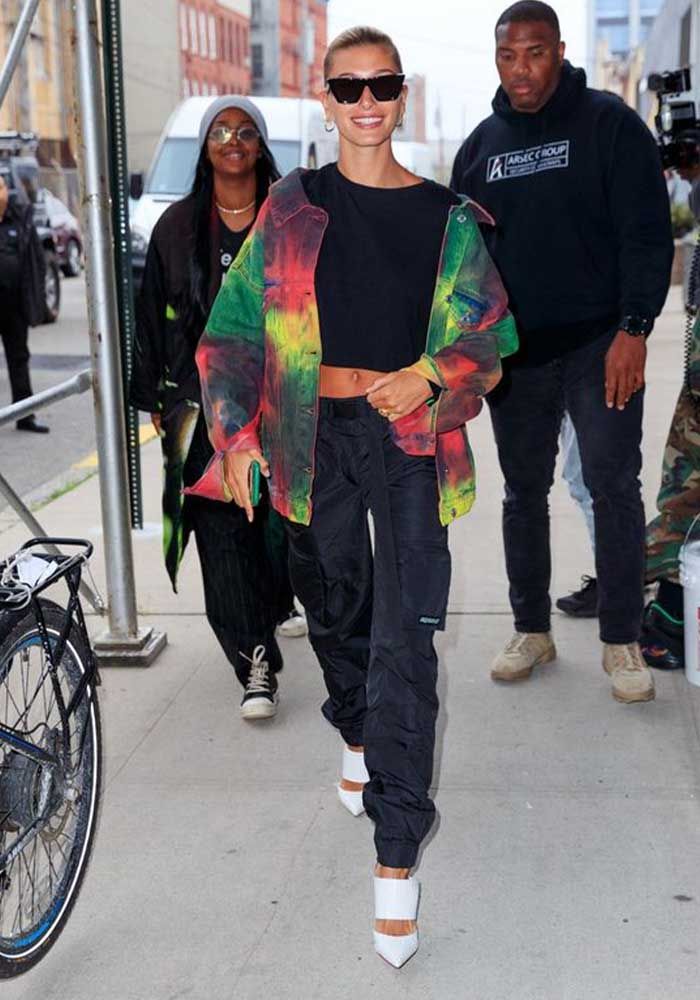
In this specific historical moment, spending long days at home and feeling more creative, the tie dye technique has become viral, also through Tik Tok or influencer tutorials. Or perhaps, in part, also because of the need to spread a positive message of hope and serenity, that the soft and vibrant colors of the tie dye are able to convey. It is also very much loved by celebrities and influencers to show off an easy-chic style in leisure time, especially for their summer looks.
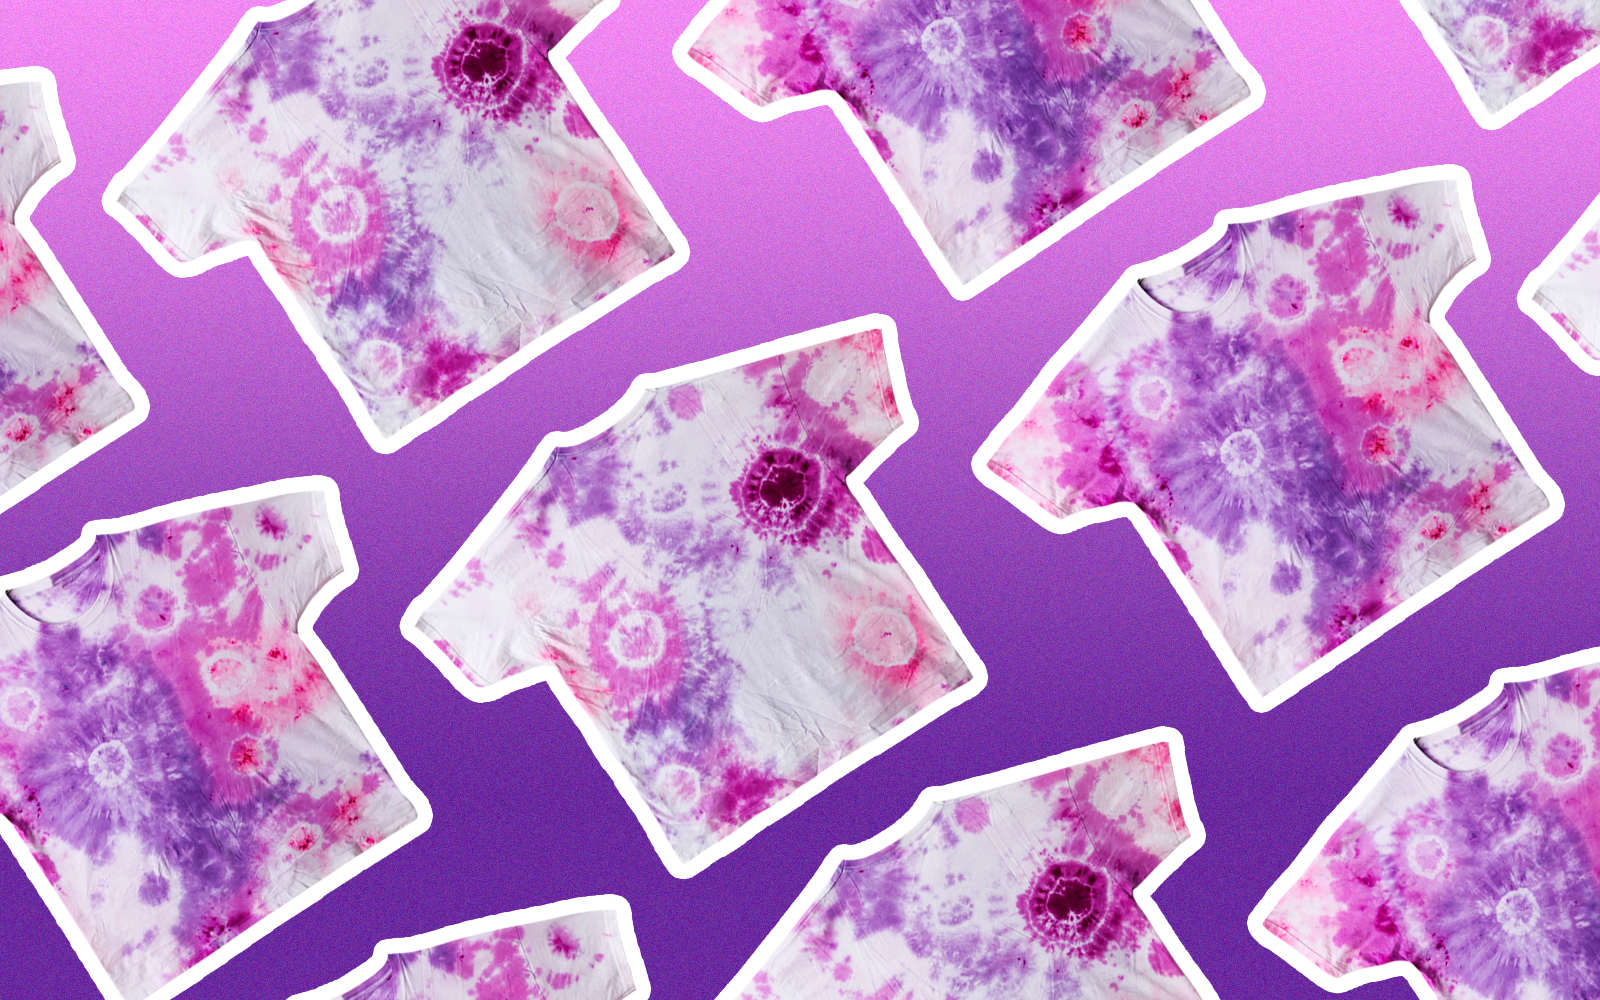
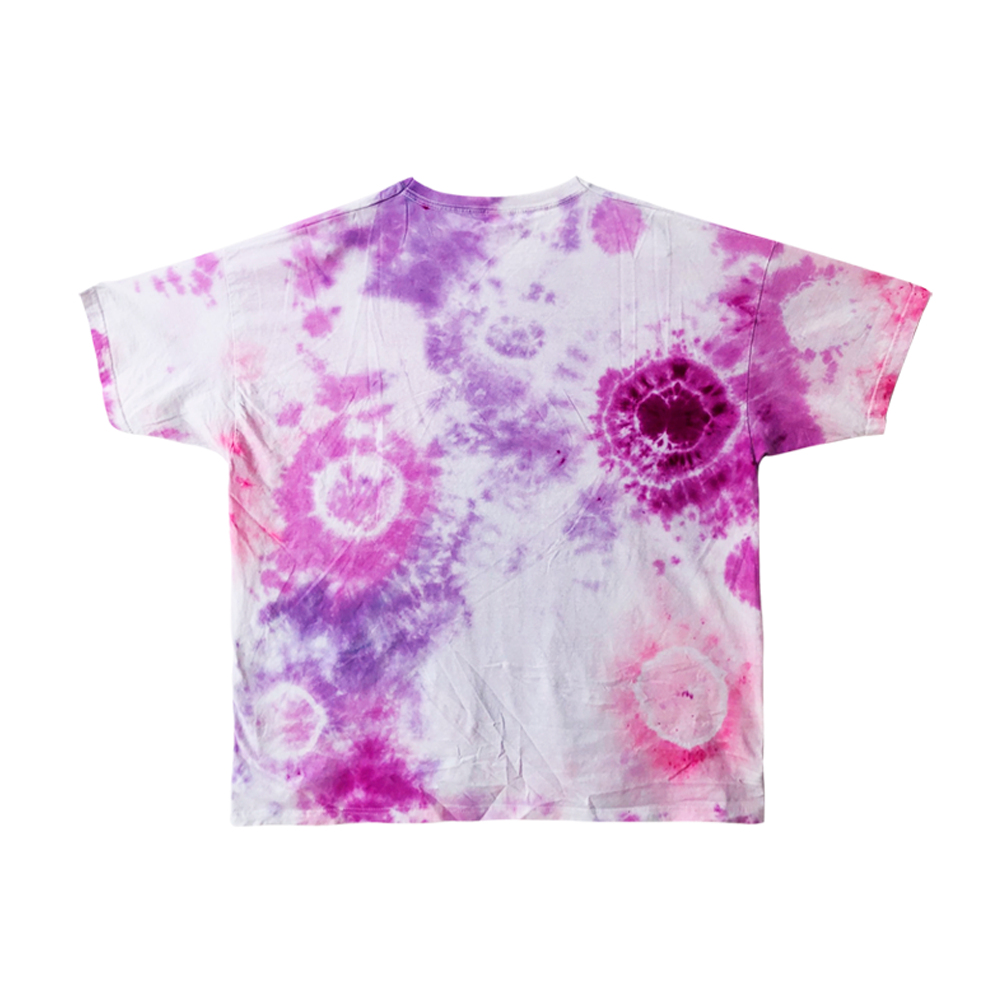
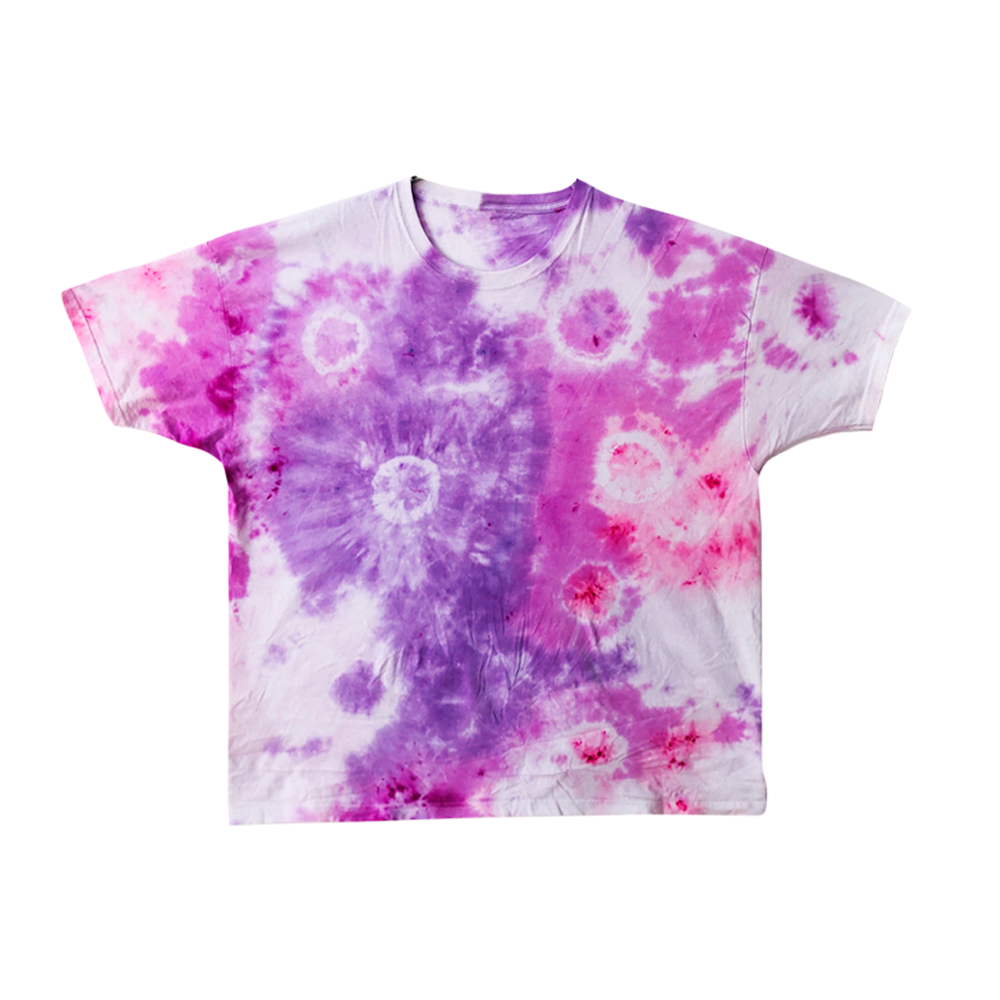
Also nss G-Club decided to try this type of dye, experimenting with different techniques. We decided to present our version, using the polka dot technique and the "creased" effect. The coolness of this technique lies in the fact that, although the result is always uncertain, each piece made with the tie dye will be unique and personal, different from all the others.
Here is our step by step guide to create a new tie dye garment, starting with a white t-shirt
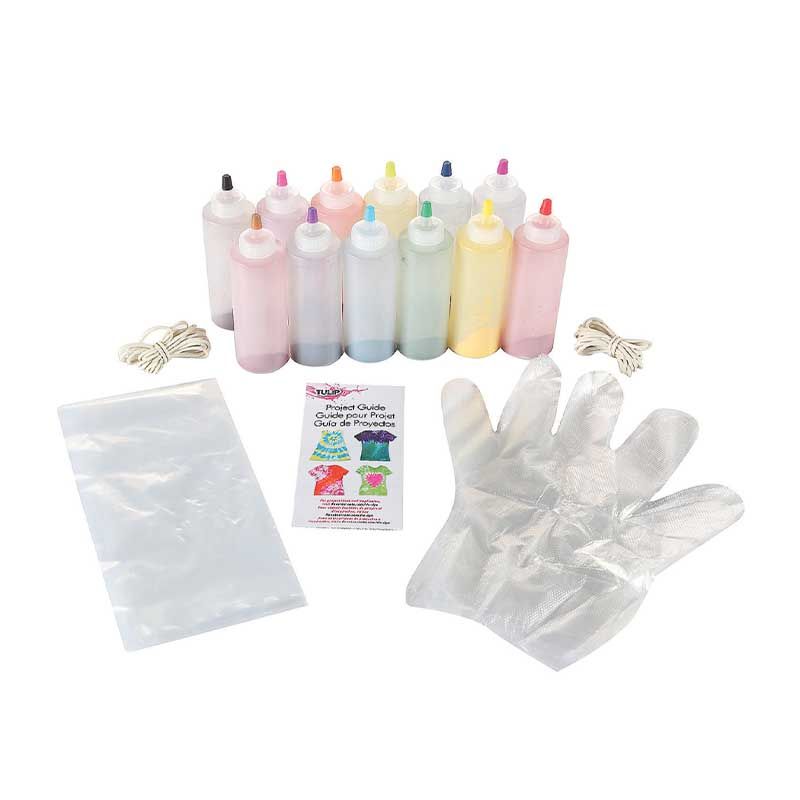
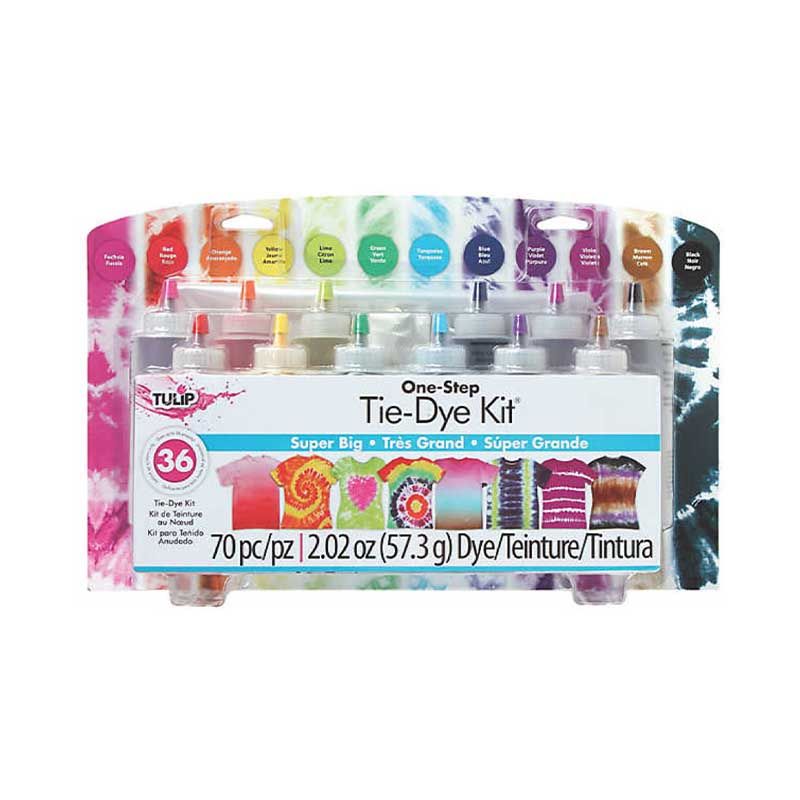
1. First of all, the starter kit must include: elastic bands, a plastic sheet, colors for dyeing (can be easily found on Amazon), disposable gloves, a pot, a container, salt, plastic bags, a white t-shirt strictly made of cotton.
2. Prepare the work area and start taking a portion of fabric between your fingers, and fix it with an elastic band. Continue with the same procedure randomly, starting where you prefer.
3. Now let's apply the "creased" technique. From the point you feel more comfortable, start rolling up the t-shirt as much as possible until you get a tight and compact shape, fixing it with elastic bands.
4. Create divisions with the elastic bands, that will be a guide if you want to use more than one color.
5. Boil some water and add the salt (no, we are not preparing pasta!)
6. Proceed with the dyeing, leaving the t-shirt in the water for about 10 minutes. If you want to use more than one color, help yourself with a ladle.
7. Put the t-shirt in a plastic bag and let it rest there for 6/8 hours.
8. Rinse with cold water, until there is no more color dripping. In the meantime, remove the elastic bands.
9. Put the shirt in the washing machine for a deeper wash, with strictly cold water (for example 20°).
10. Let the t-shirt dry et voilà! Here is the final result, ready to wear!