

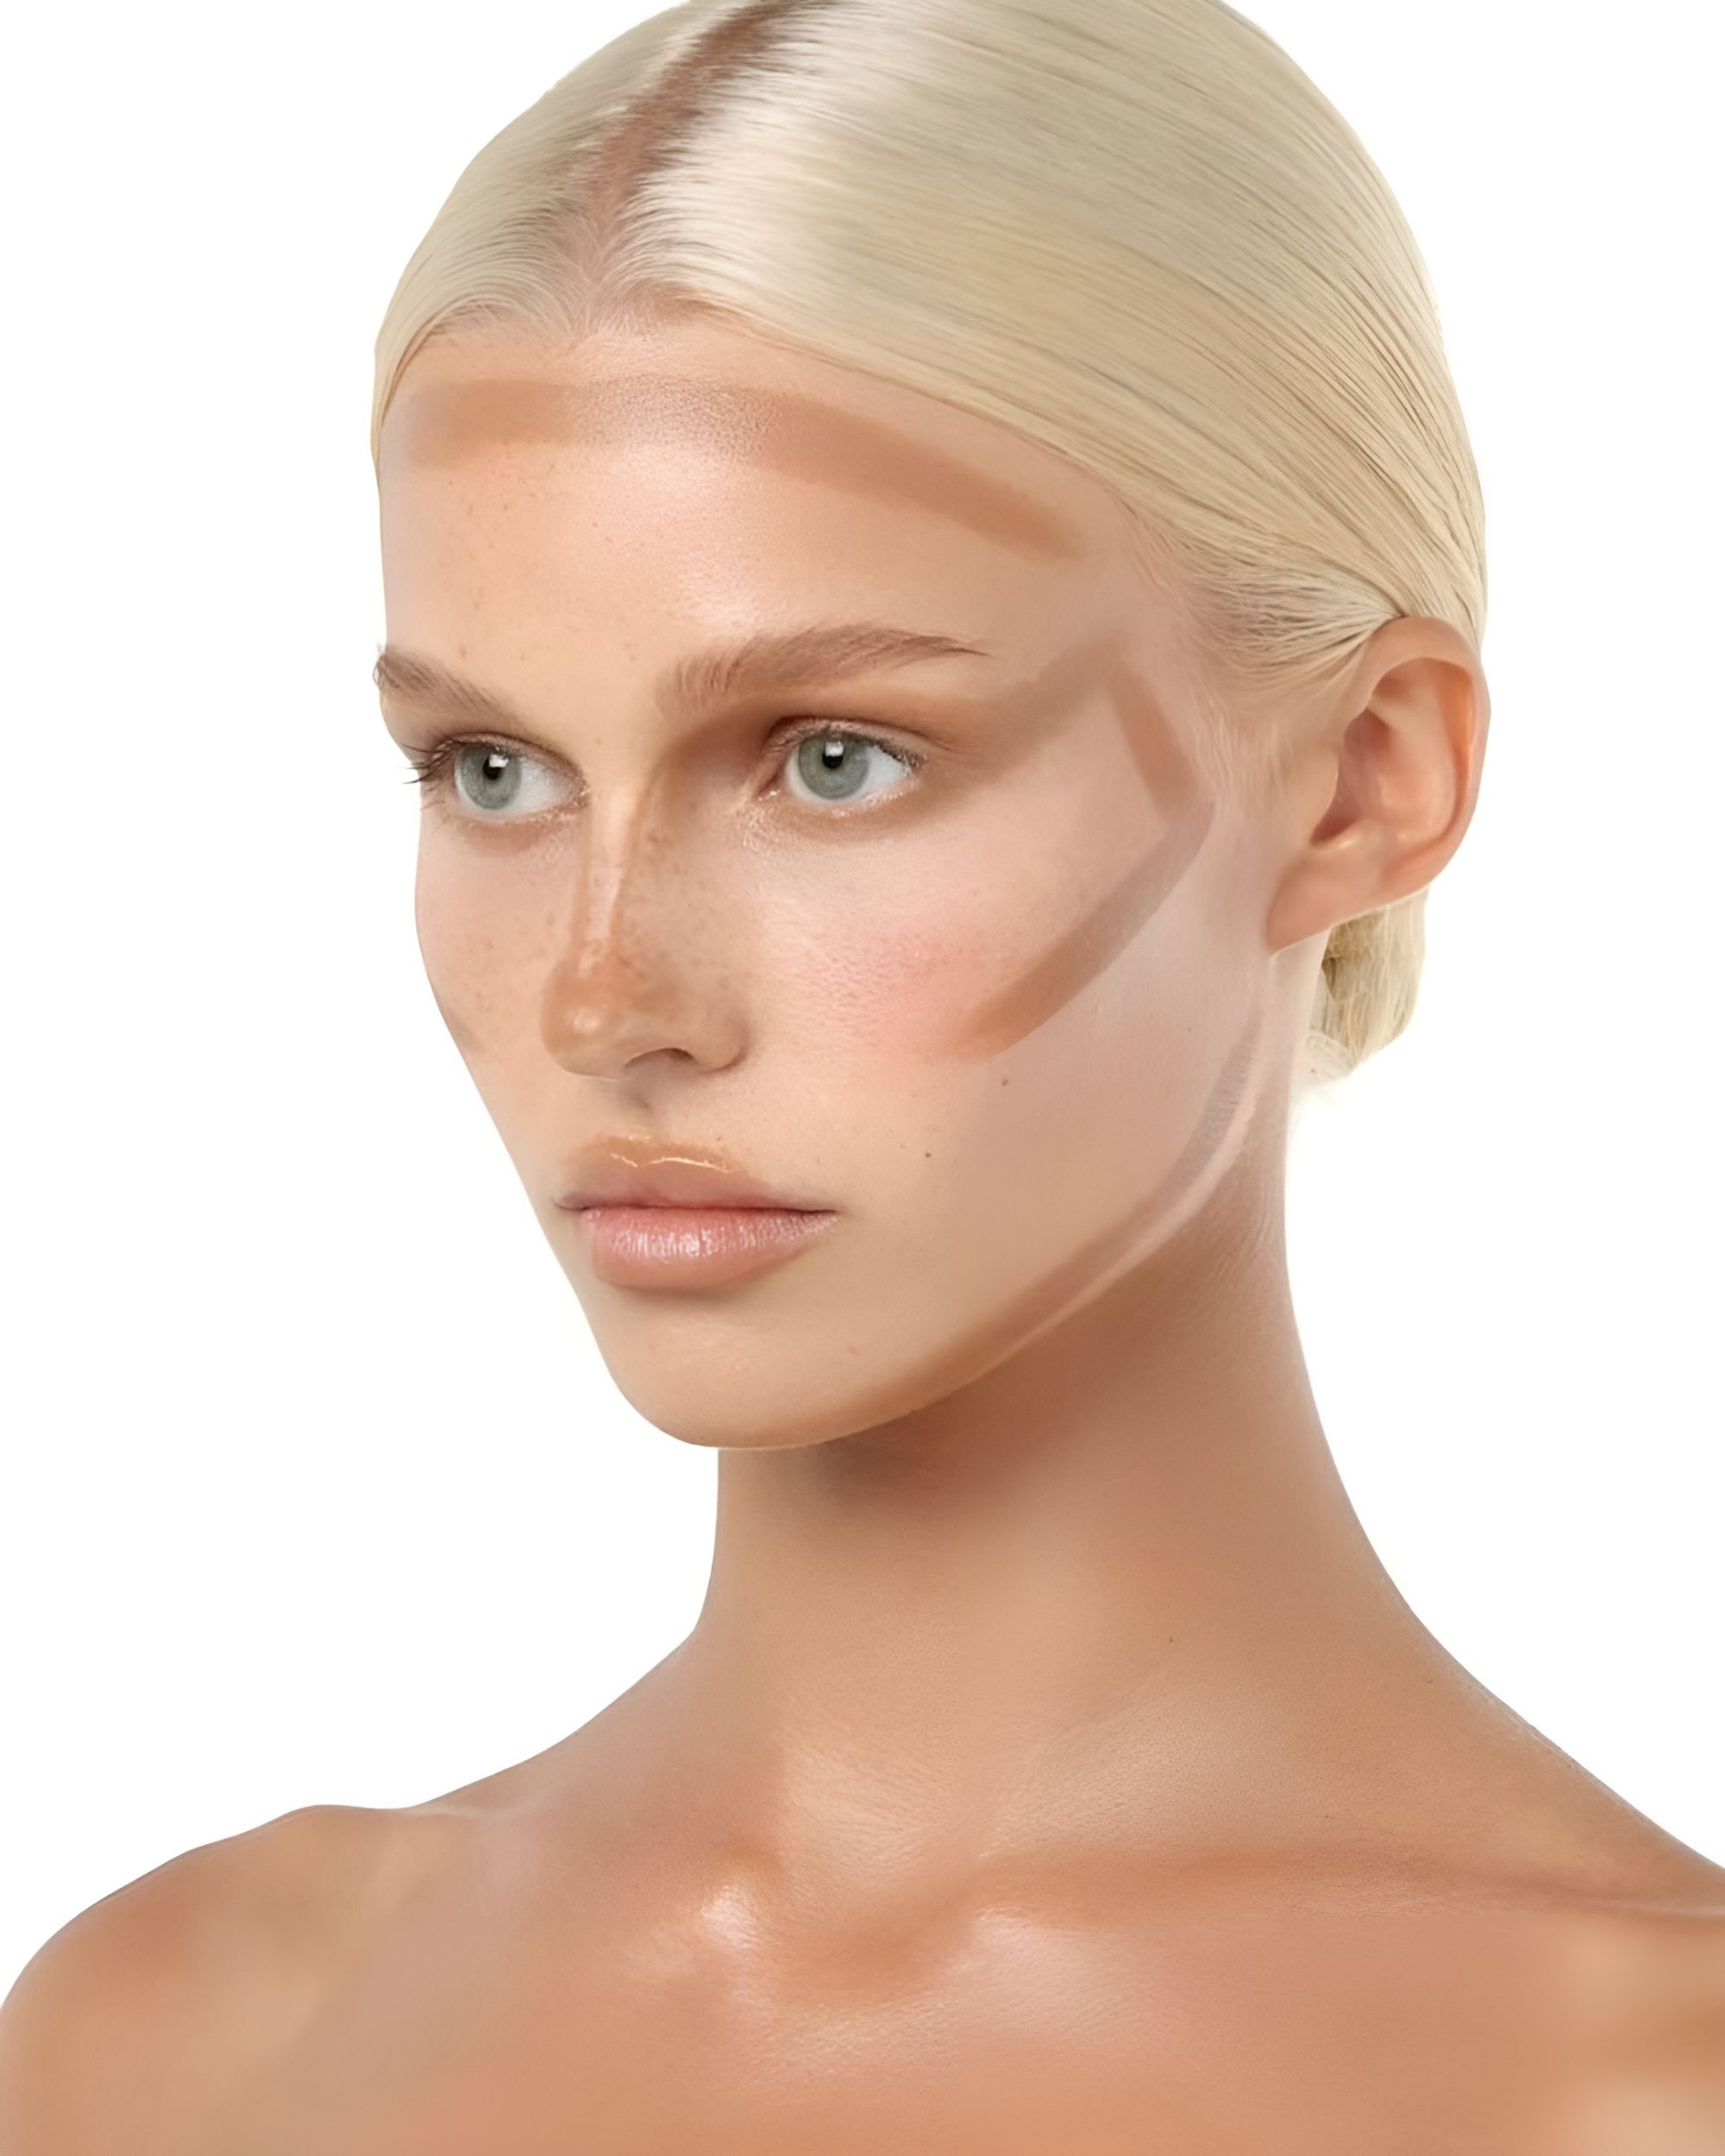
Underpainting: the makeup technique for a flawless base Ready to shake up the rules?
Let’s quickly recap how we usually apply makeup: roughly speaking, concealer, foundation, contour, blush, highlighter and, as a finishing touch, powder or setting spray. Well, forget everything you know, because underpainting is here to turn the rules upside down and remind us that, when it comes to makeup, there aren’t really any rules. There’s just one goal, the one we’re all pretty much after: a more defined, natural-looking face, without a cakey finish or layers of product. Here’s how it works.
Underpainting: the makeup technique for a flawless base
Where does underpainting come from?
@alayna234_ Underpainting never does me wrong #makeuptutorial PULL UP - Internet Girl
Let’s start with something important. Who came up with this technique? The name most commonly associated with it today is makeup artist Mary Phillips, who developed her method after studying the books of Kevyn Aucoin and the sculpting principles already used in cinematic and theatrical makeup, where the structure of the face was given particular attention, working first with areas of light and shadow and only then moving on to the base. Phillips then made the technique her own, making underpainting famous through the looks she created for celebrities including Jennifer Lopez, Kendall Jenner and Hailey Bieber.
So what is underpainting and how do you do it?
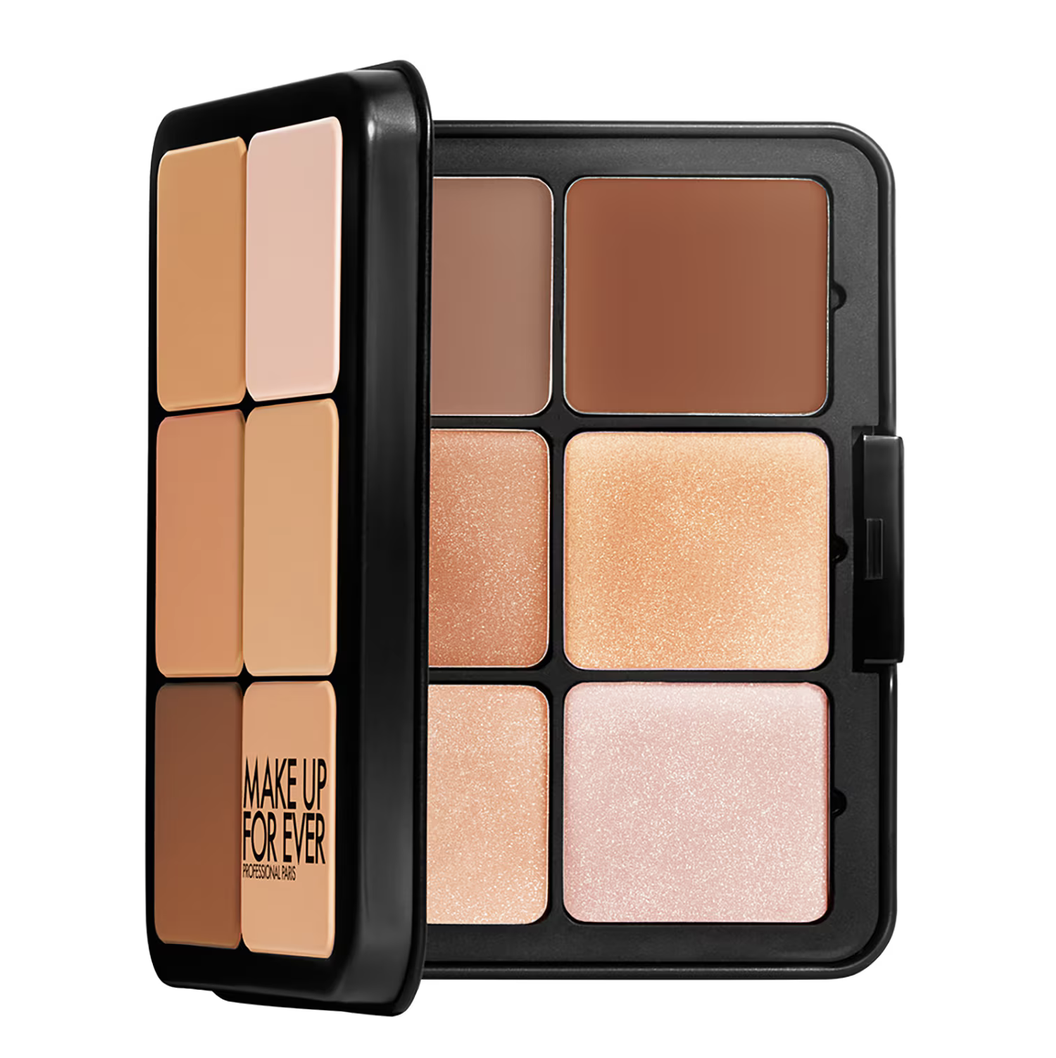

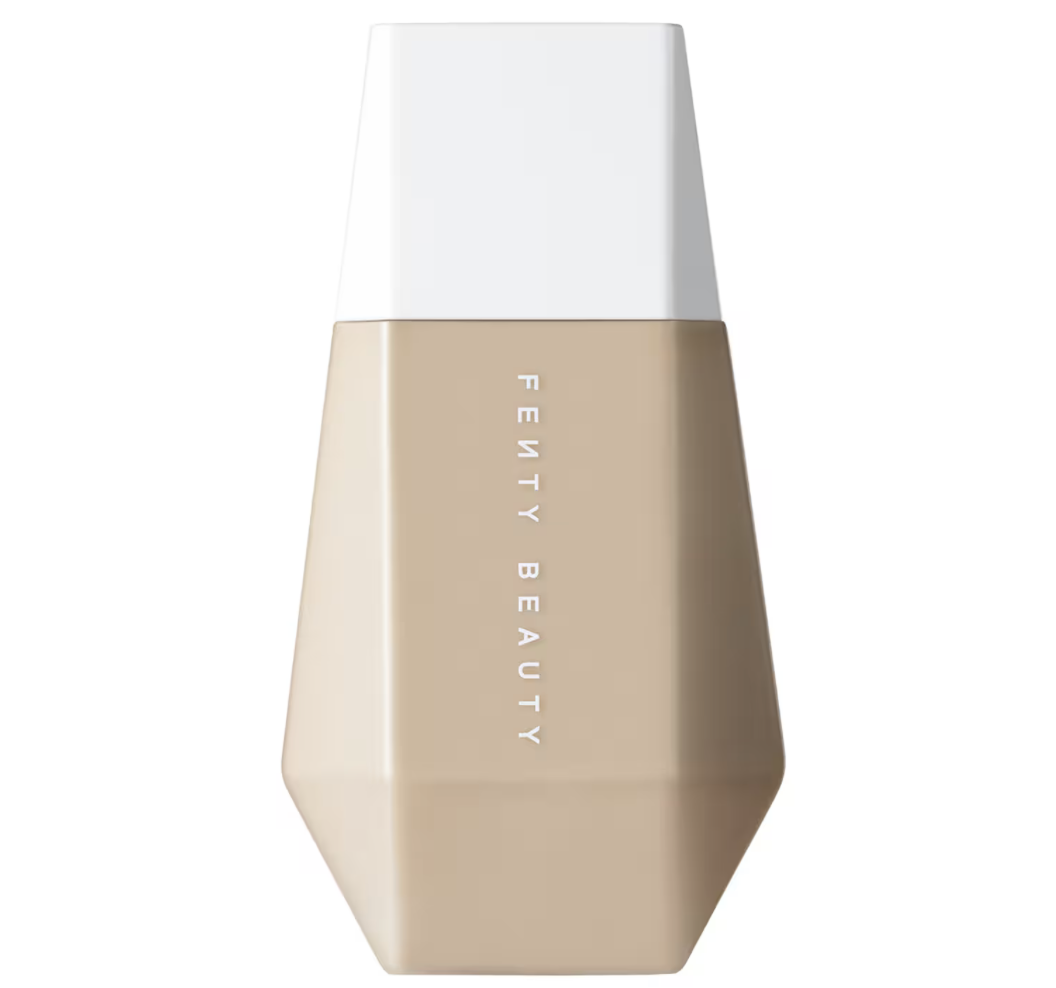
The principle is simple: you build dimension and structure first and only even out the complexion afterwards. Start with well-hydrated skin, following a proper skincare routine, and cream products, which are essential for layering and seamlessly blending the different steps. First, apply concealer to the areas you want to brighten: under the eyes, especially in the inner corner where shadows tend to collect, at the centre of the forehead, along the bridge and tip of the nose and at the centre of the chin. Then move on to contour, concentrating it beneath the cheekbones, along the hairline and forehead, on the jawline and down the sides of the nose, depending on how sculpted you want the face to look. Then comes blush, applied to the apples of the cheeks. Once everything has been blended well with a brush or damp sponge, you can add a little more concealer to the high points, especially under the eyes, between the brows, on the nose and at the inner and outer corners of the eyes. Only then does foundation come in, applied in a thin layer and blended gently so you don’t disturb the work underneath. To finish the makeup, you can add another touch of blush and, if needed, a light dusting of powder only on the areas that tend to get shiny, or setting spray.