
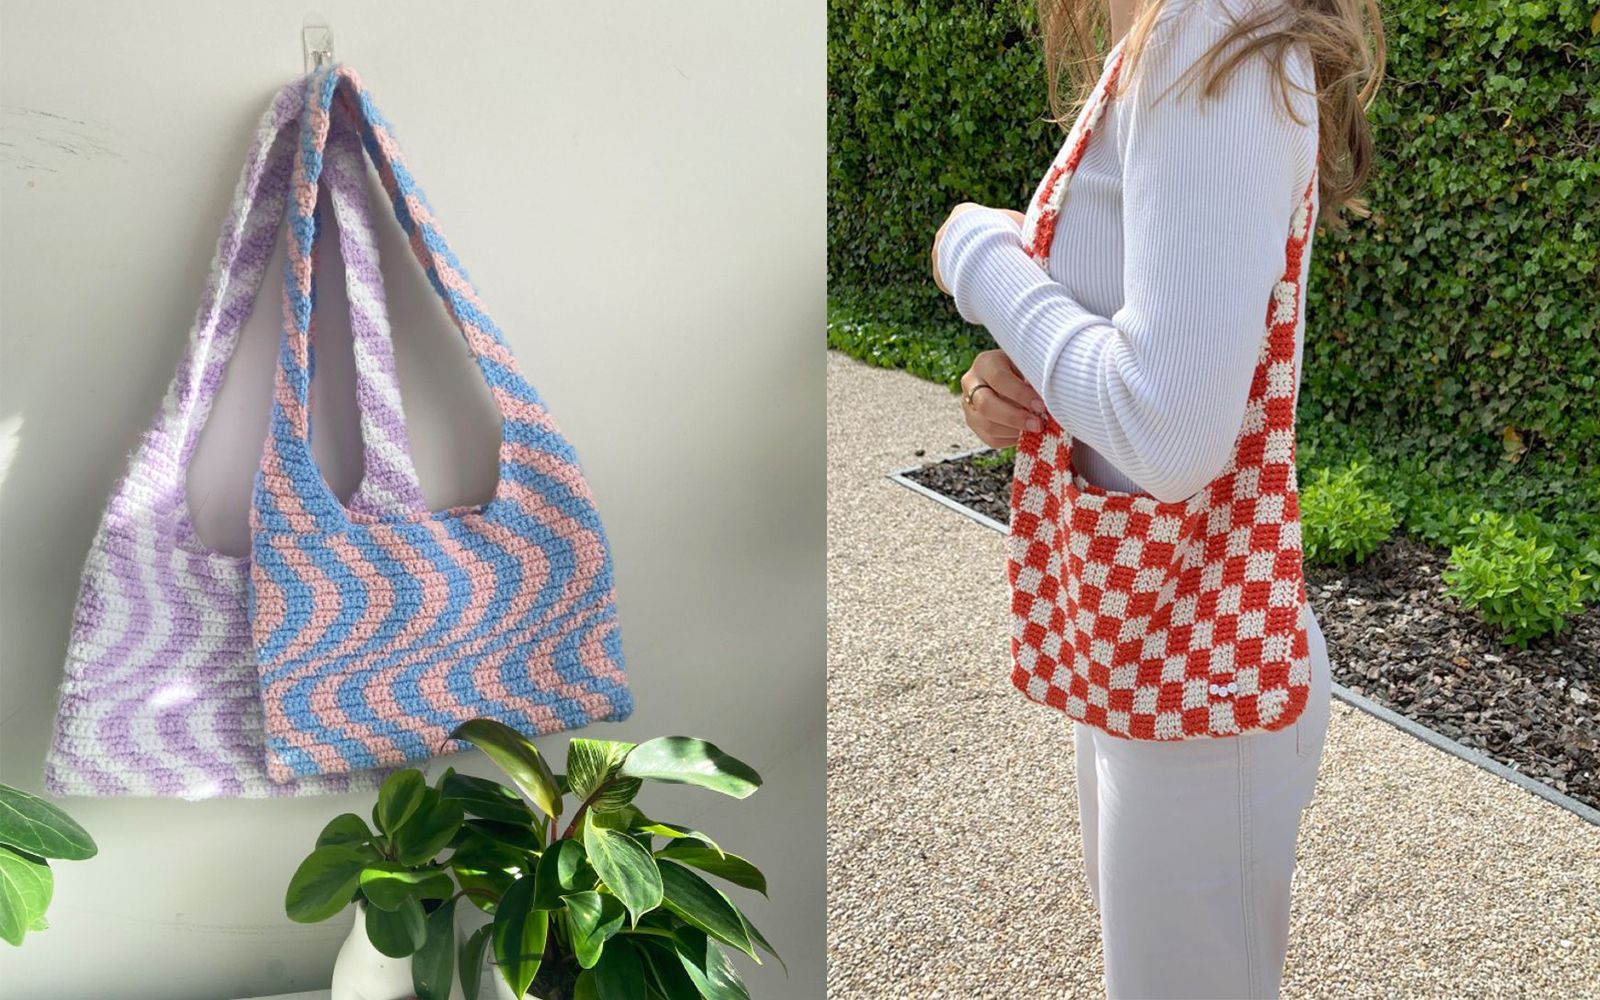
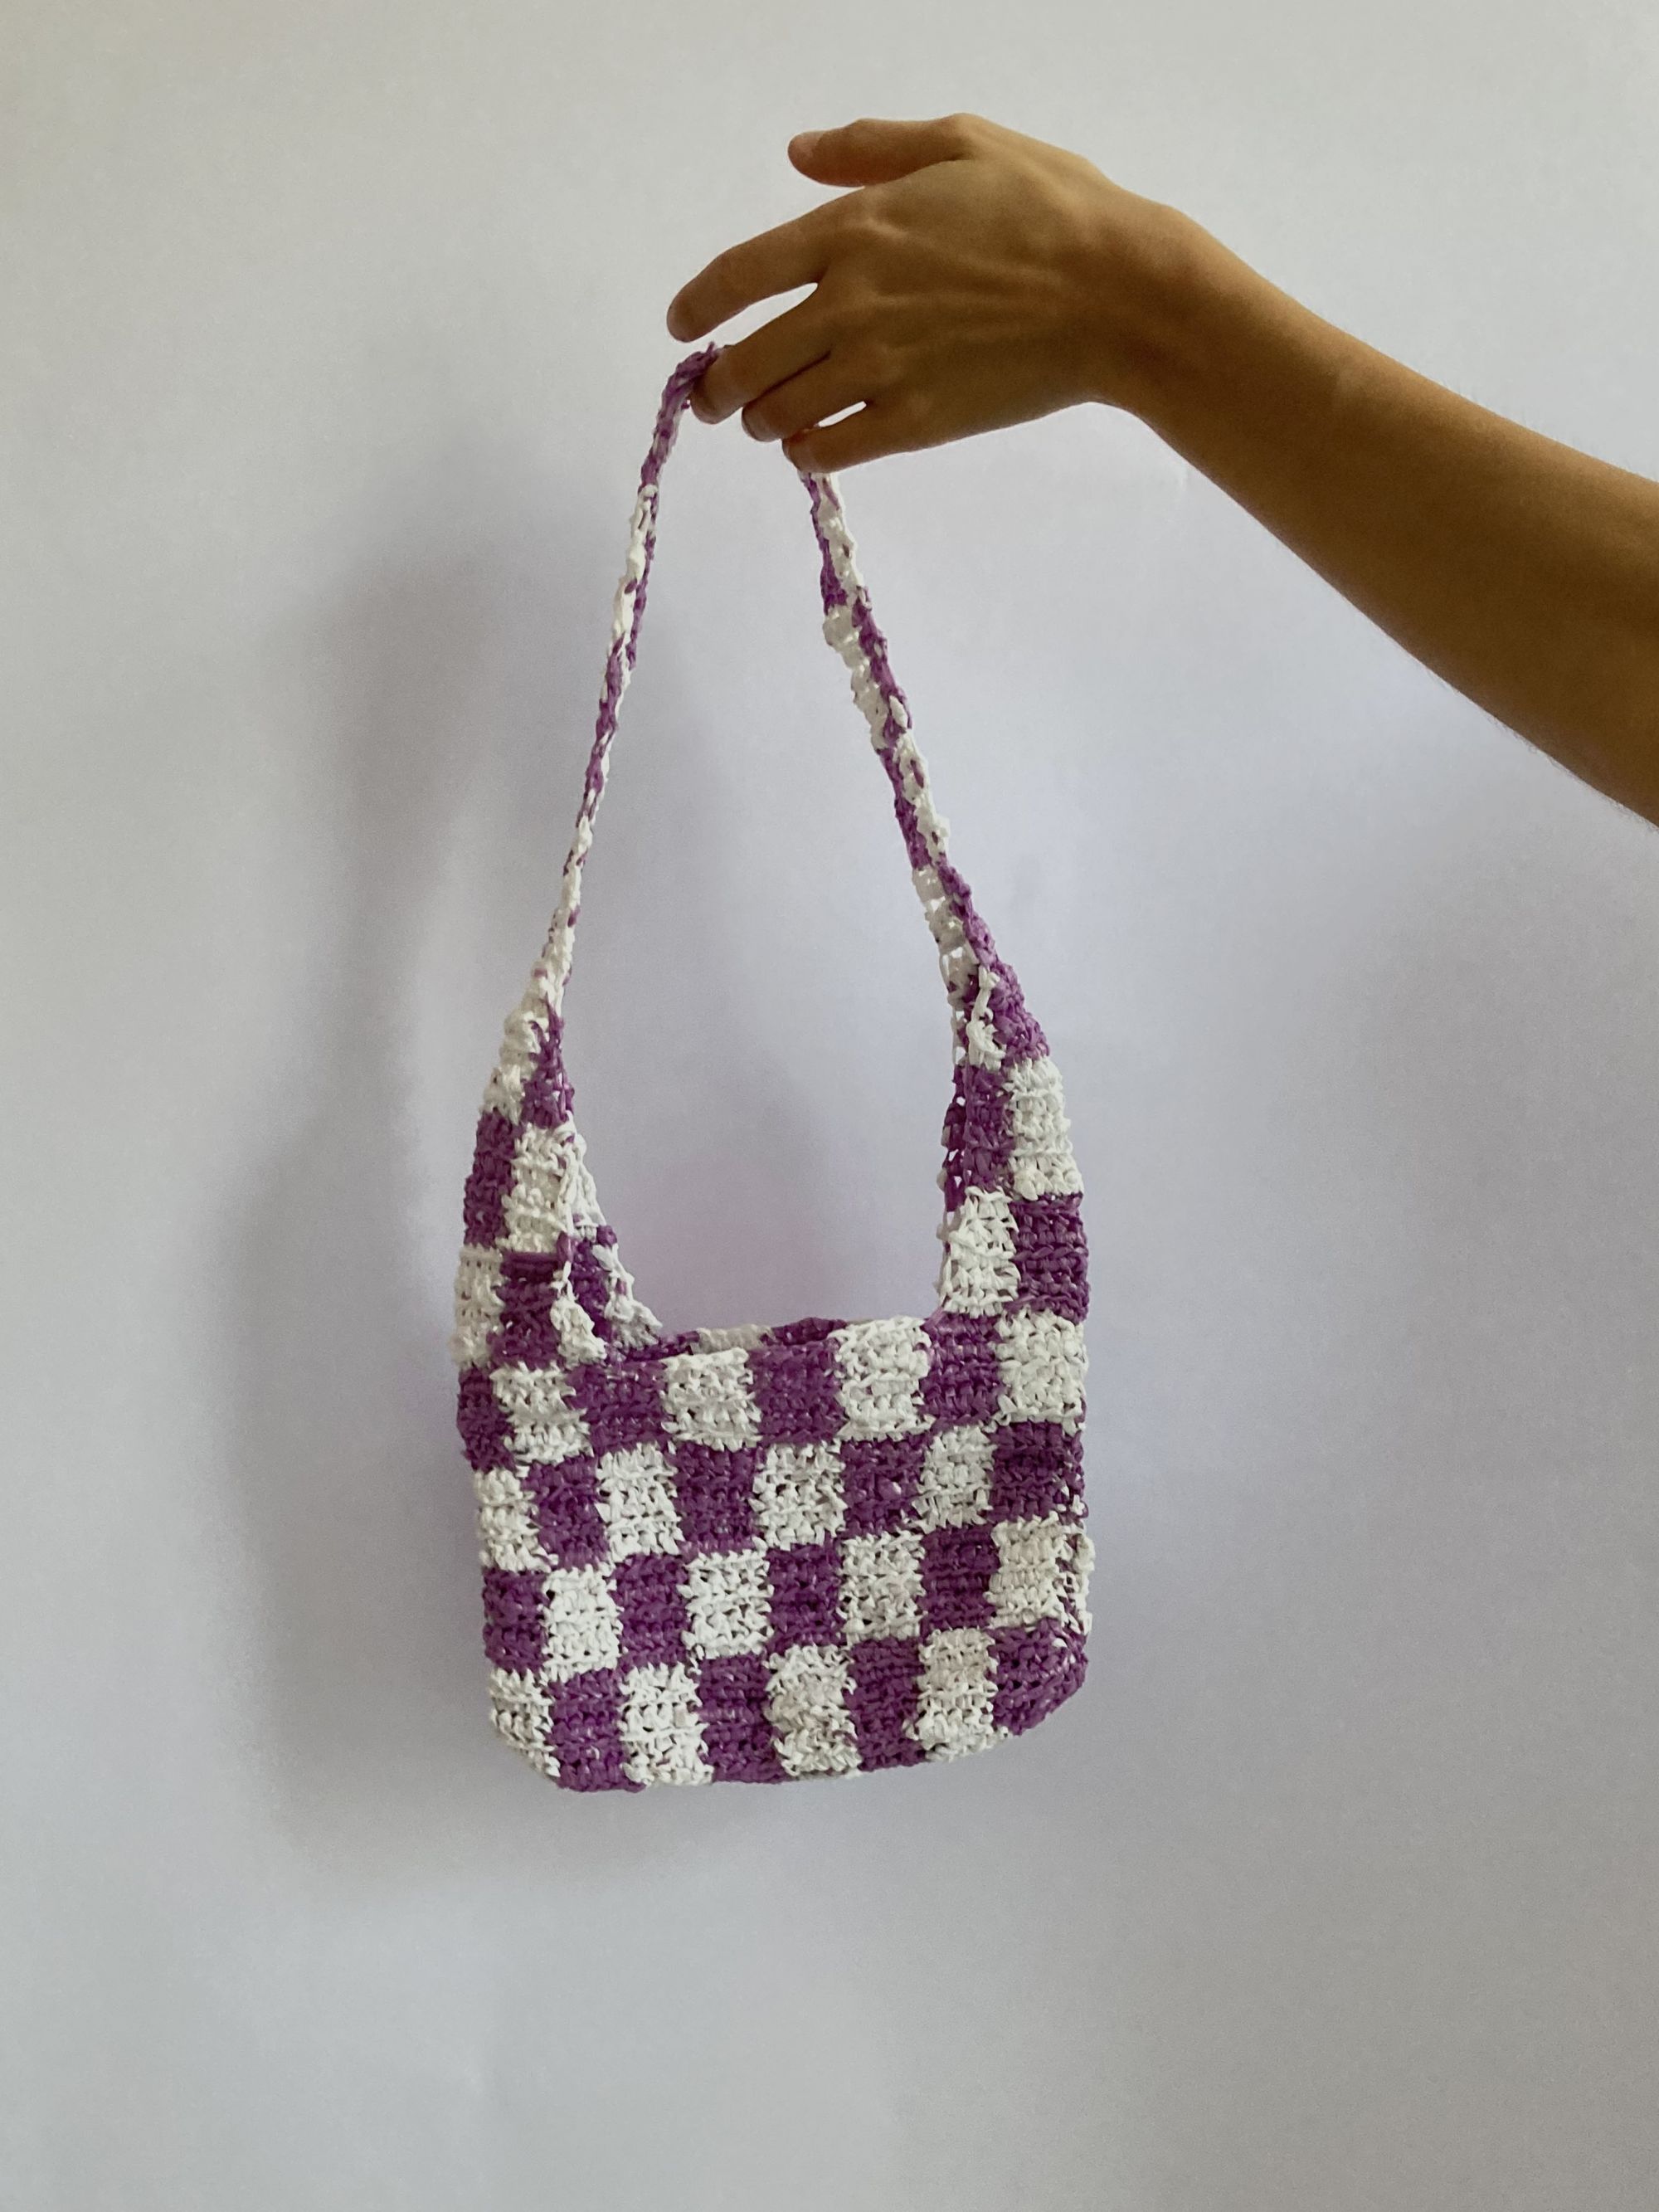
Crochet bag: how to recreate at home the iconic bag A cool and sustainable version of the crochet bag, 100% handmade
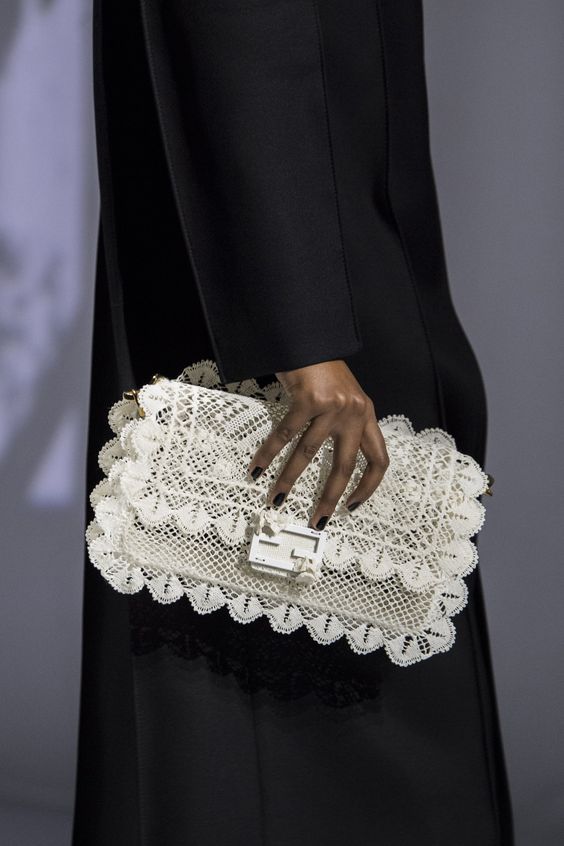

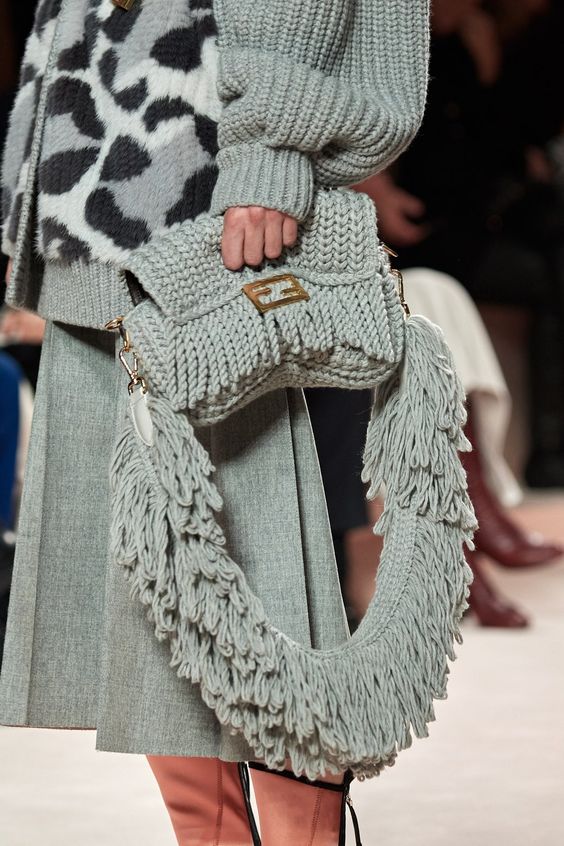
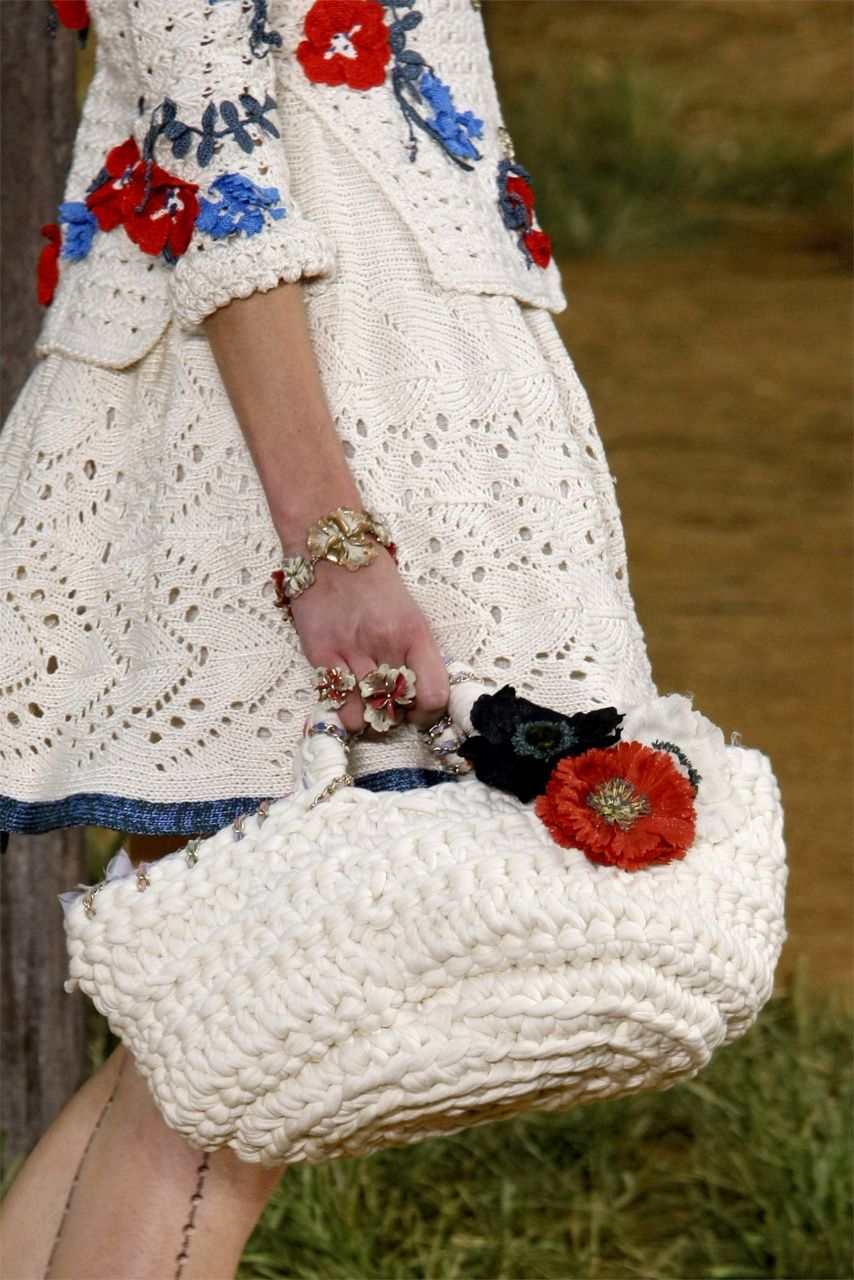


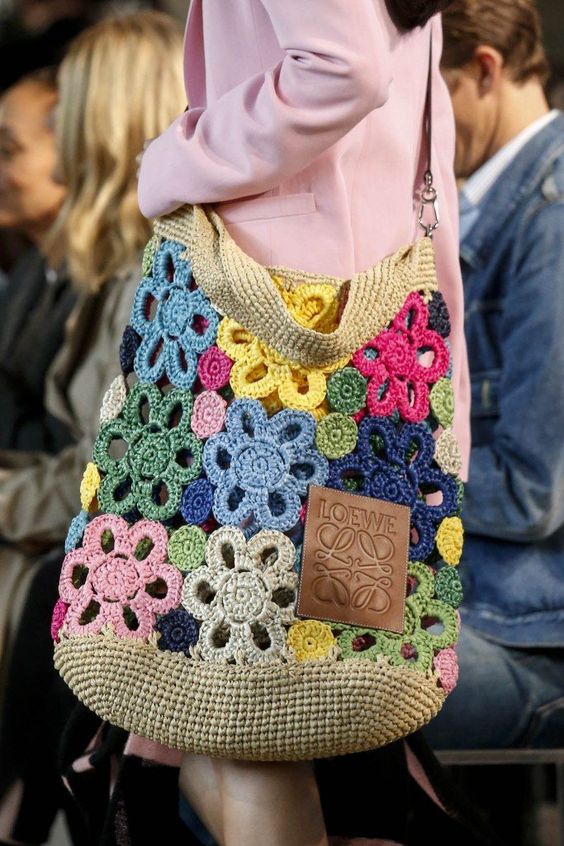
It may have been because of lockdown, smart working or simply high-heat summer, but spending more time at home made us rediscover many creative hobbies that we thought were lost. One of these is crochet. In the last few years, there have always been nostalgic brands who proposed knitted garments and accessories on the catwalk, like Chanel that showed its iconic 2.55 bag in a crochet version for the spring/summer 2010 collection, replacing the classic quilted motif with a white and red woven yarn.
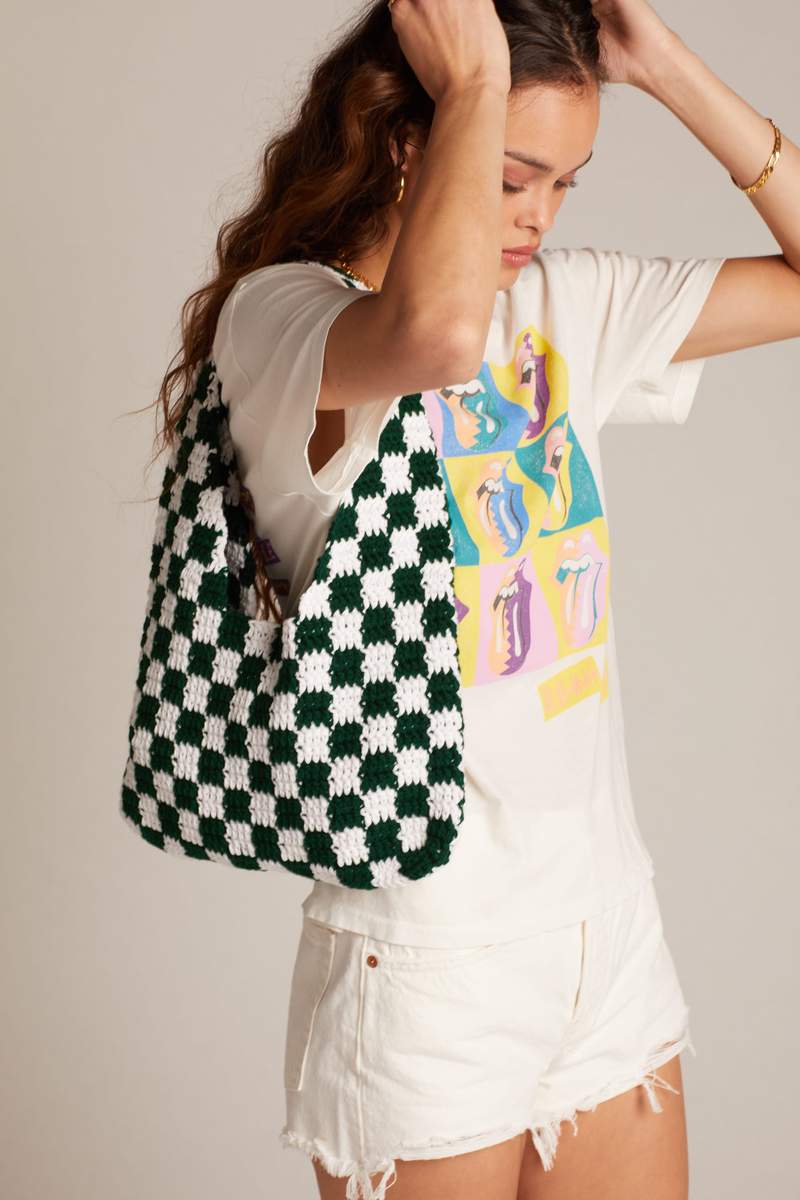
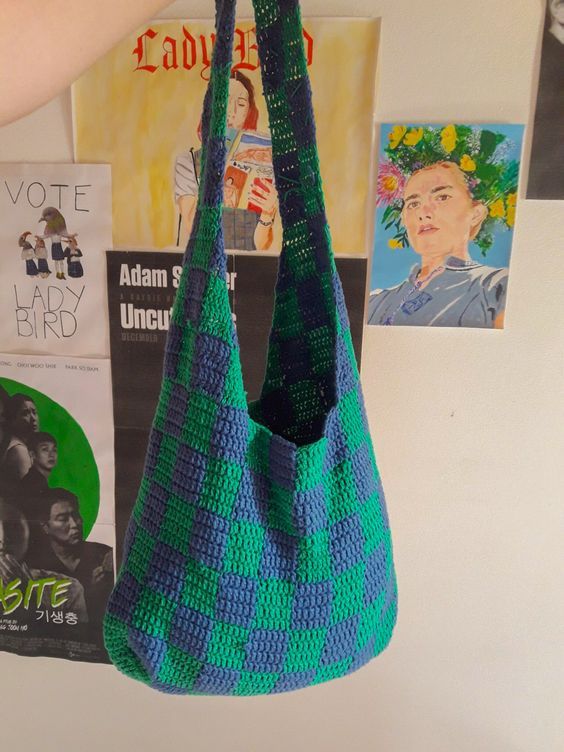
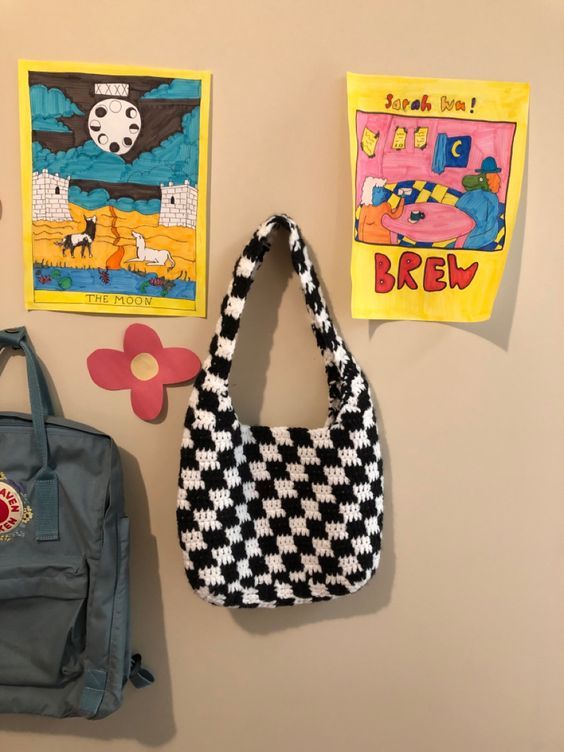
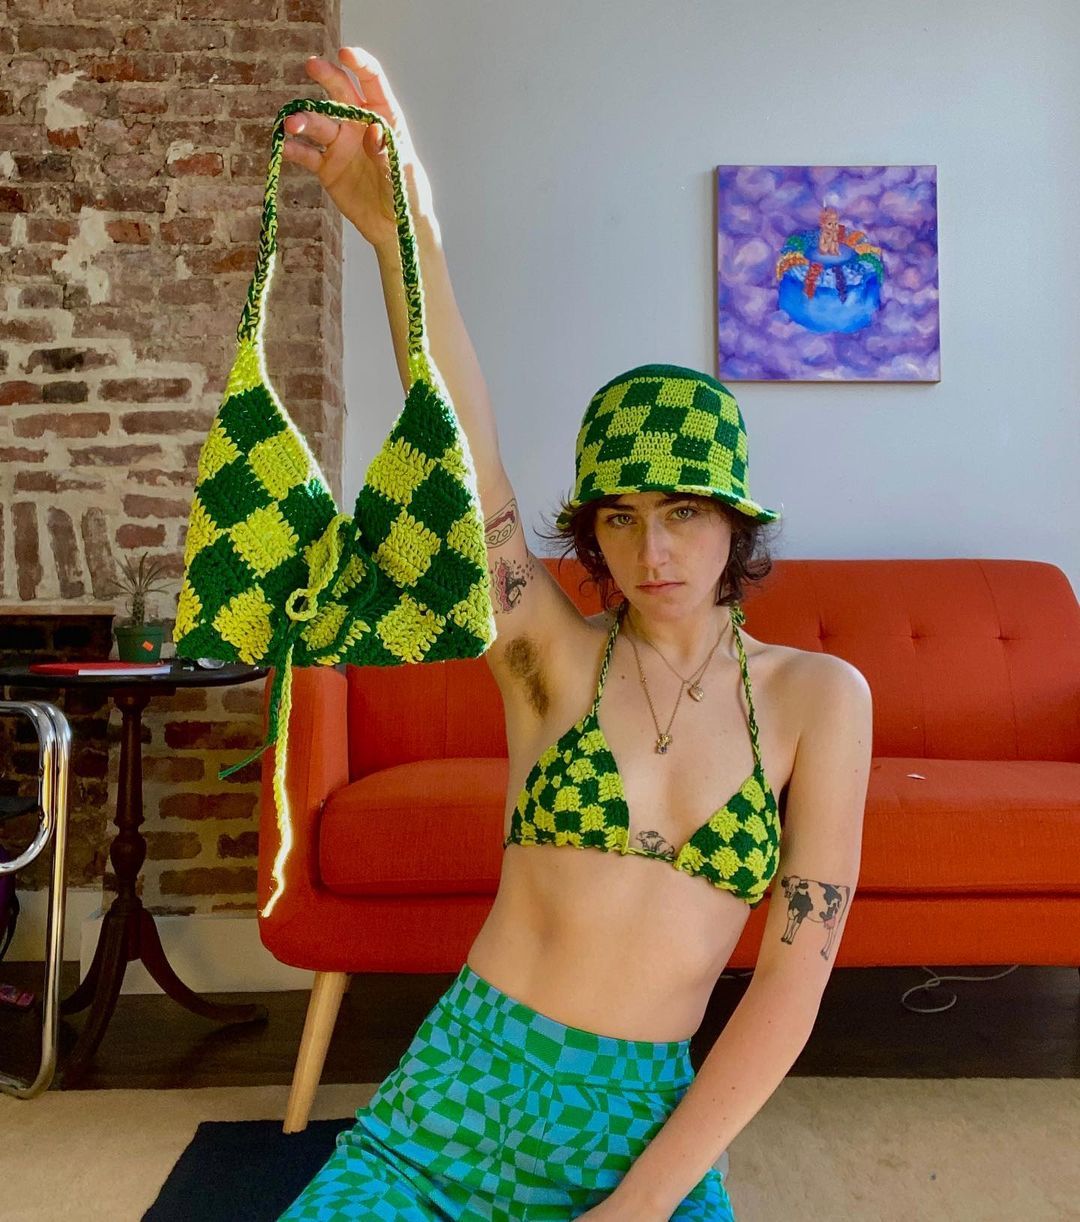
However, it is in the last two years that crochet has become a real lifestyle, a trend that has no intention of fading. Bags, bikinis, coordinated shorts and knitted hats are now everywhere, and not only famous brands and fashion houses are making them, but also the new generation of designers and creatives, who post their creations directly on social media.
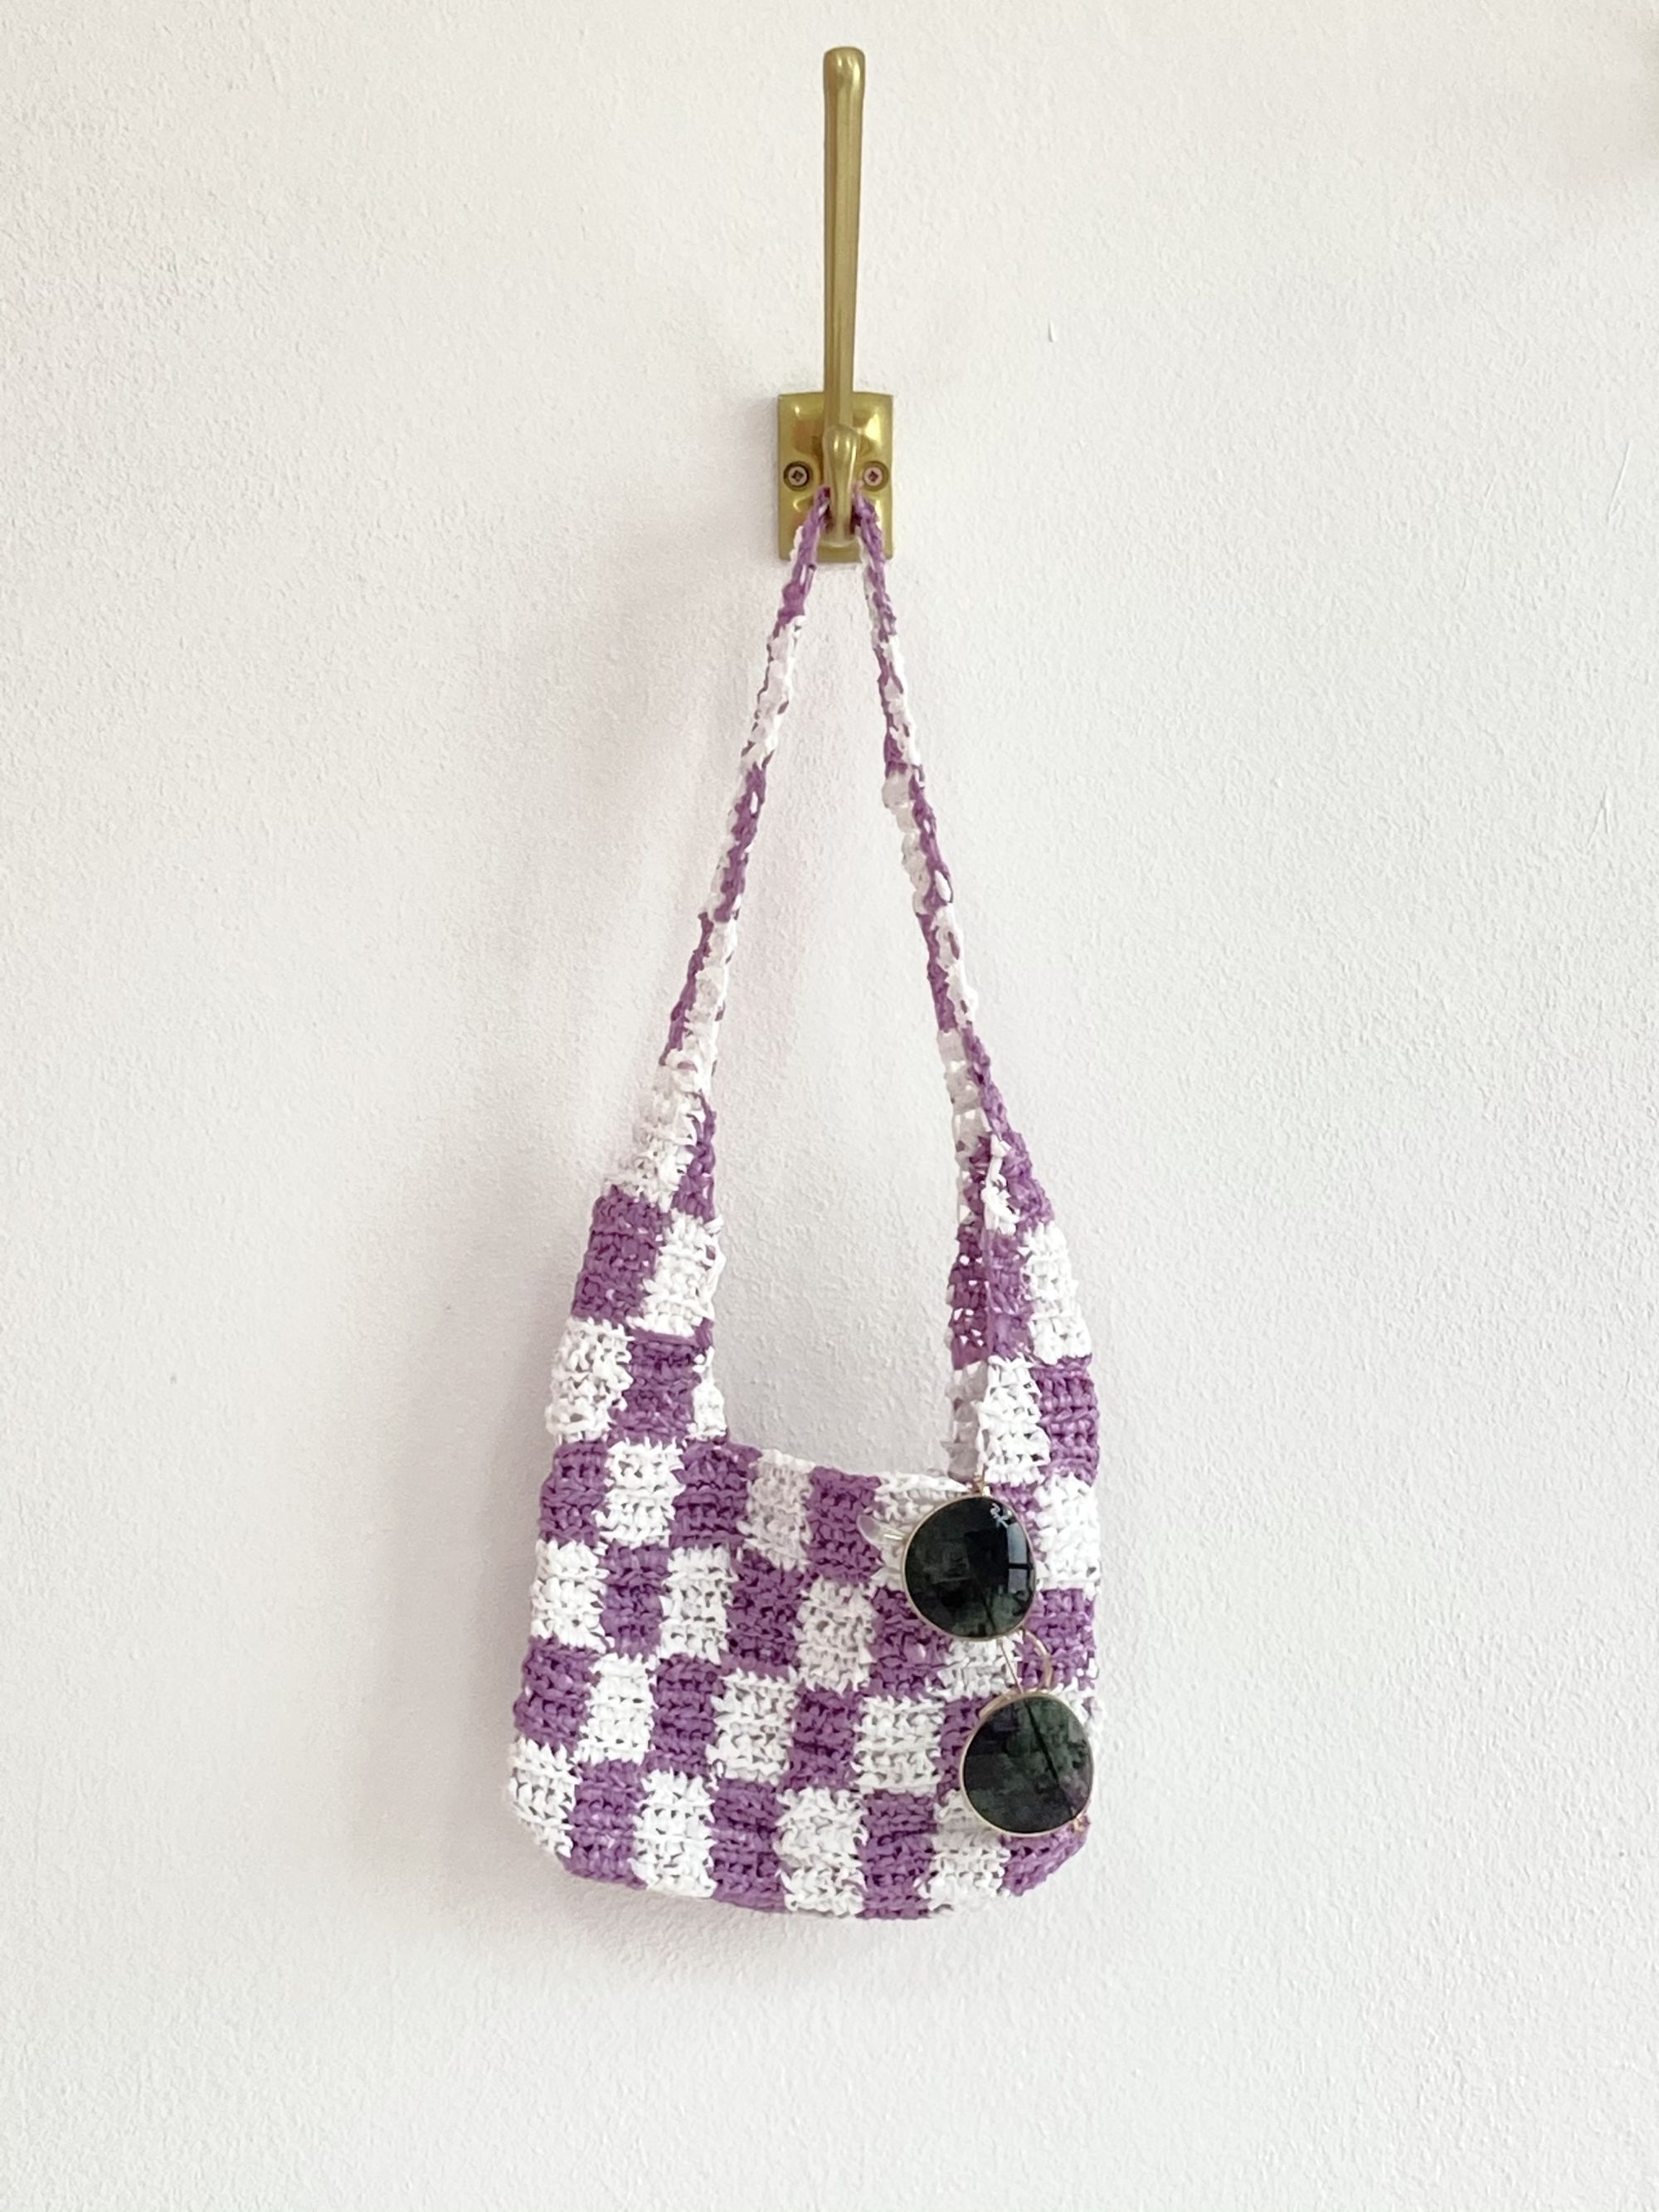
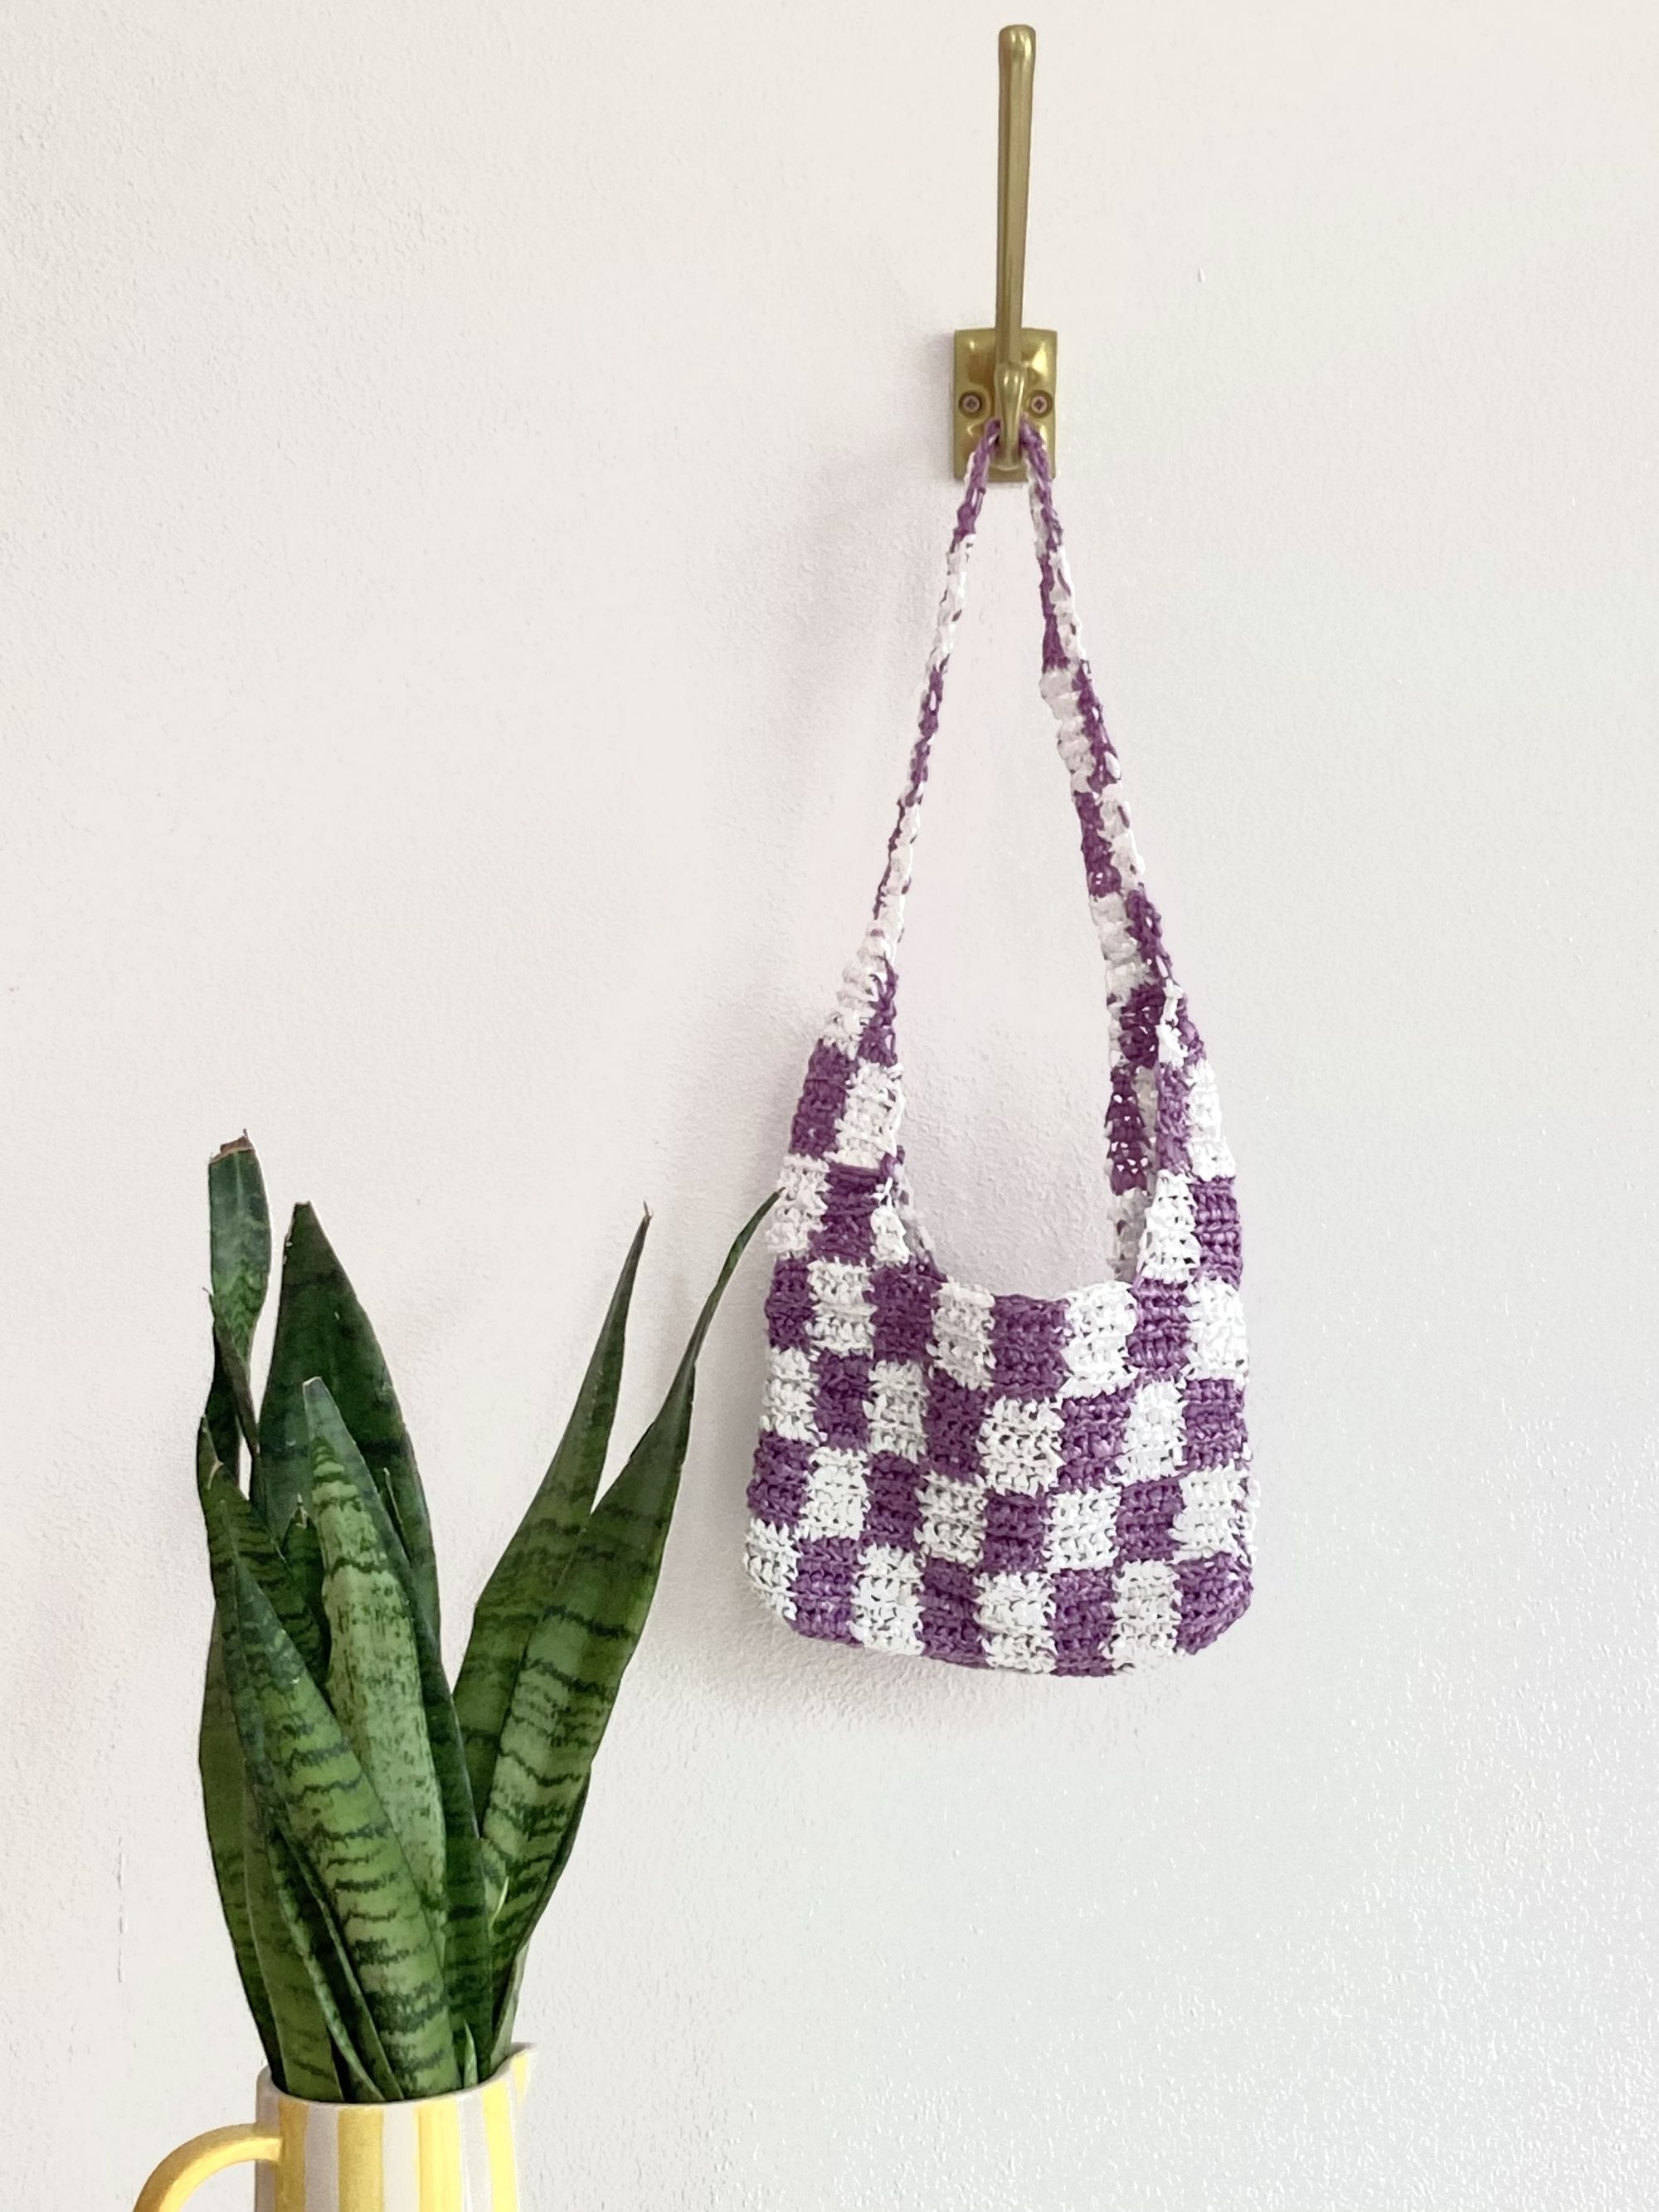
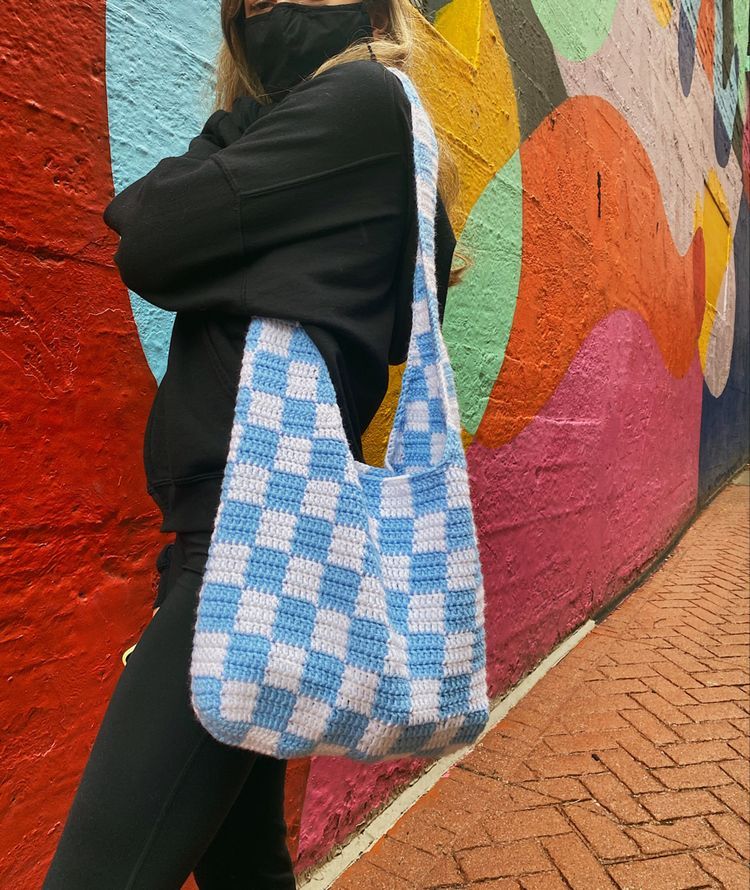
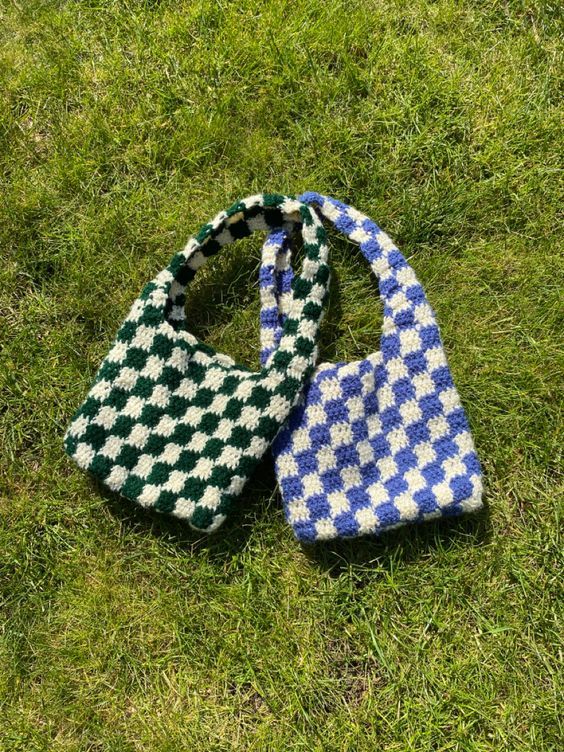
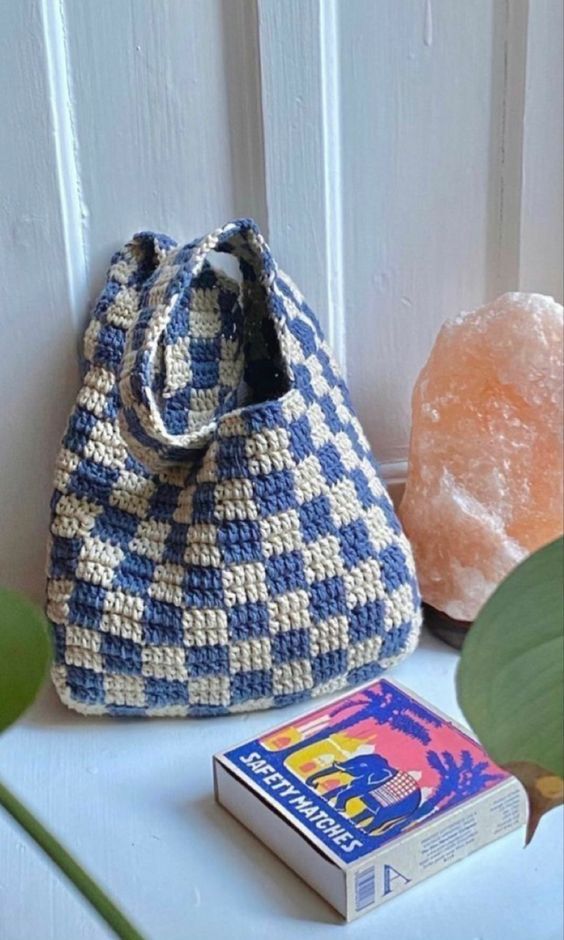
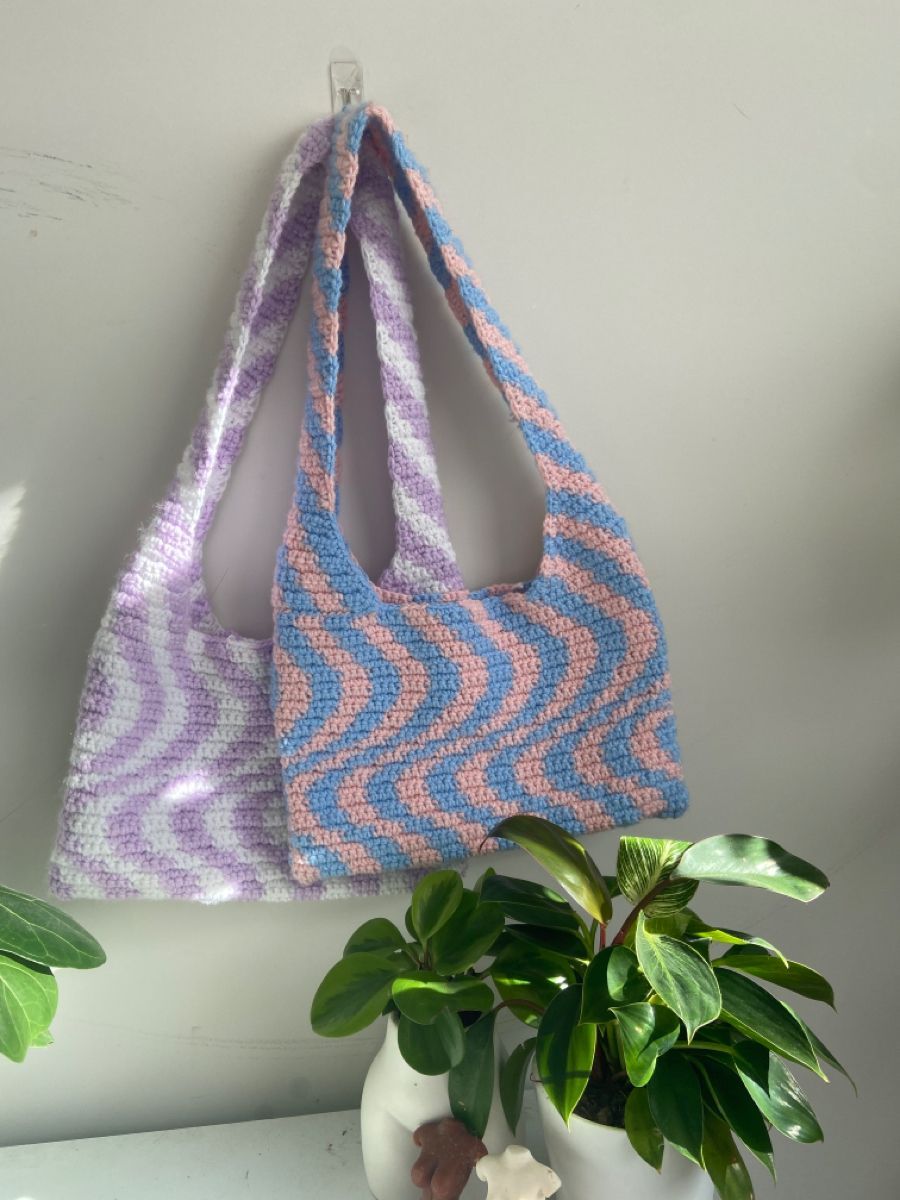
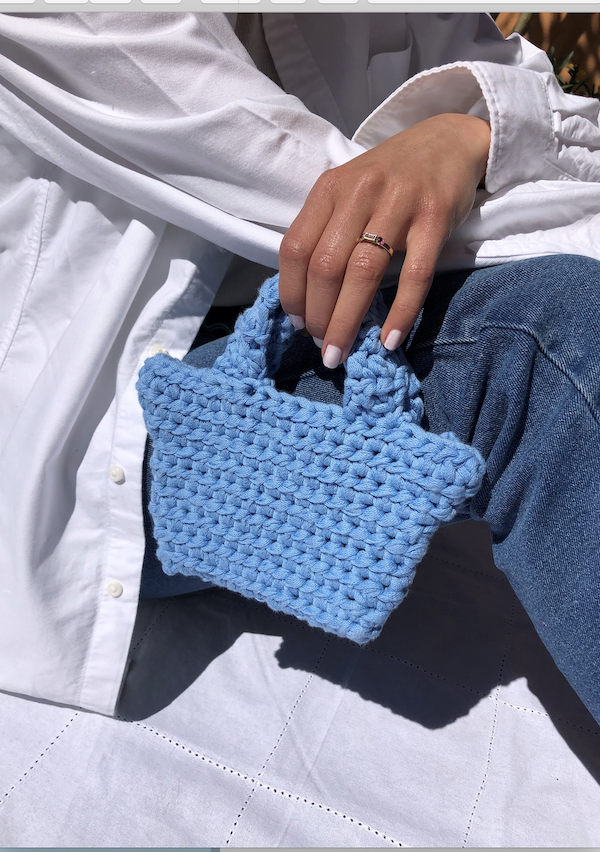
To make the bag even more sustainable and to create a more fun and colorful pattern, in the proposed experiment we used plastic bags to be recycled in two different colors, white and lilac. The crossing mode is always the same and after making the first stitches it will be much easier; in a few hours you will find yourself with a new original and exclusive accessory, even more unique because it is made by you!
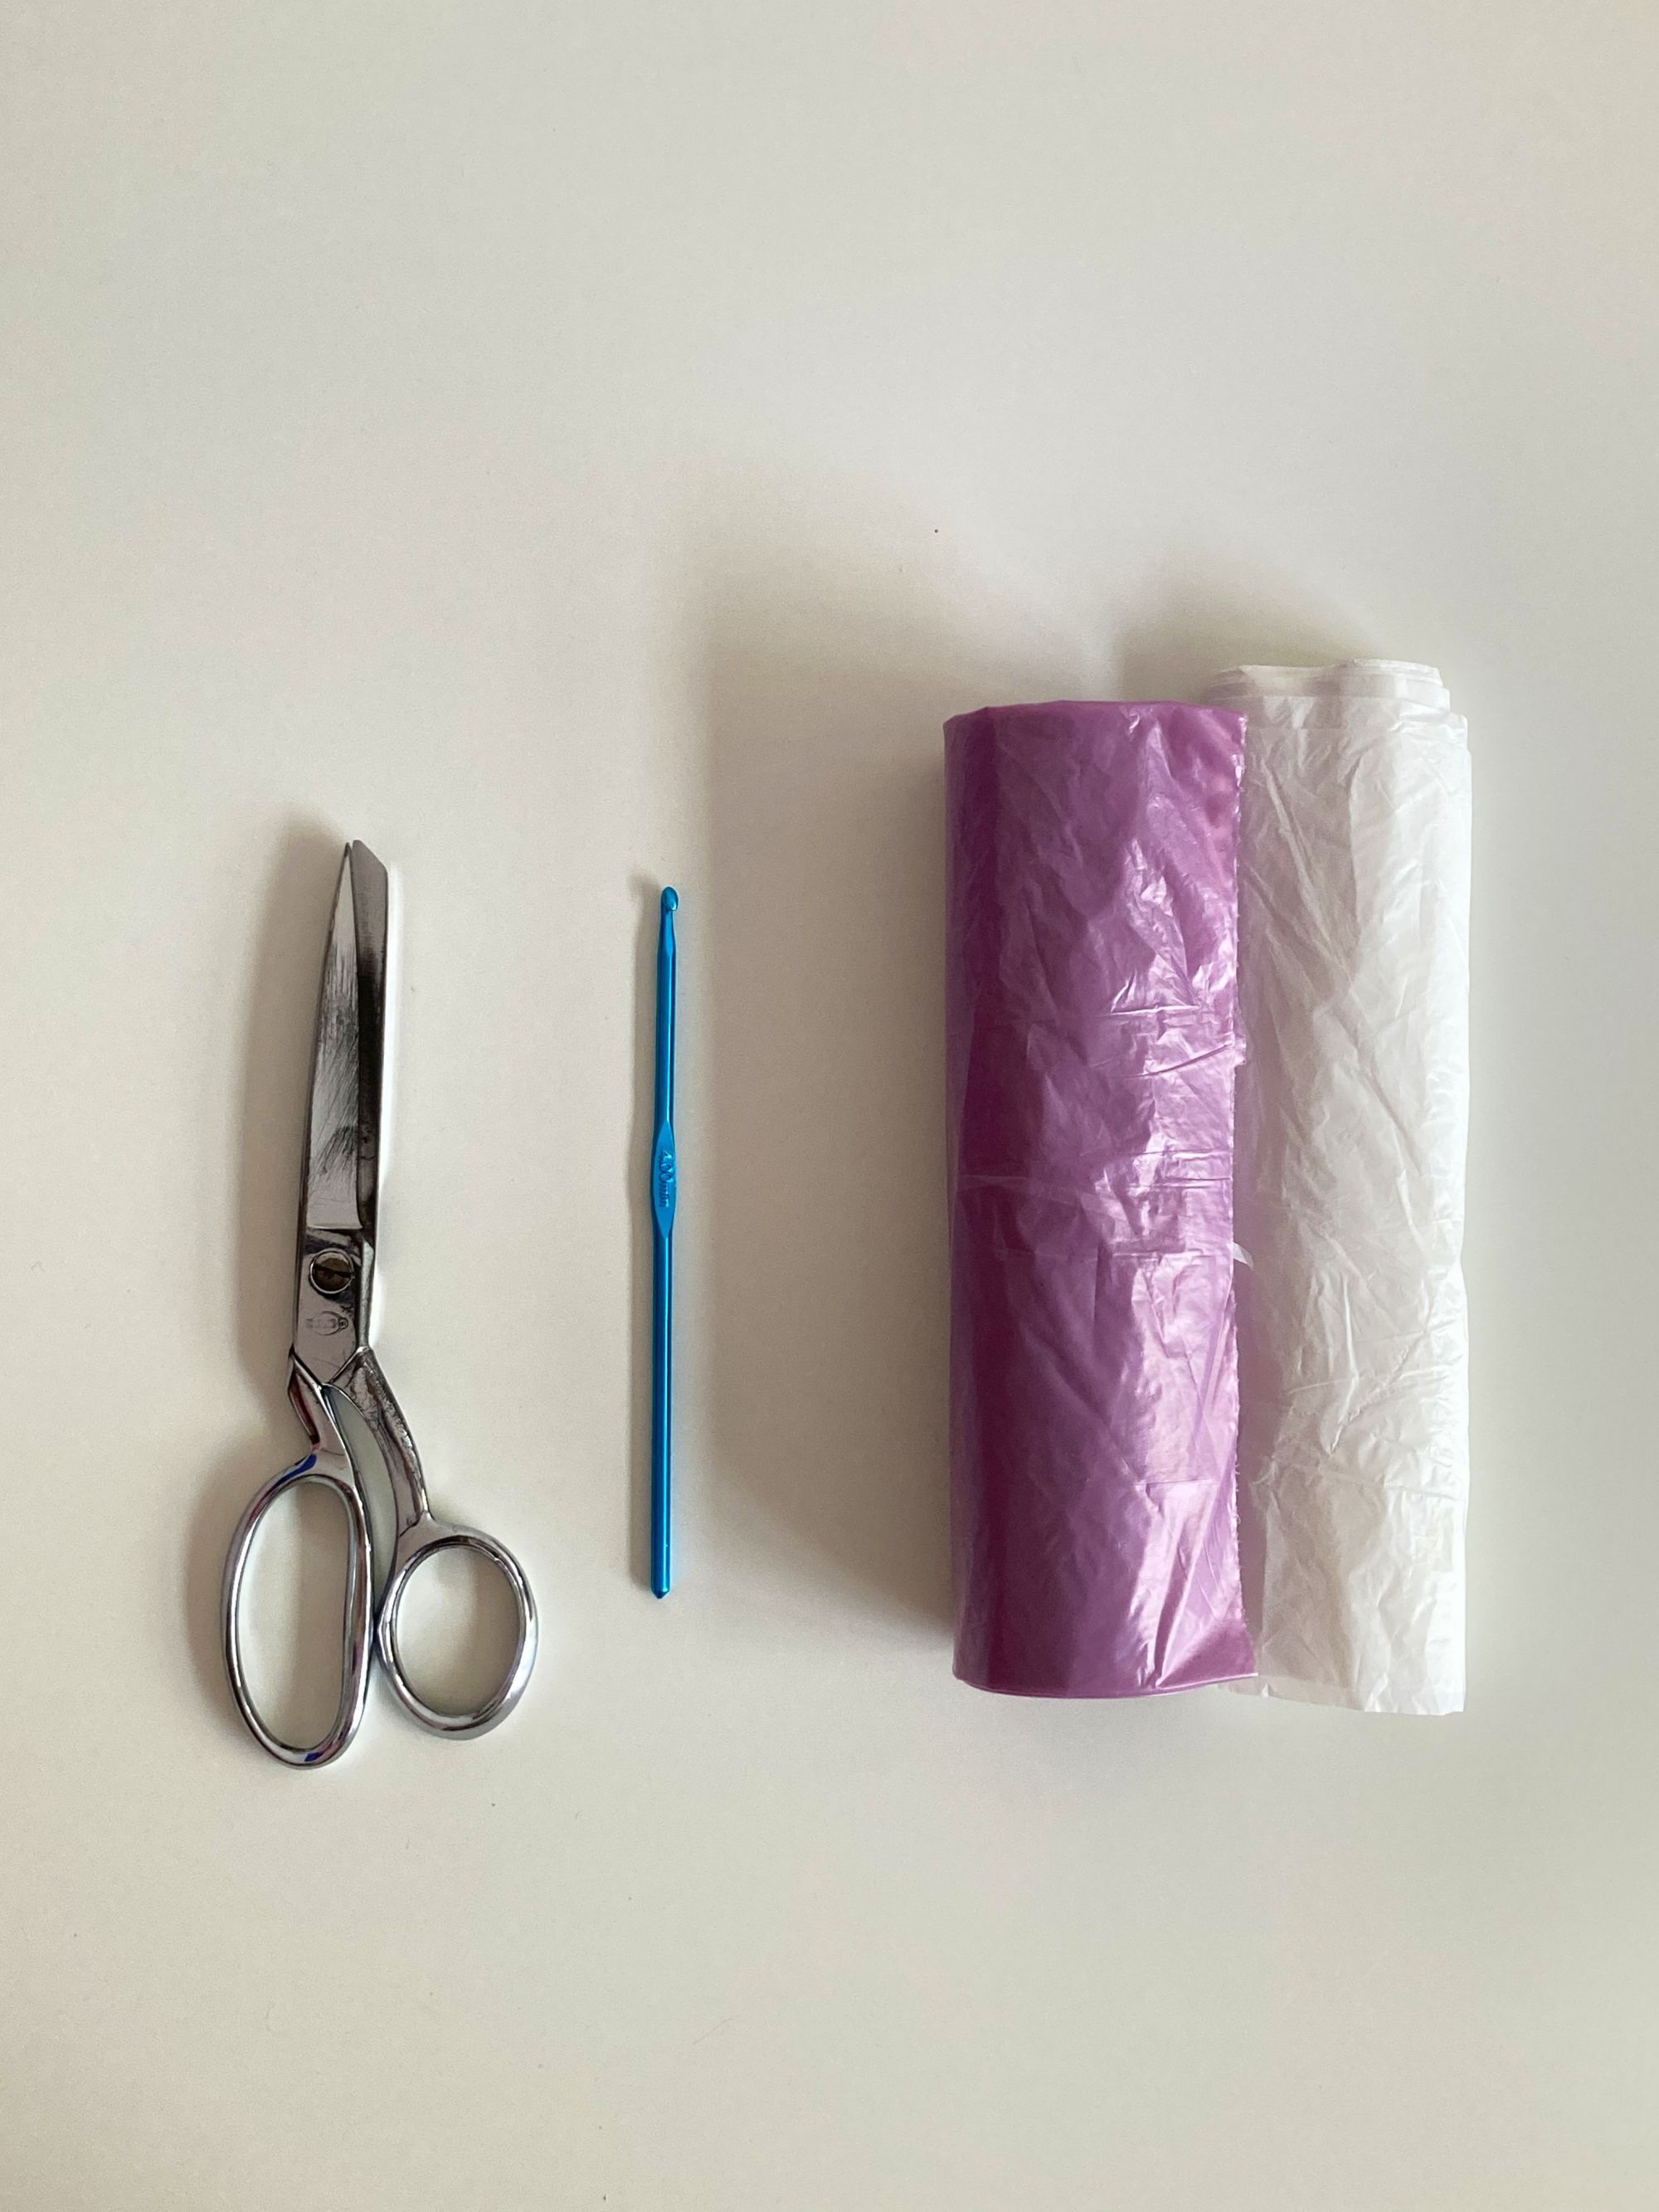
What you need:
A 5-6mm hook, 2 rolls of plastic bags and scissors.
STEP 1
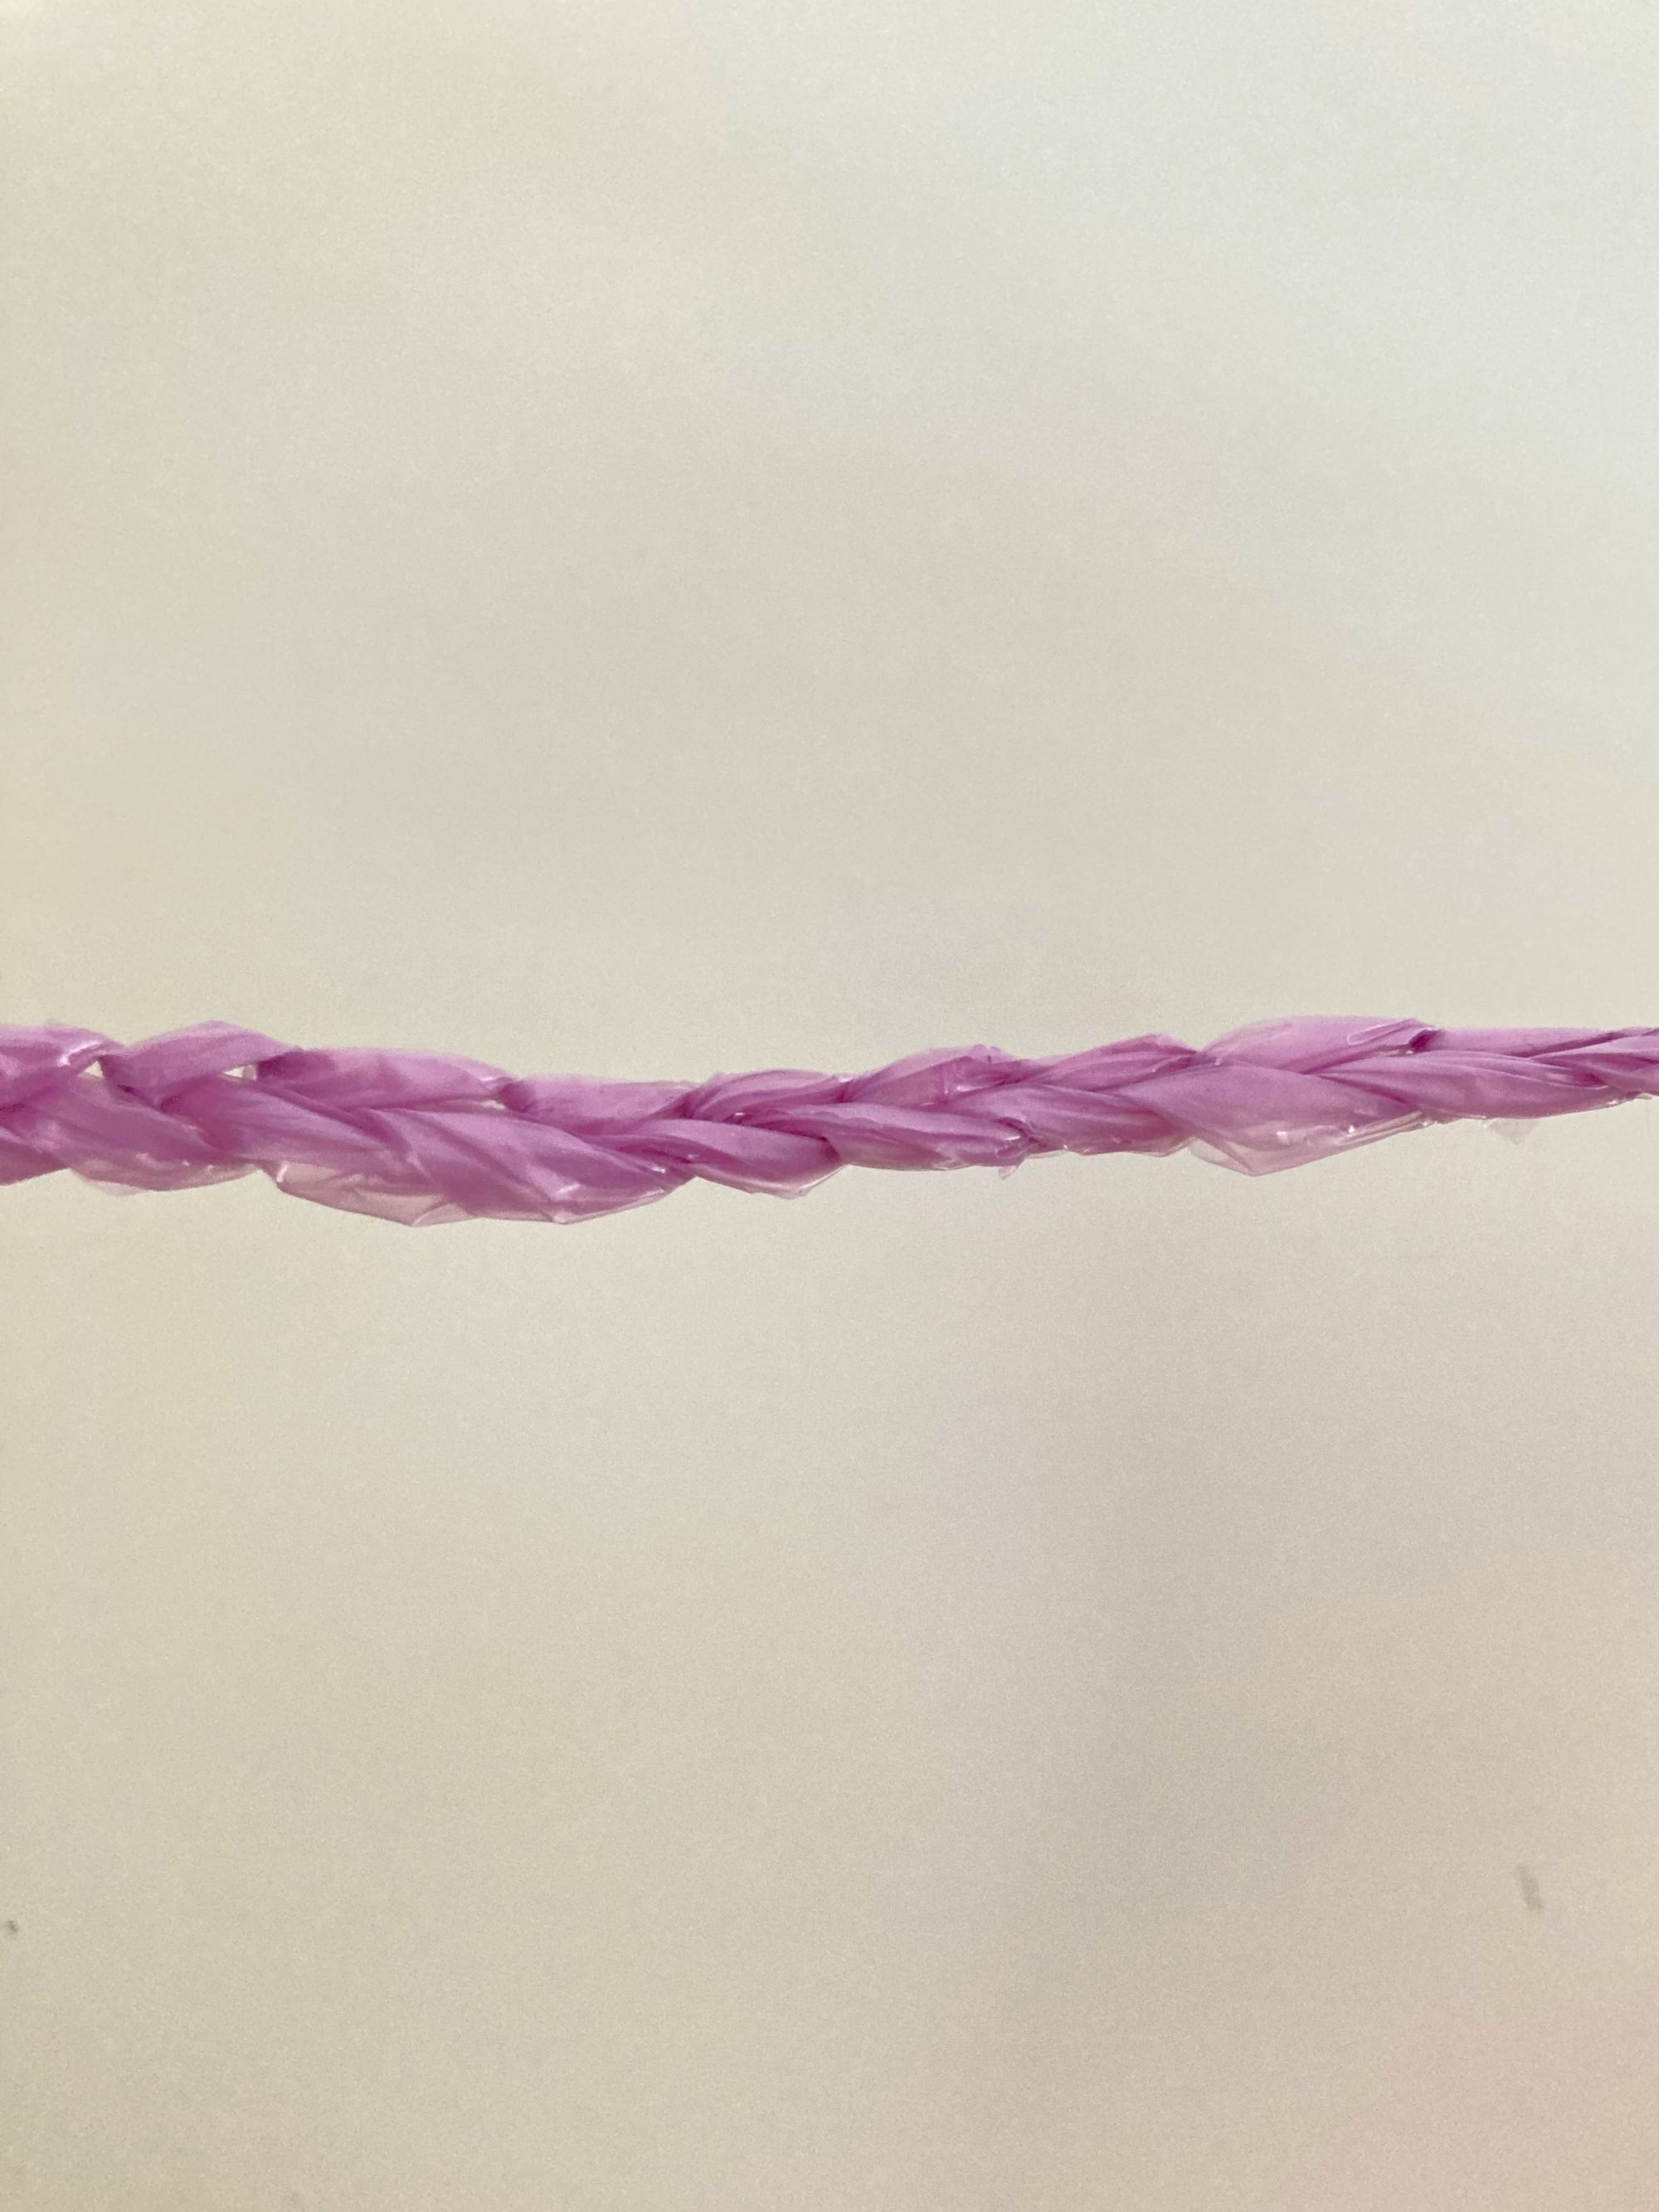
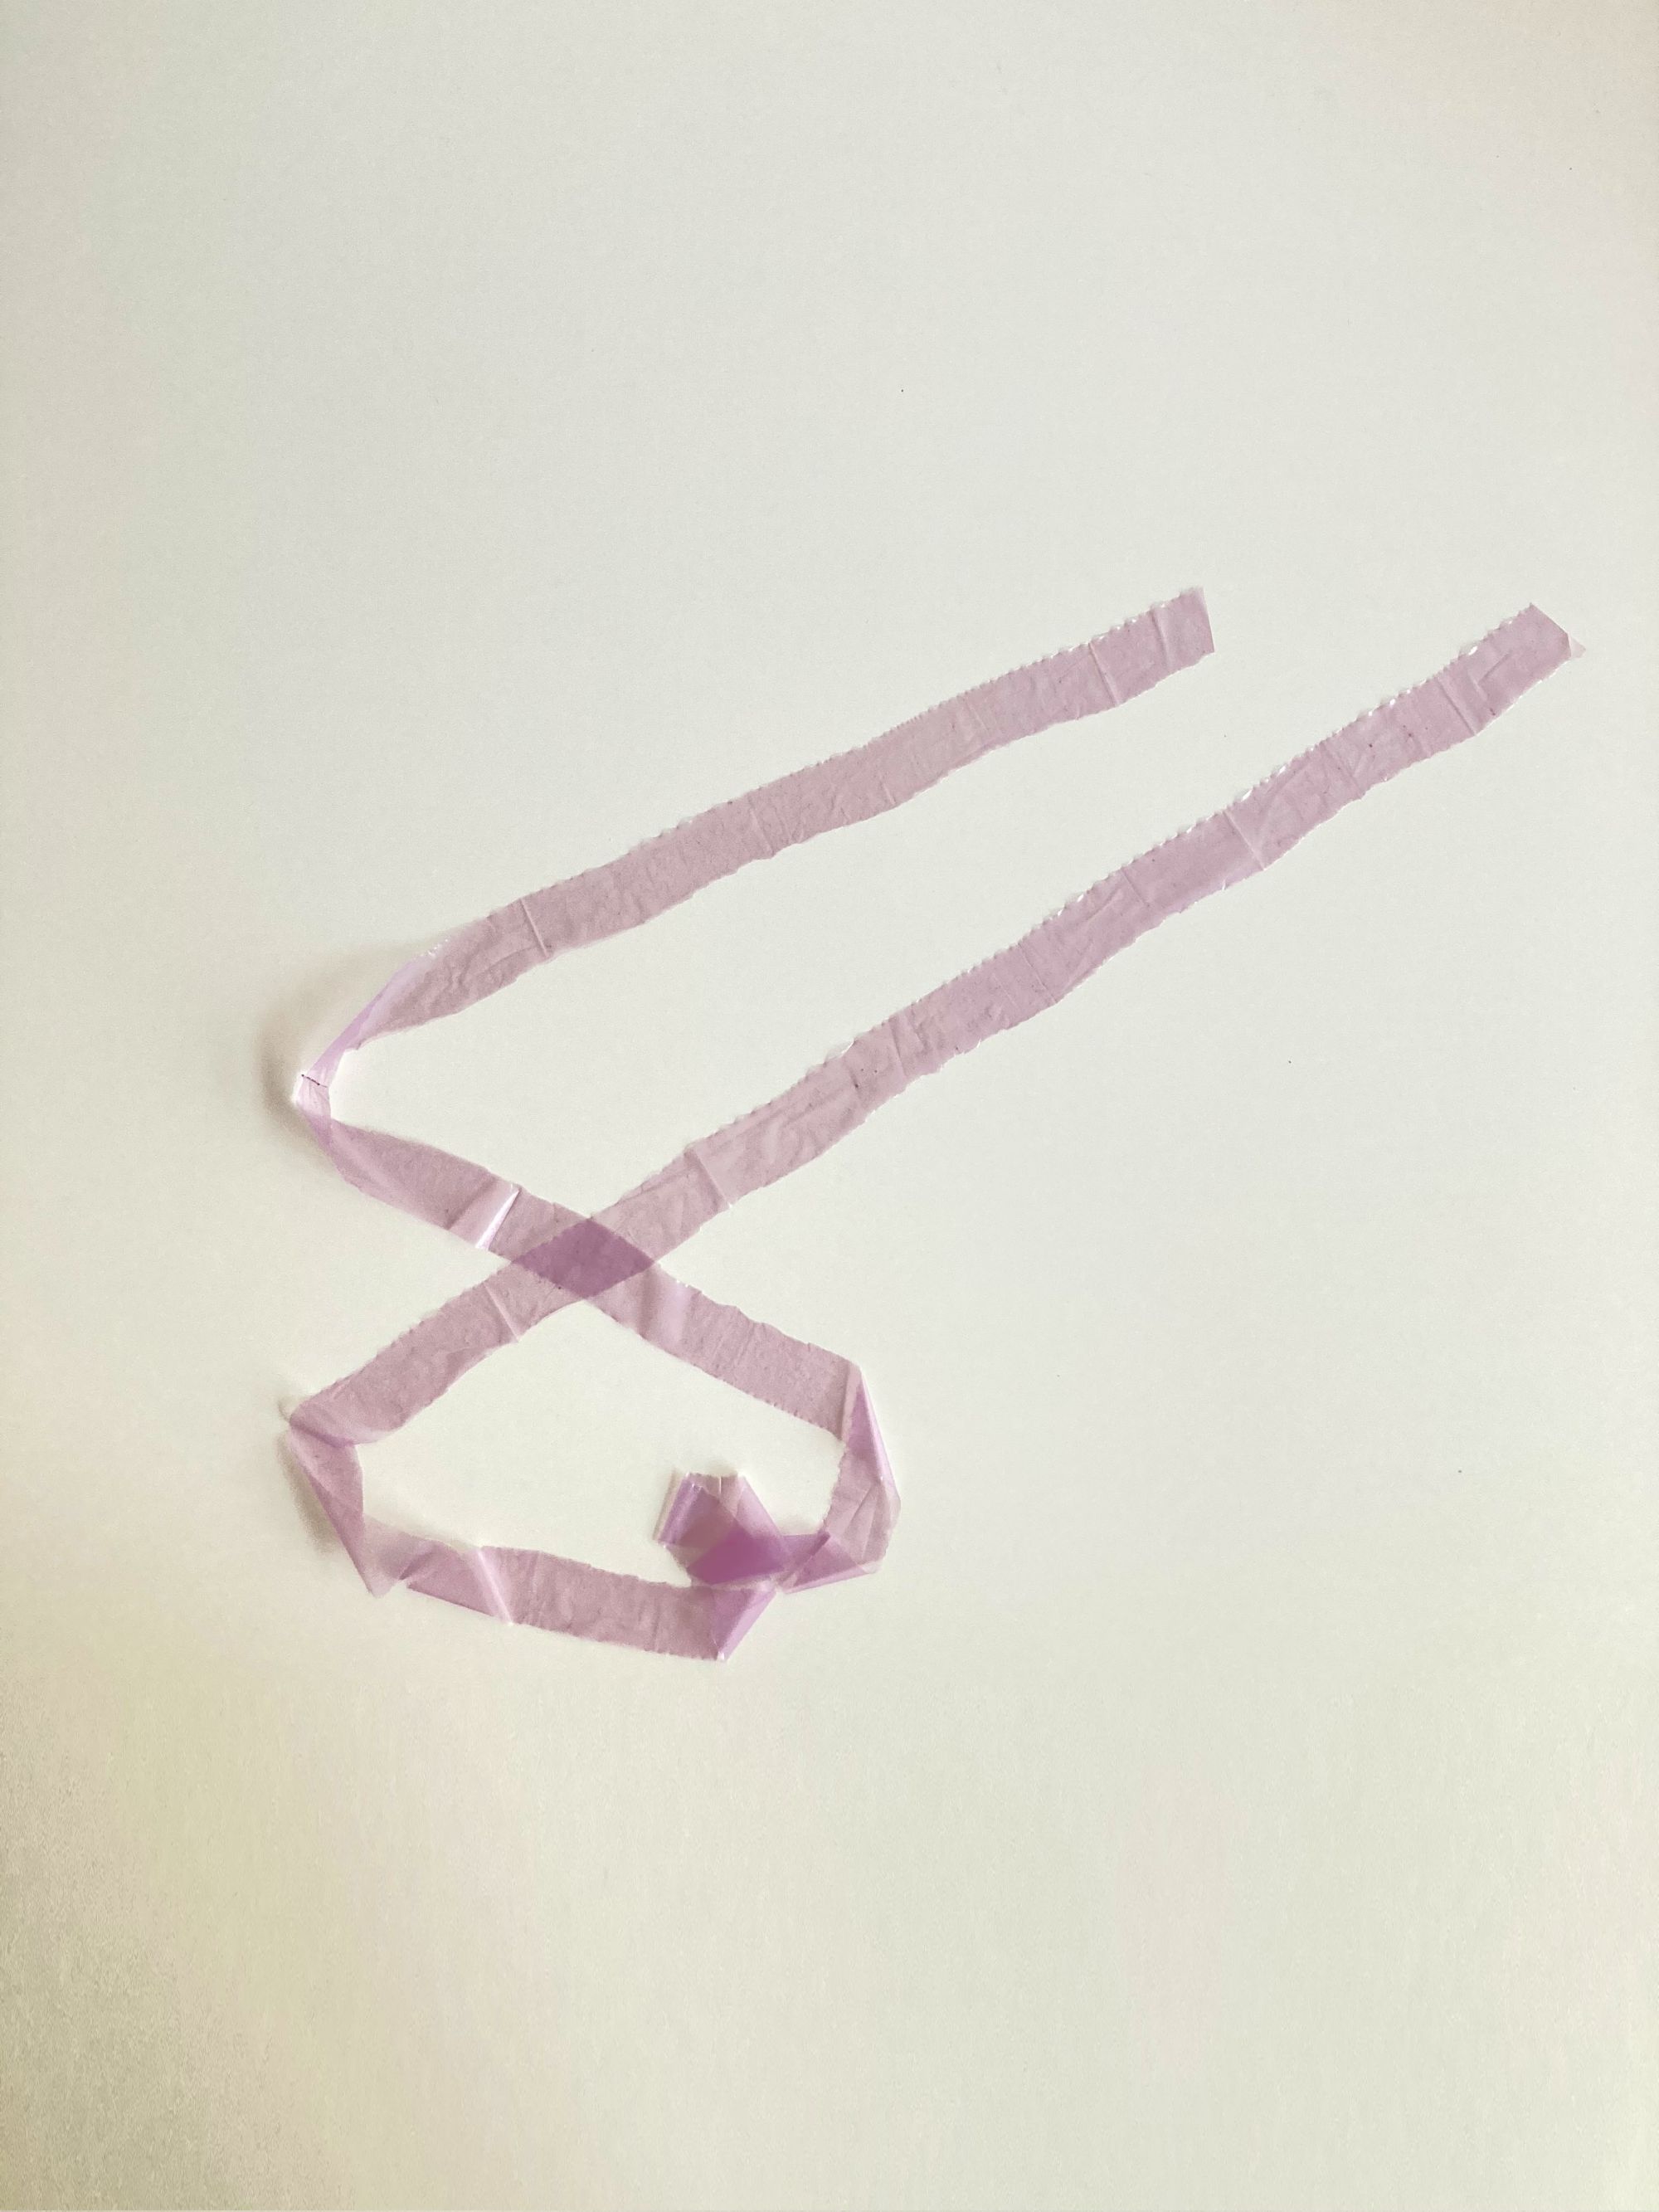
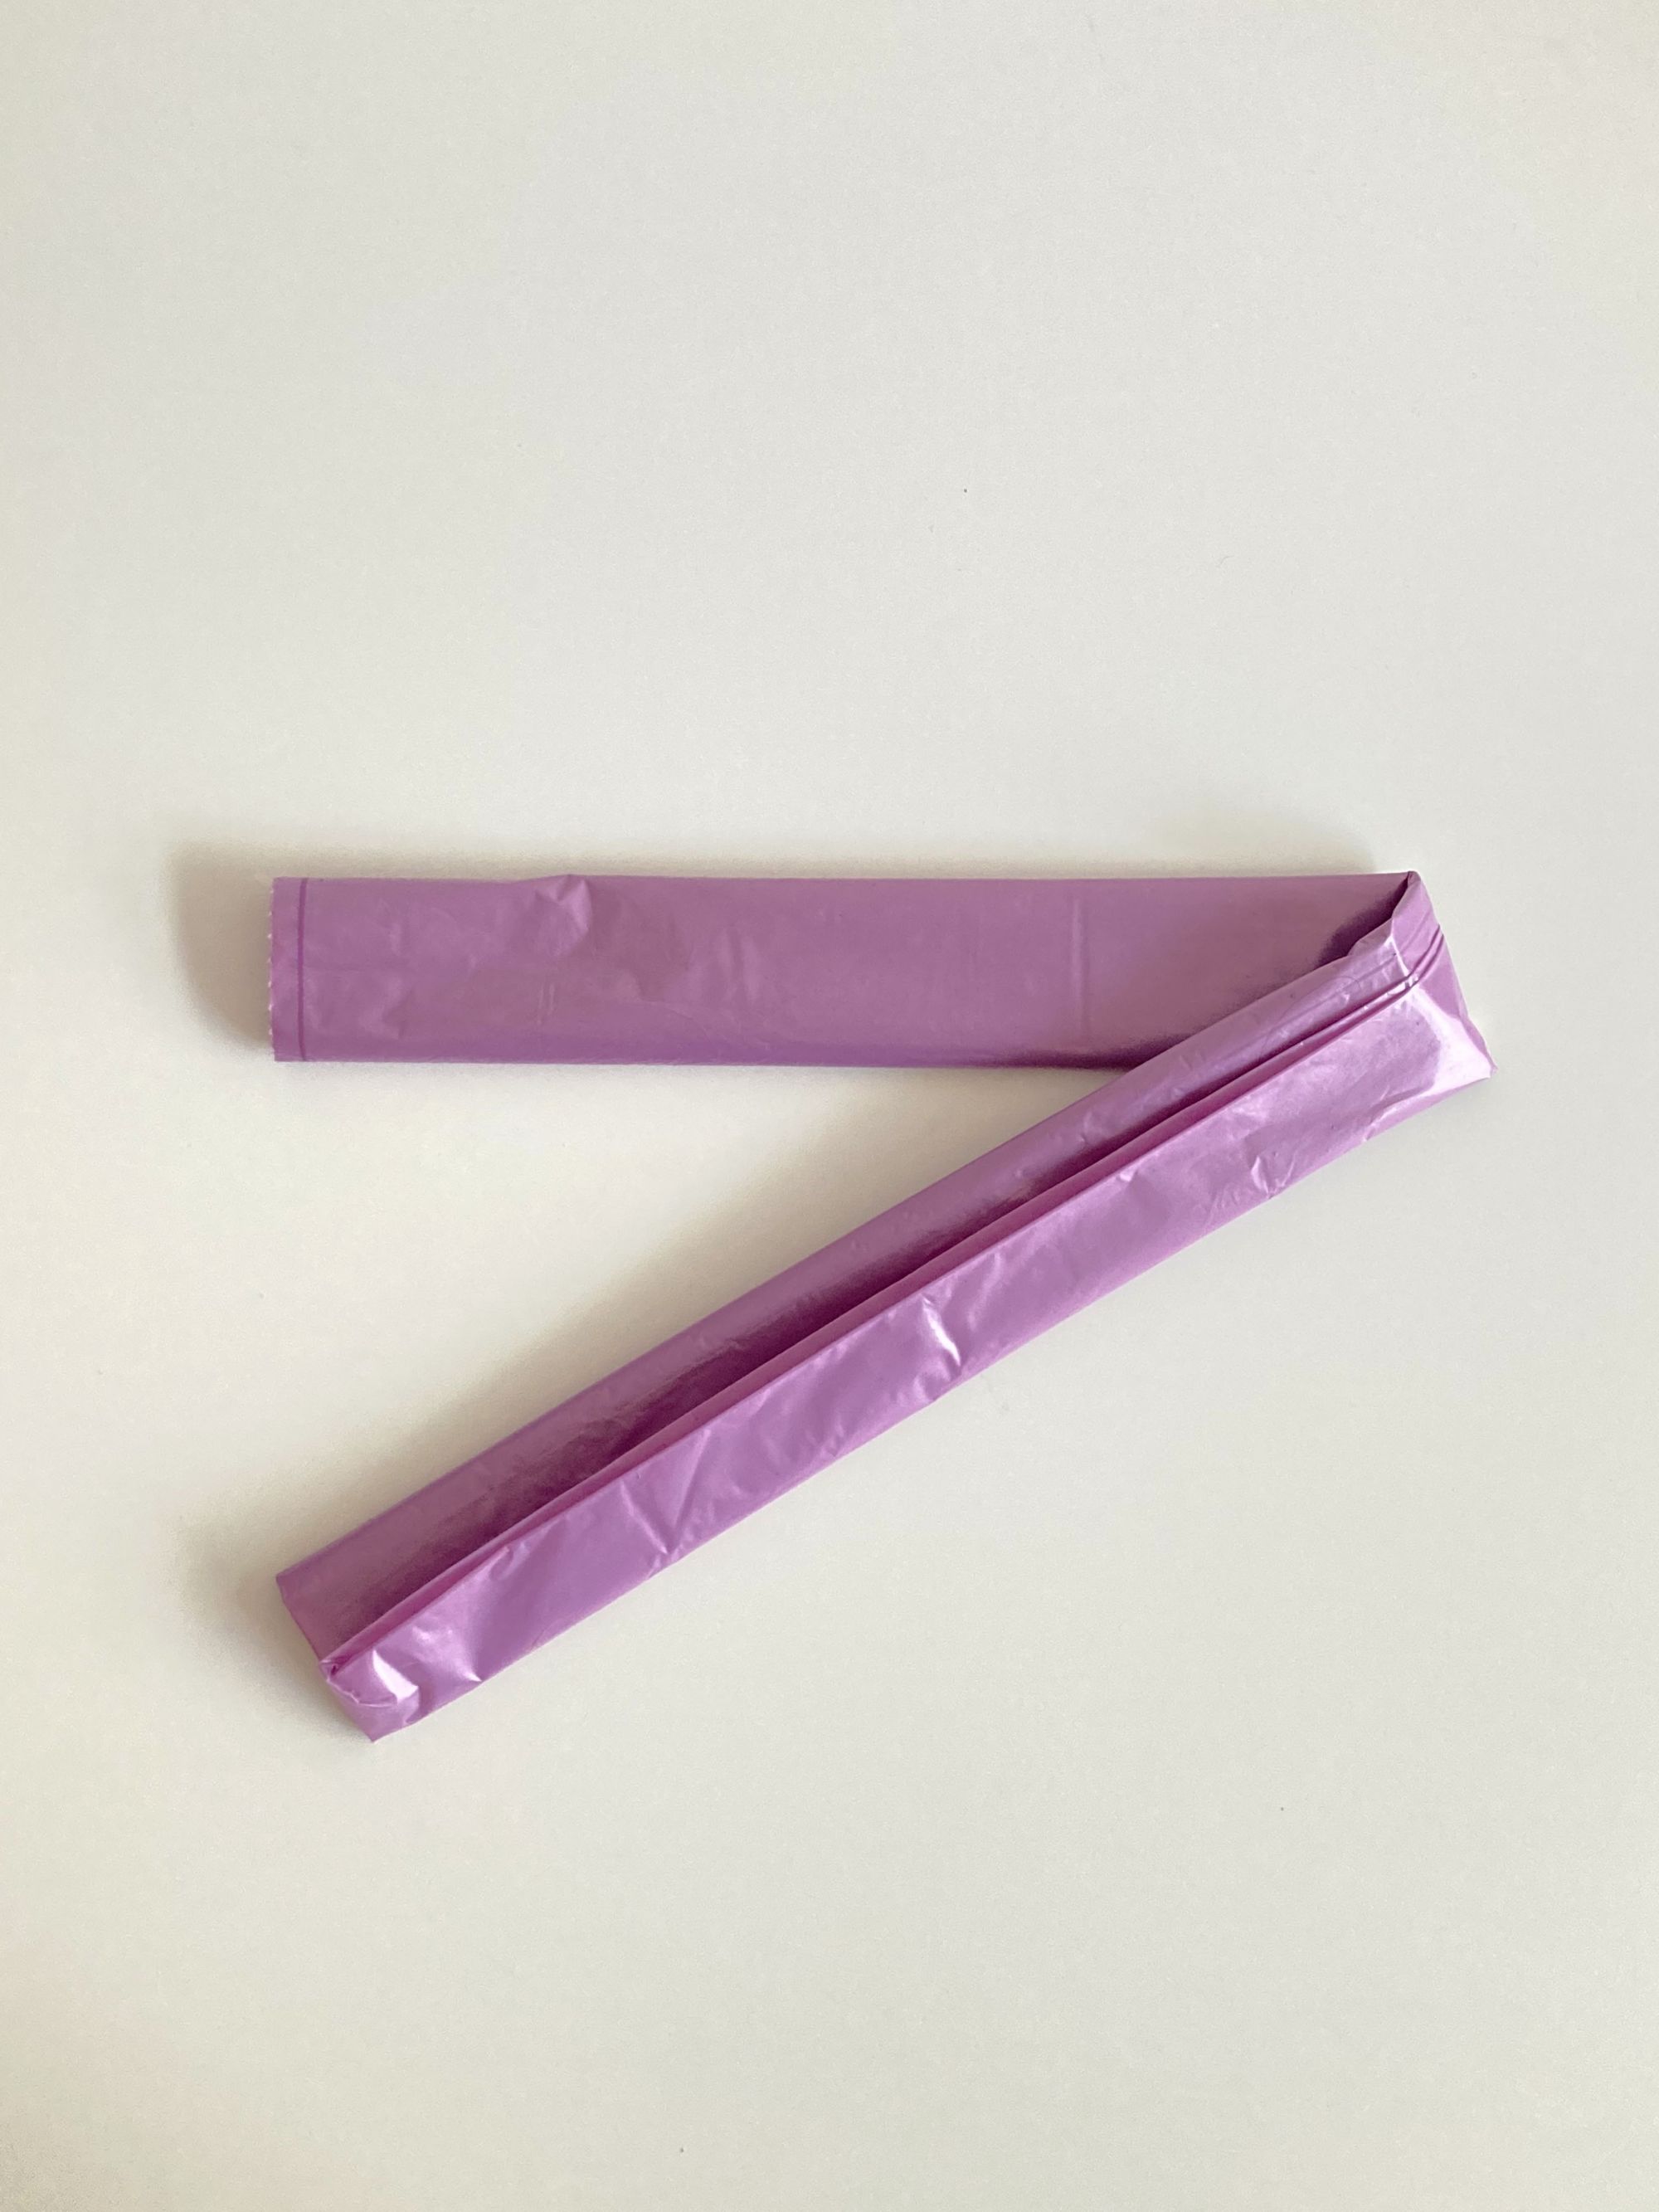
Start by detaching all the envelopes from the roll. Take one and fold it from the long side; try to make folds of about 3-4 cm. In the end, you will get a rectangle as long as the long side of the envelope and as tall as the fold itself. Fold the rectangle in half lengthwise and cut strips of about 2 cm. Take a strip, open it and cut it in half. Repeat the same operation for all the others.
STEP 2
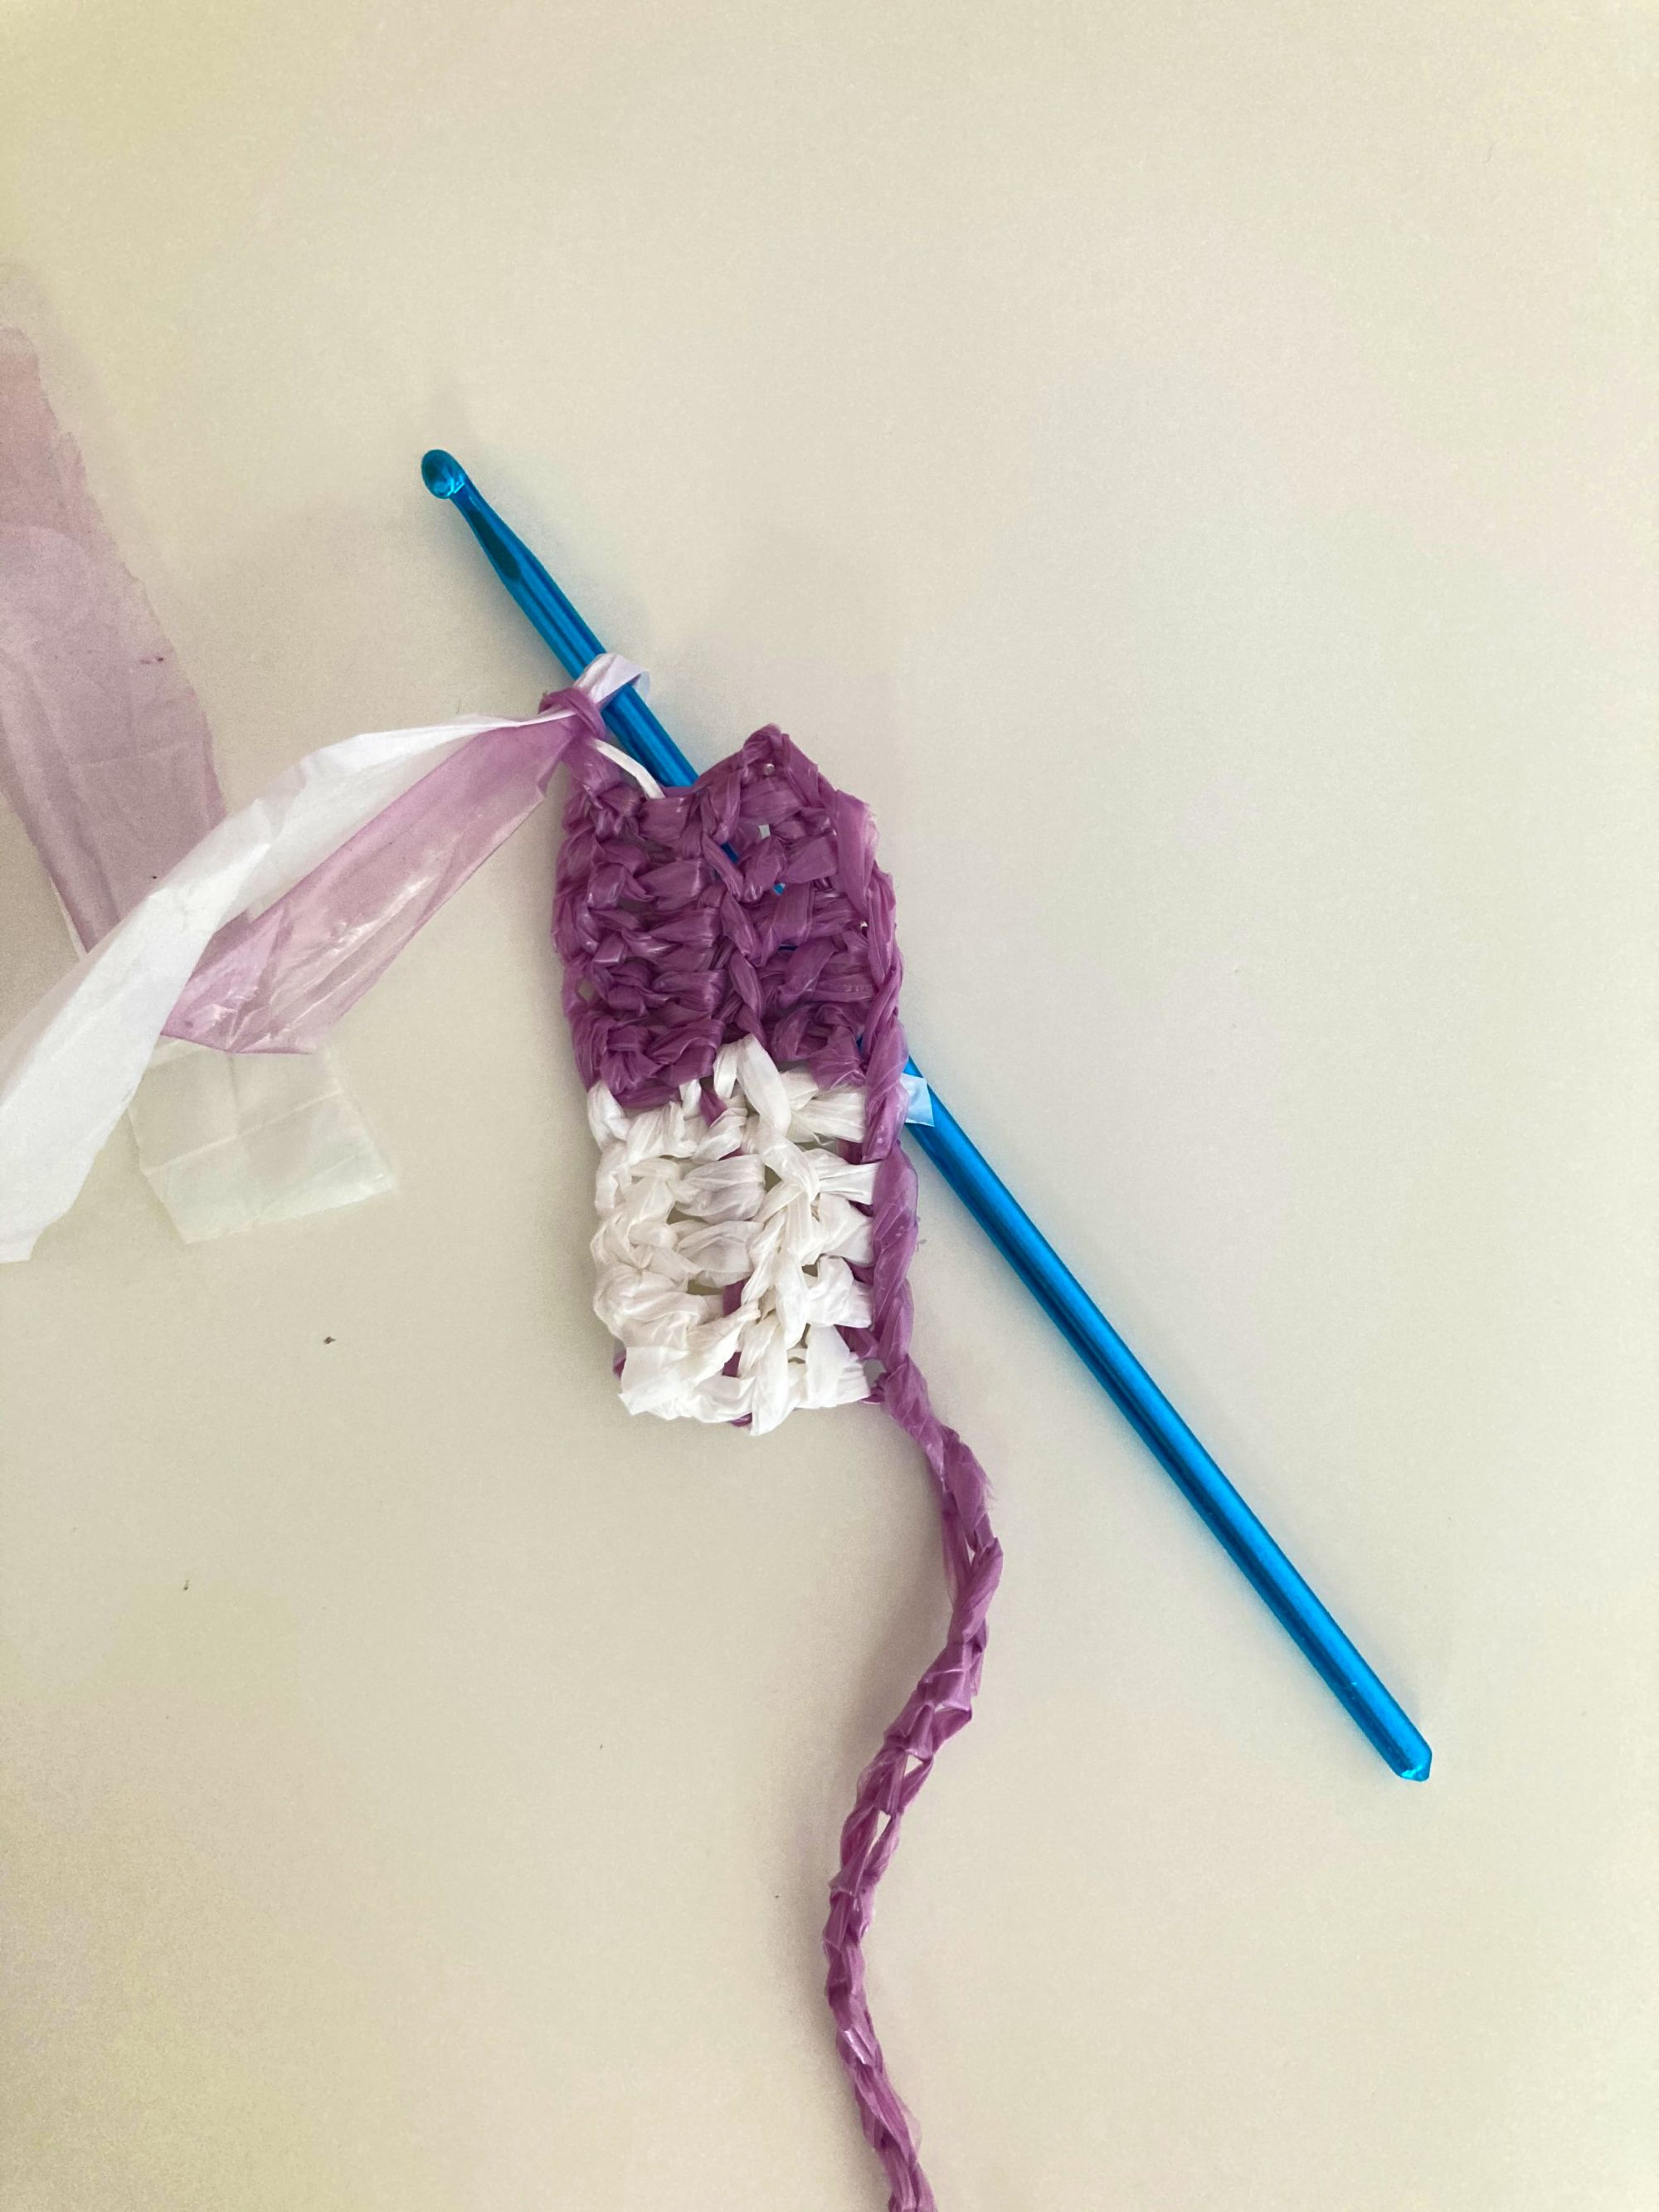
To create a continuous thread, tie the ends of the strips together. In the case of a two-tone bag, do the same thing but with a second color. It's time to start working with the hook. Then take one of the two strips (thread) and start making a slip knot, which is created by tying one end of the thread on itself and tightening by pulling the free end, thus forming an eyelet in which to insert the hook. Once the hook has been inserted into the eyelet, it begins to "scroch" forming a cord of about 41 stitches.
STEP 3
When you reach the 41st stitch, make a double stitch, which is formed by skipping the first two stitches of the basic stitch and inserting the hook in the third chain. Continue until 5 double stitches are formed. Before making the fifth stitch, change the color of the stripe, then of the thread, to create a two-tone pattern. Form 5 more treble crochets, making sure that the yarn of the other color is hidden by the main stitches, in order to have a super clean job. Repeat the operation many times depending on the size you want to give to your bag; create both the front and the back equally.
STEP 4
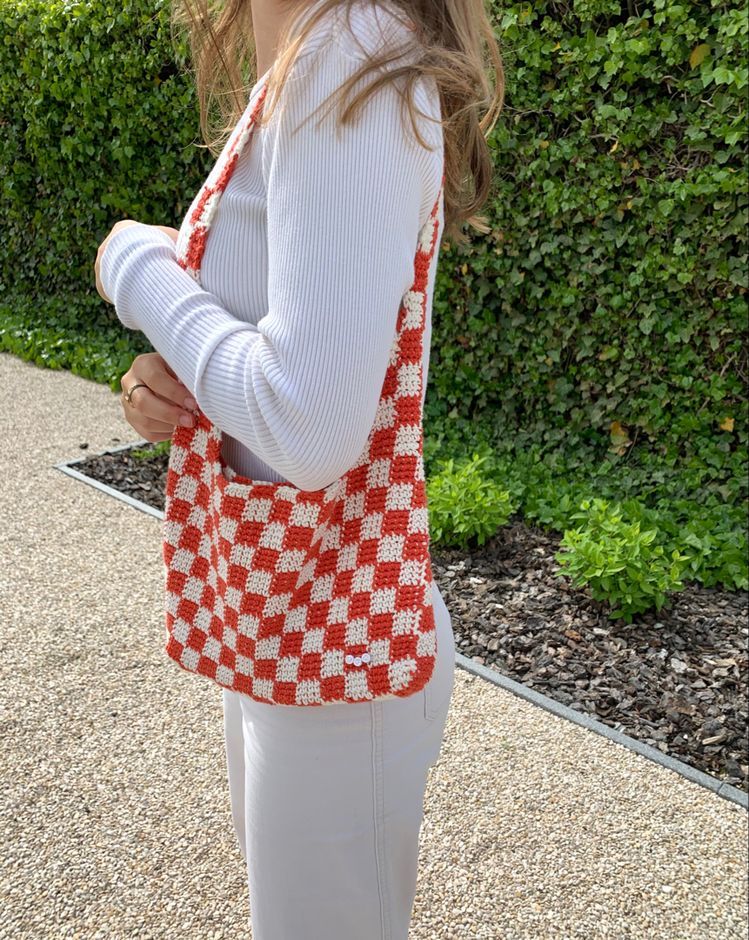
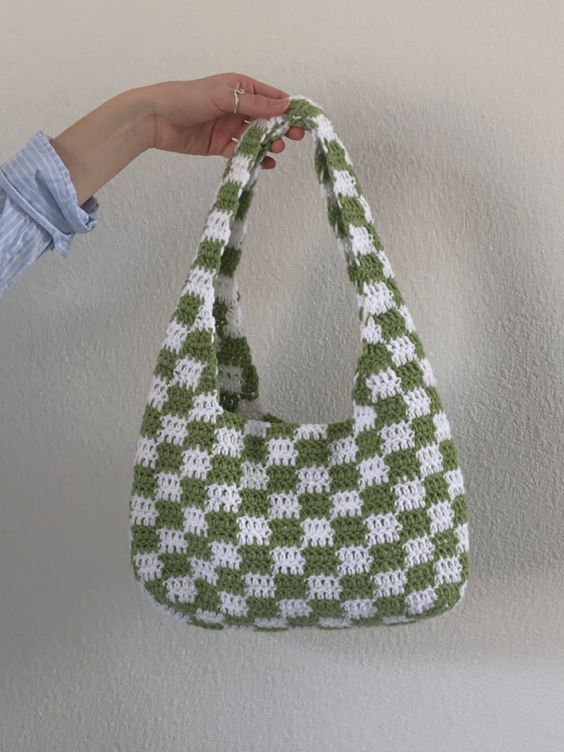
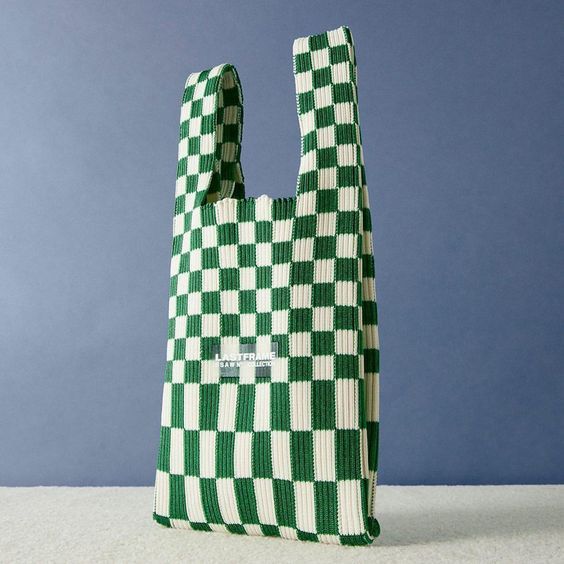
Join the back and front, thus creating the main body of the bag; the one in the example is about 16 cm X 20 cm, with a 4X8 checkerboard pattern. To create the handles, just start the work again by attaching to the main body, and continue with double crochets. Repeat the same thing on the opposite side and join the two handles. Now you just have to wear it!