


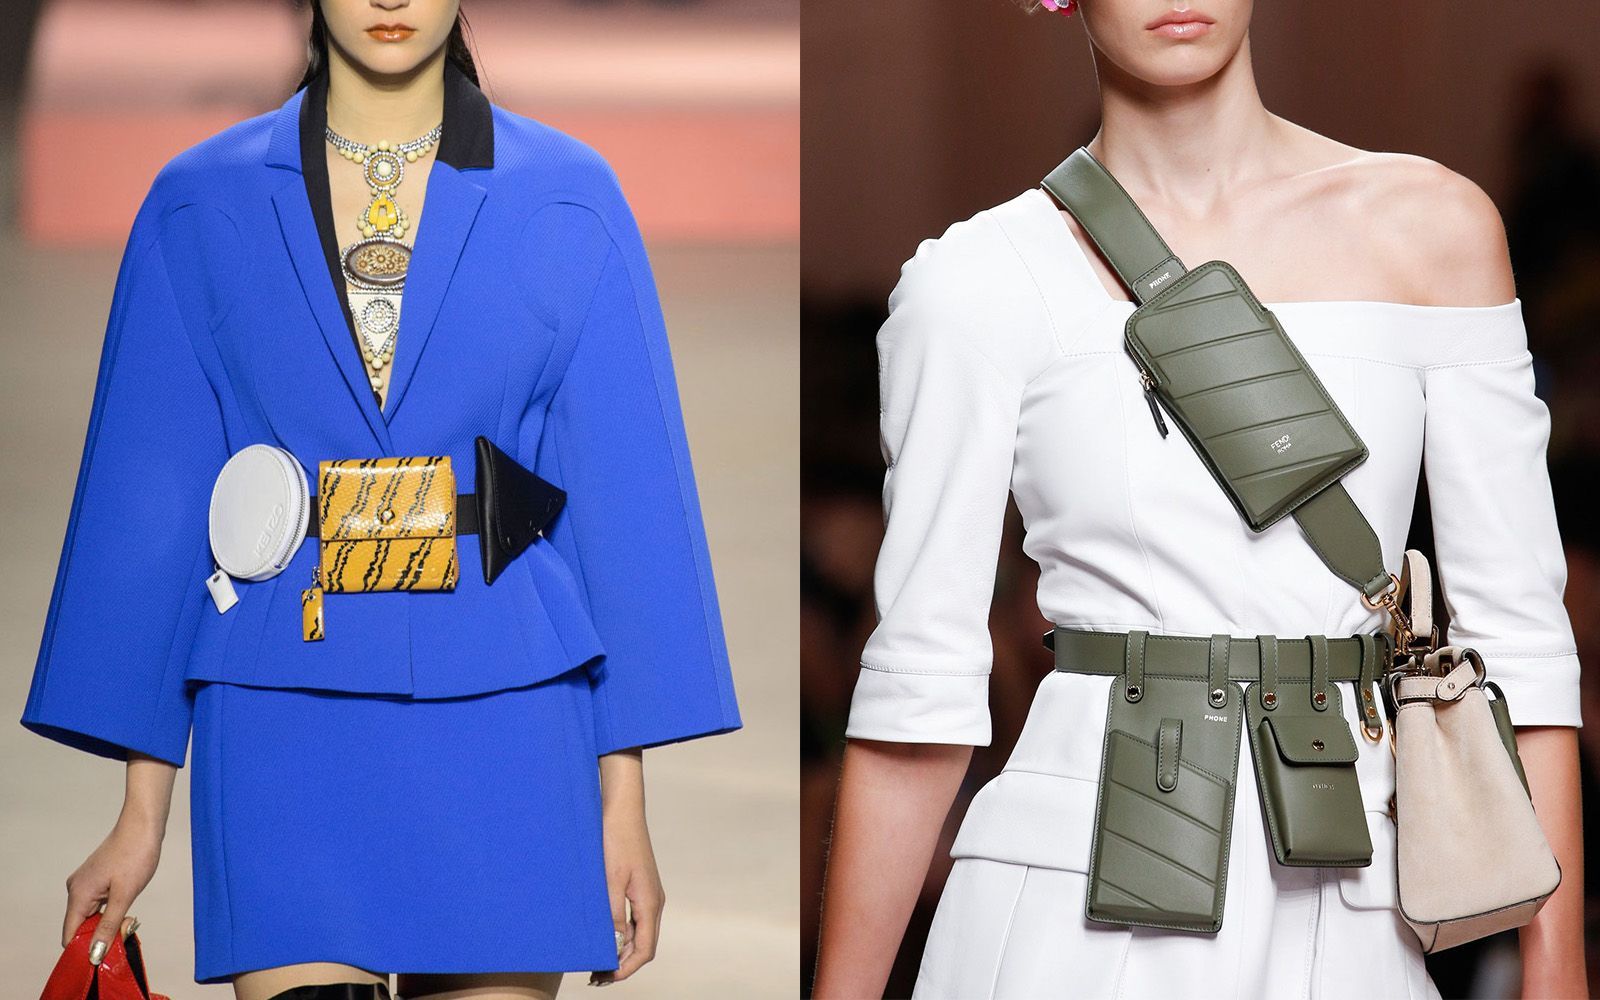
5 steps to create an eco-friendly and super cool belt bag An old belt turns into your next must-have accessory
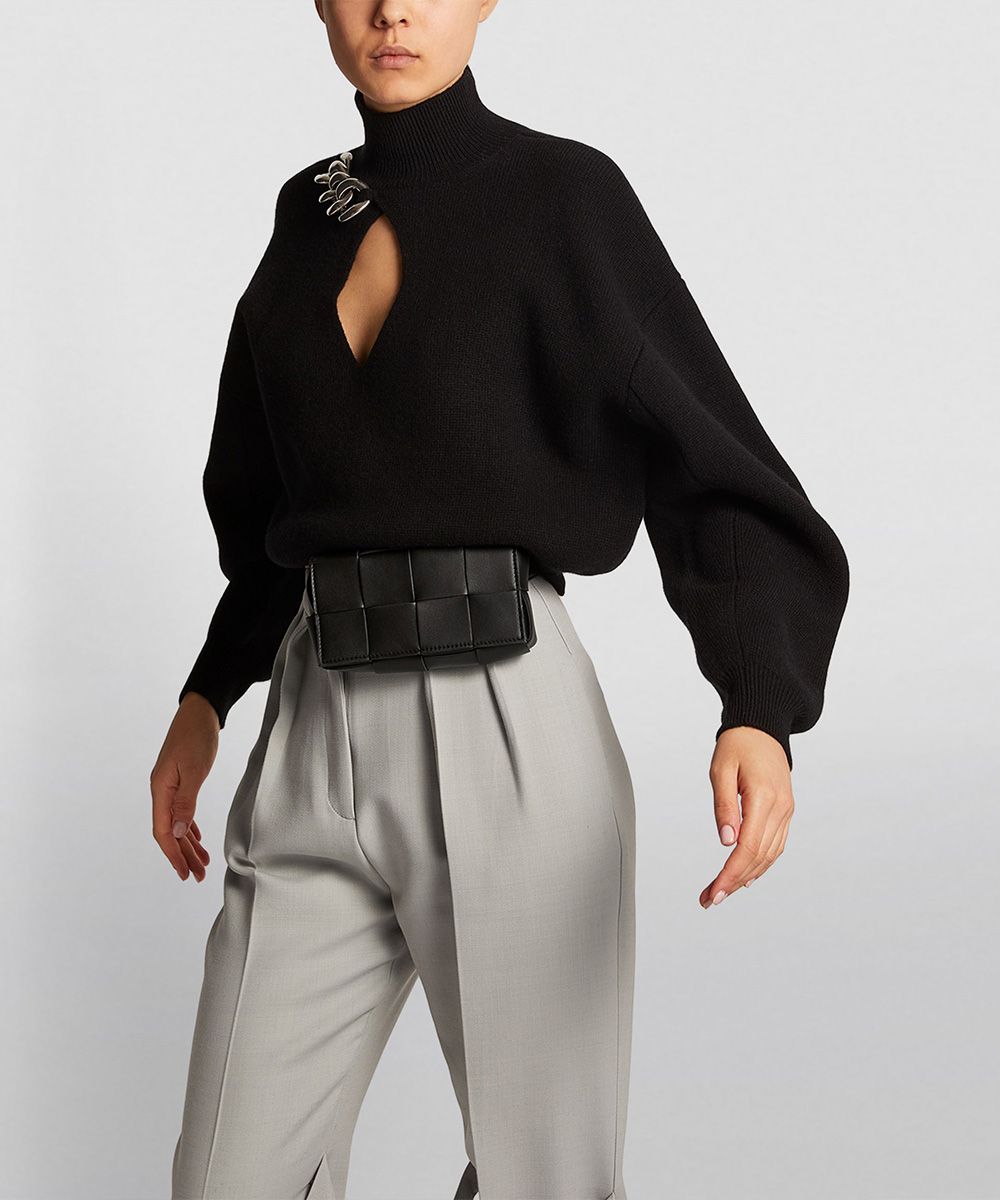
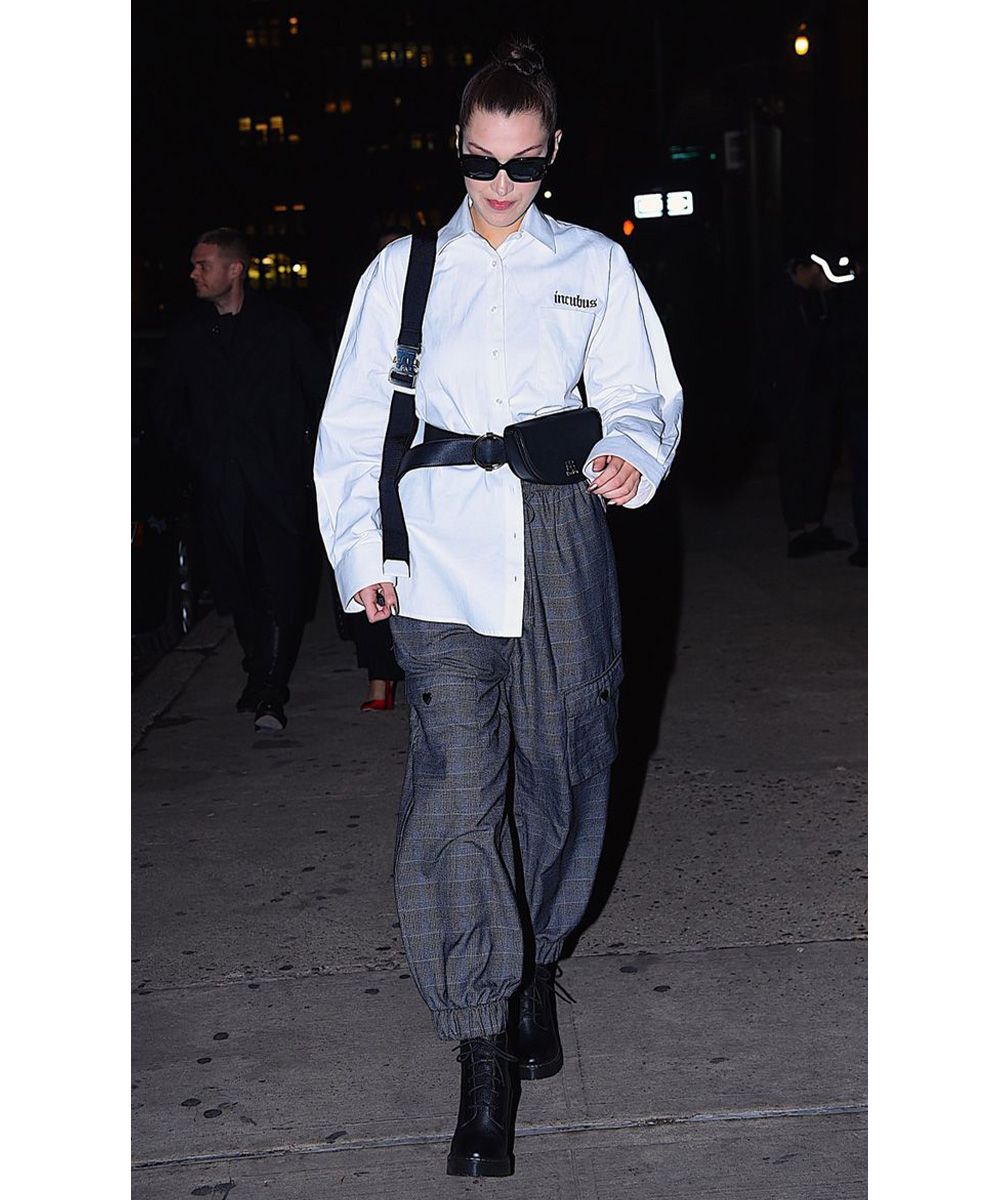
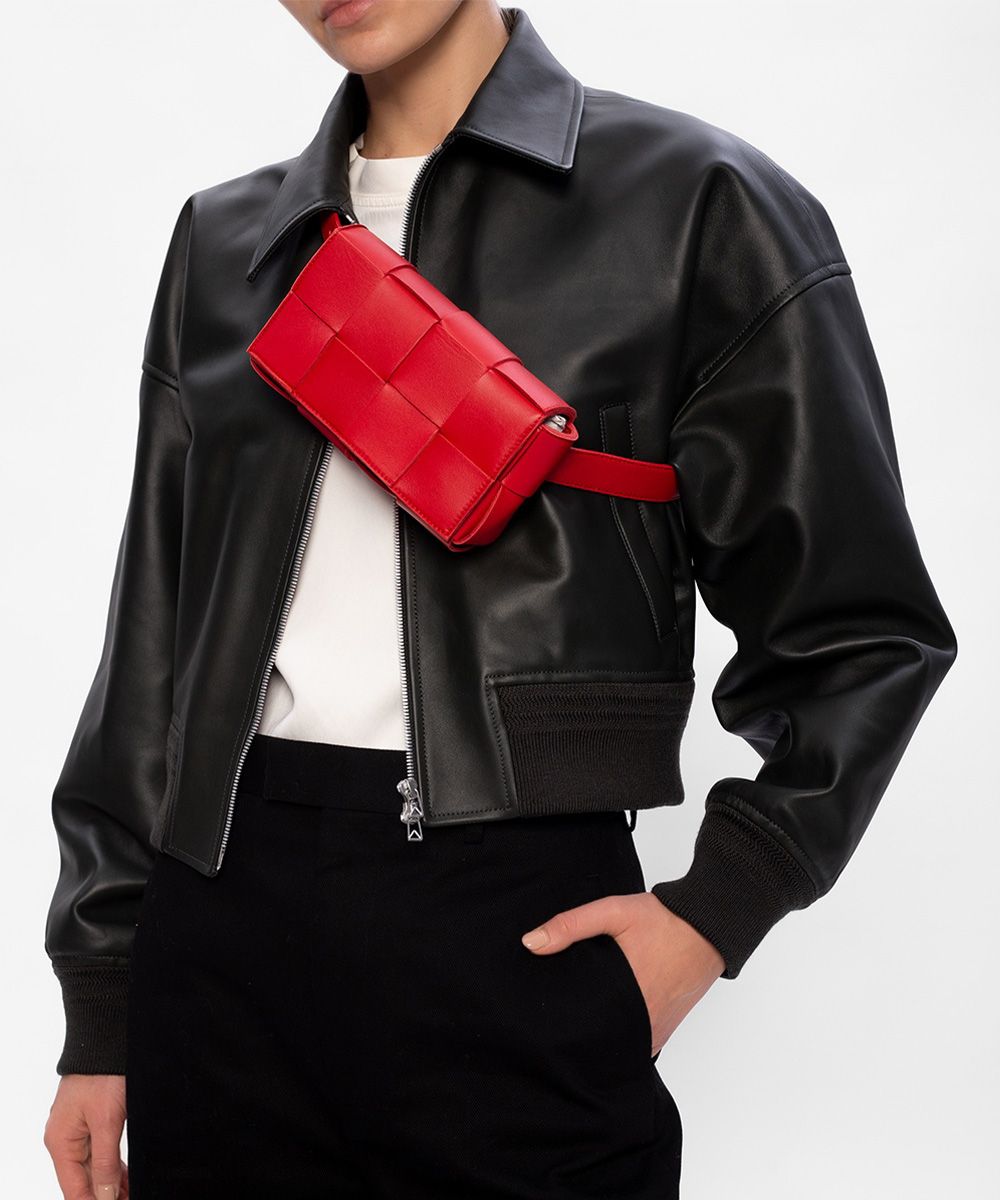

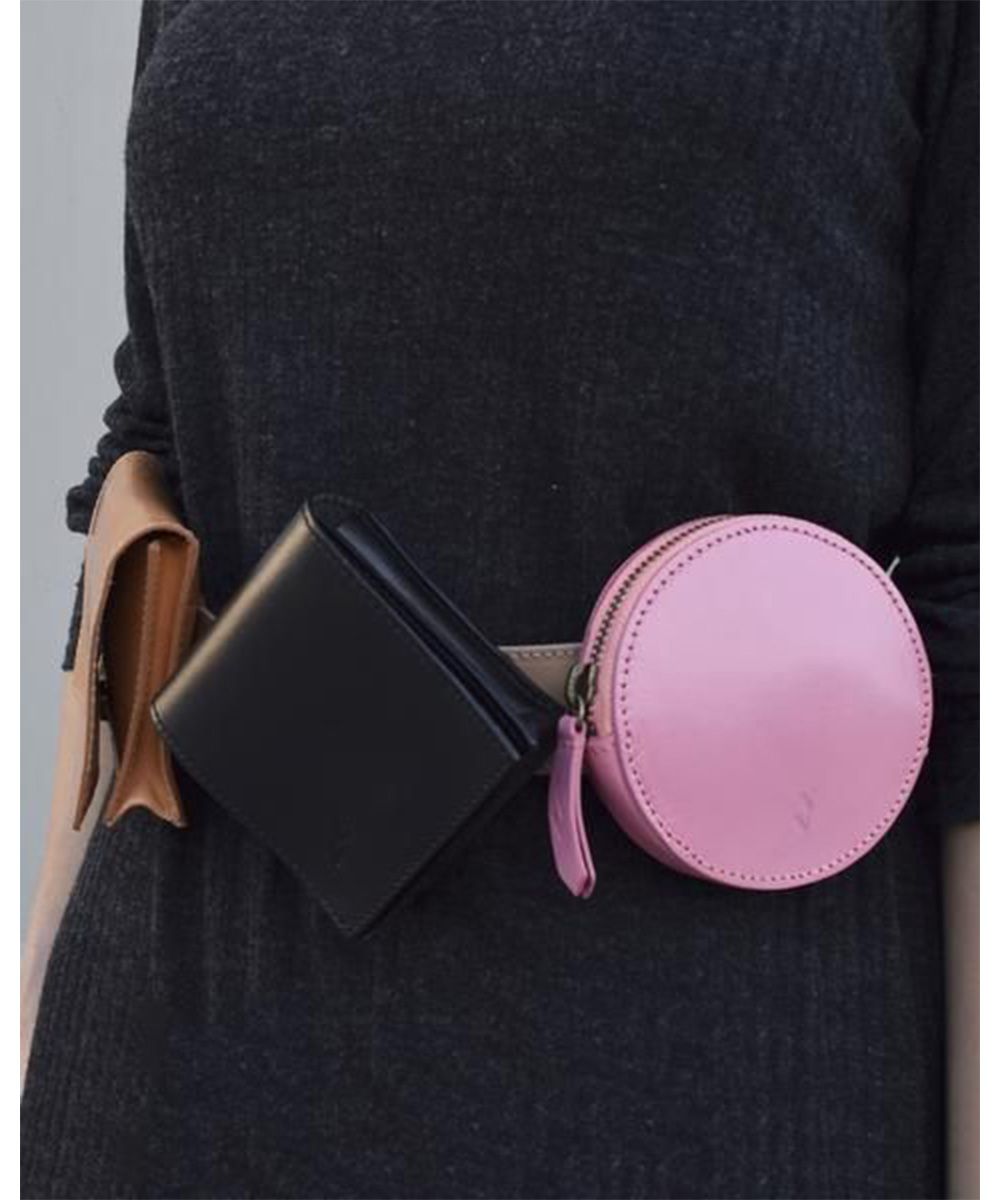
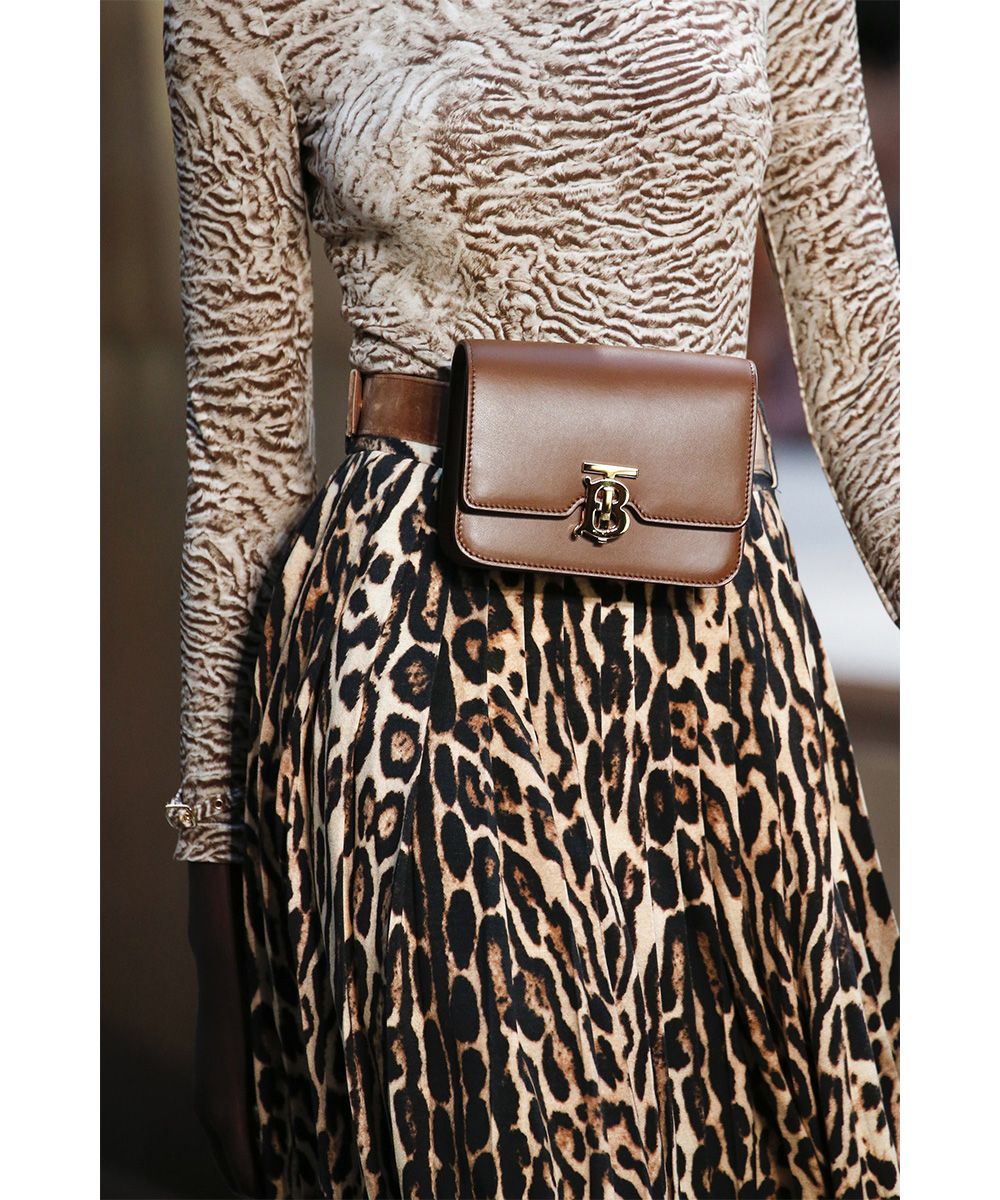
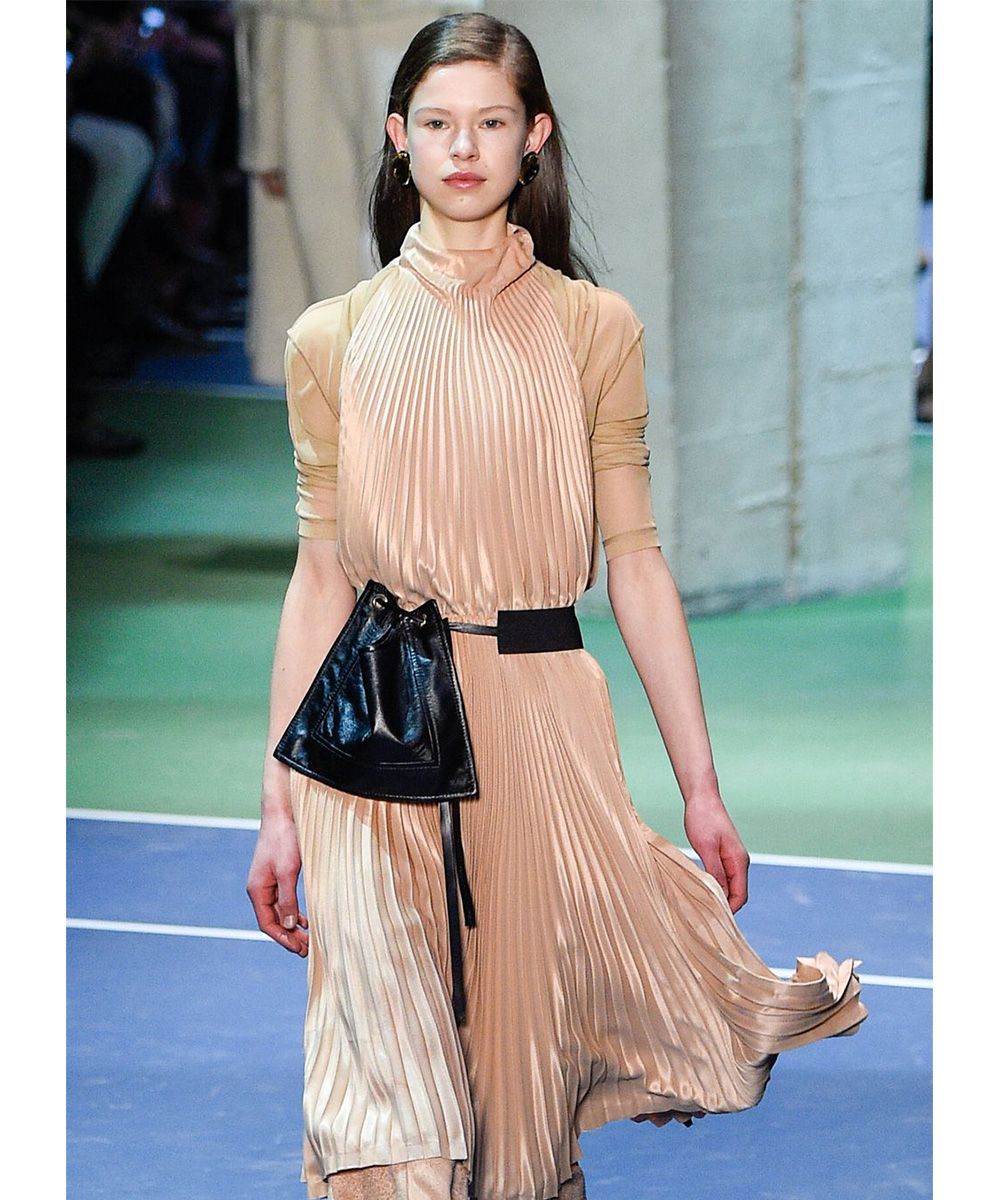
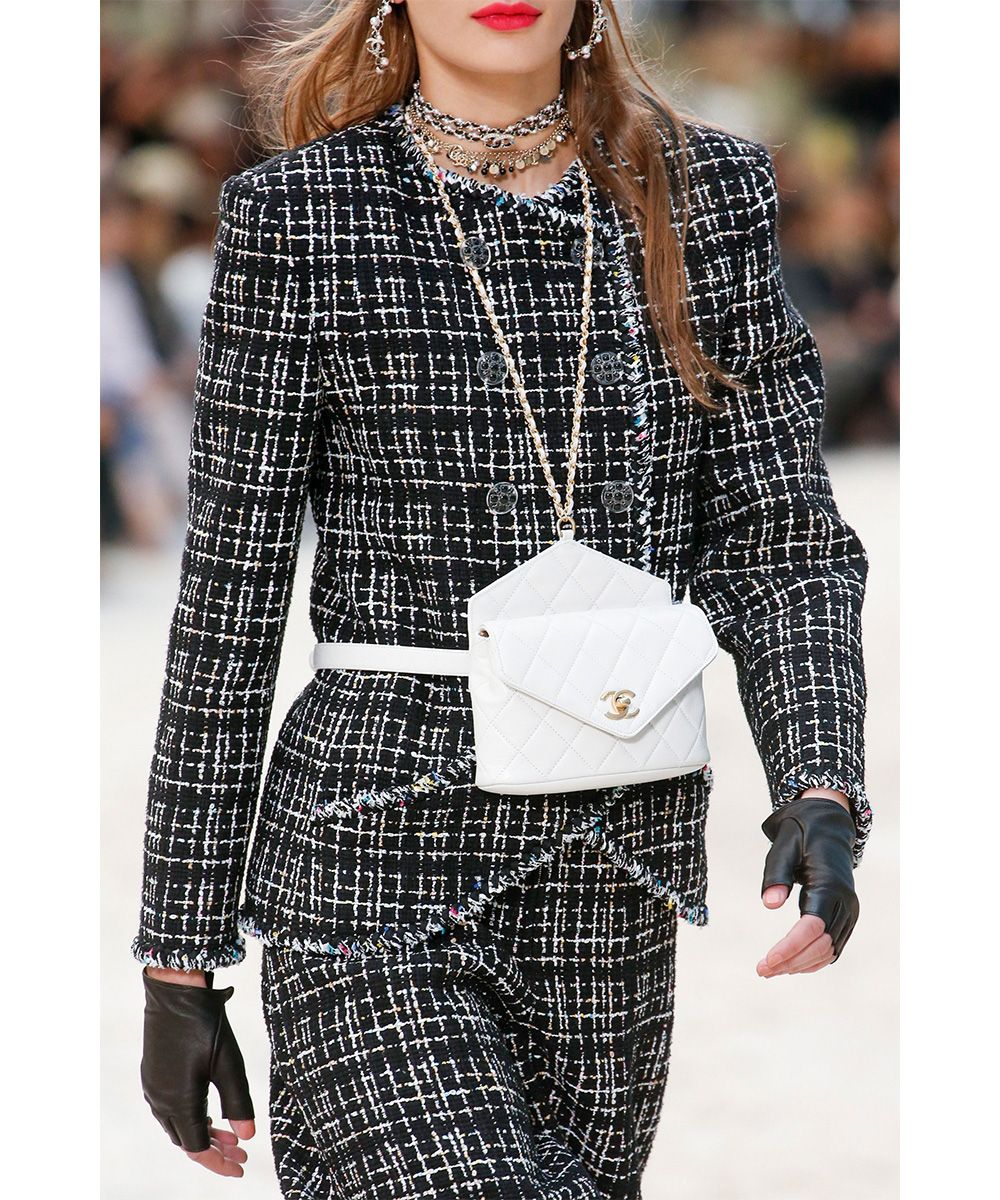
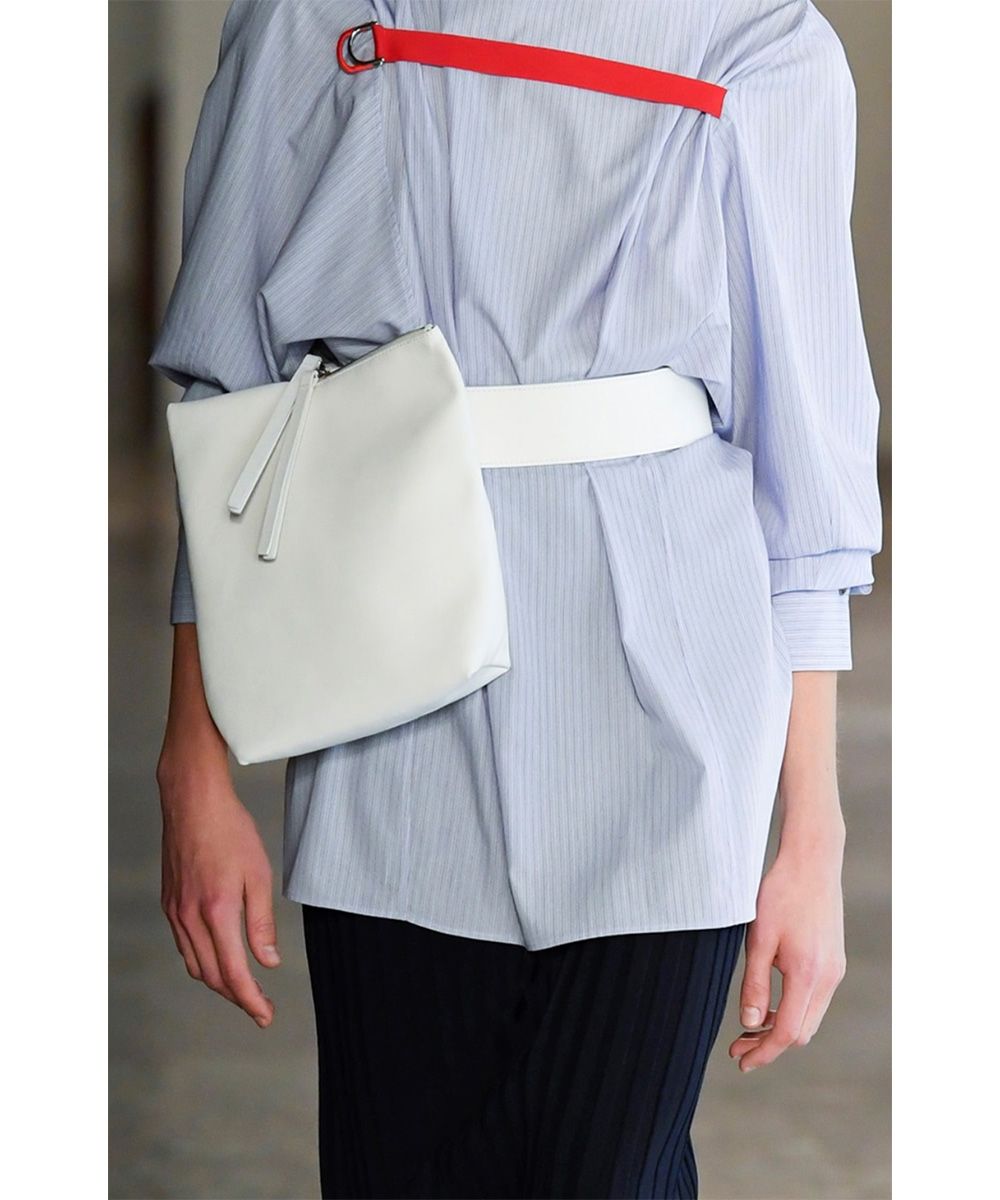
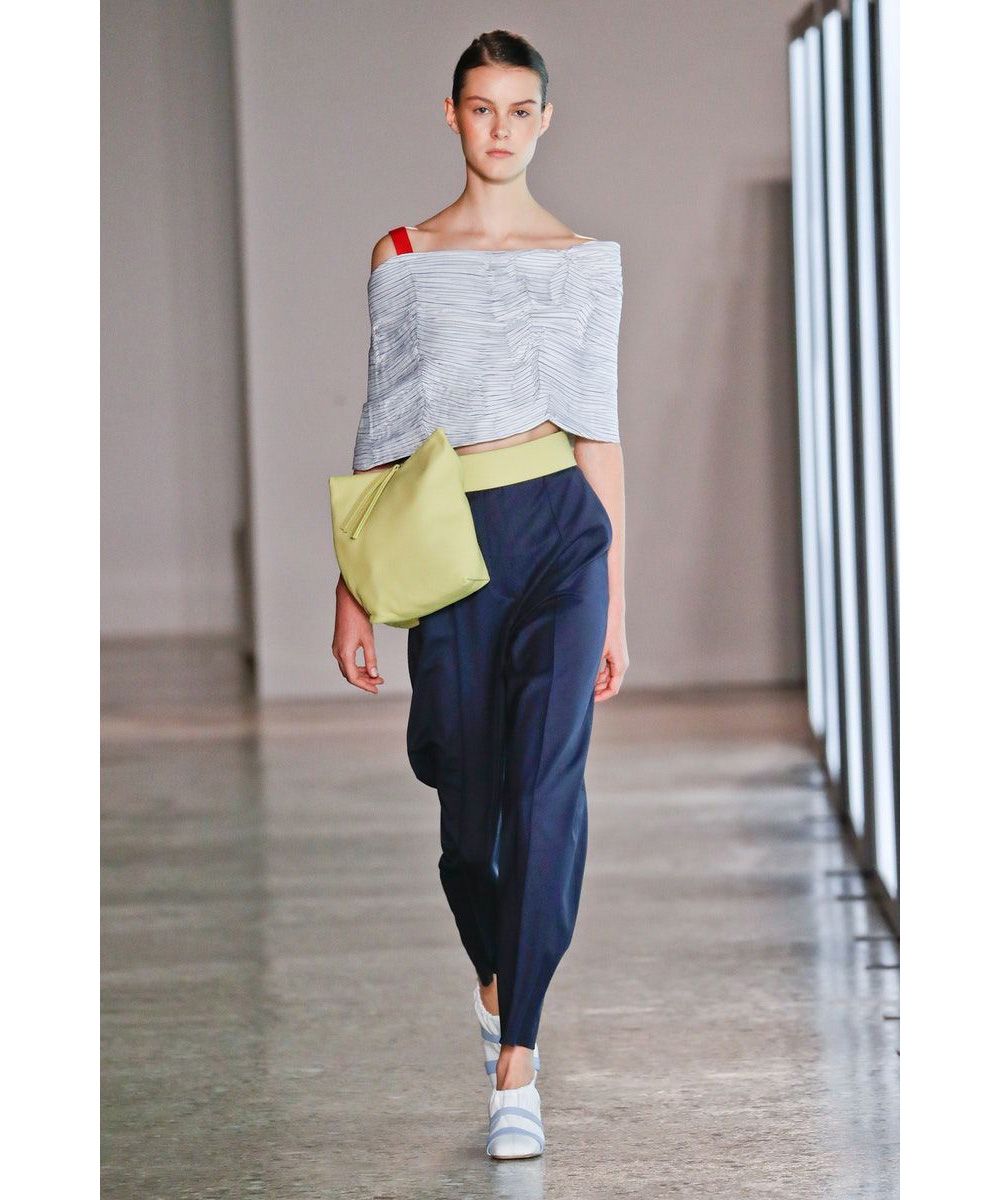
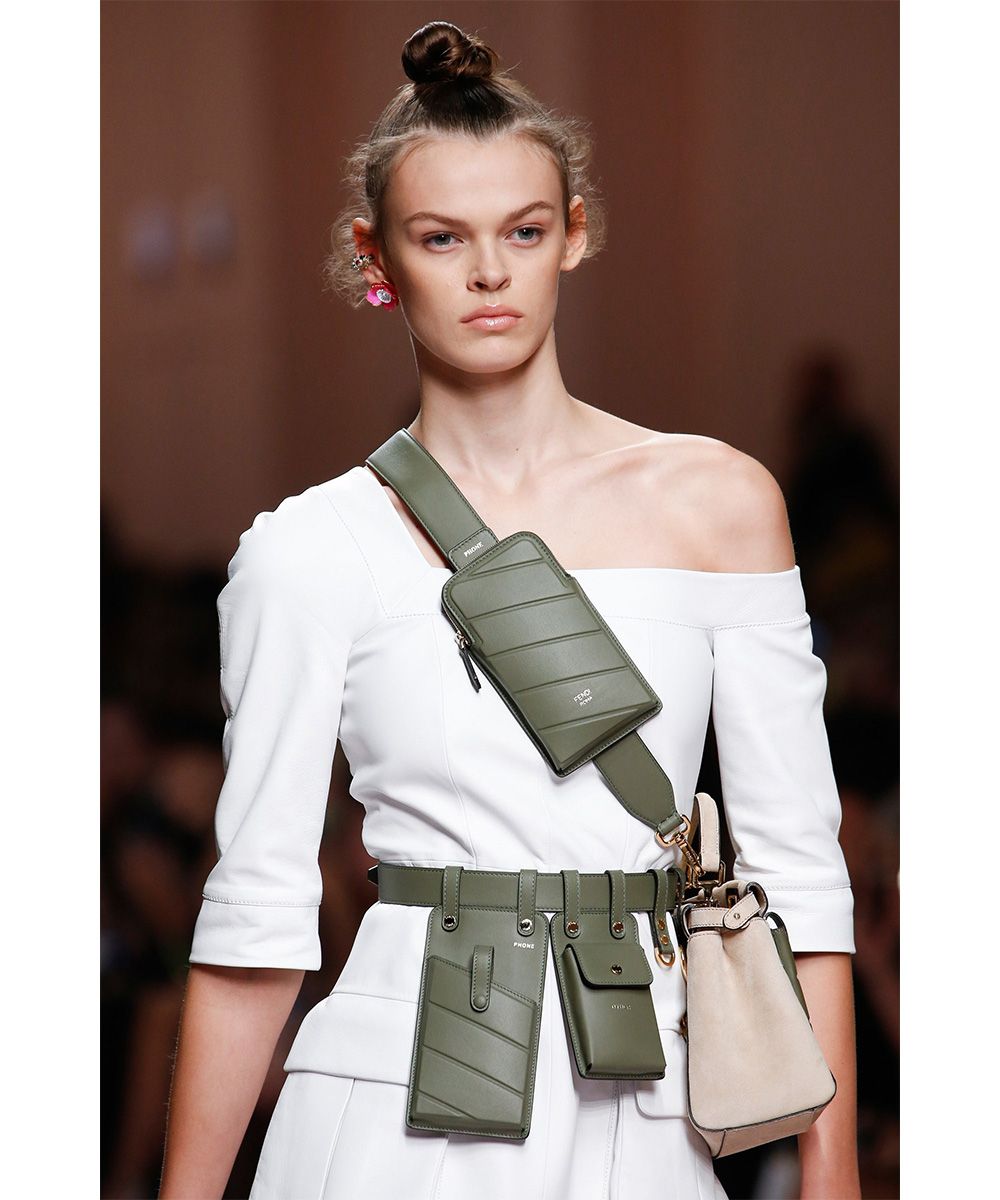
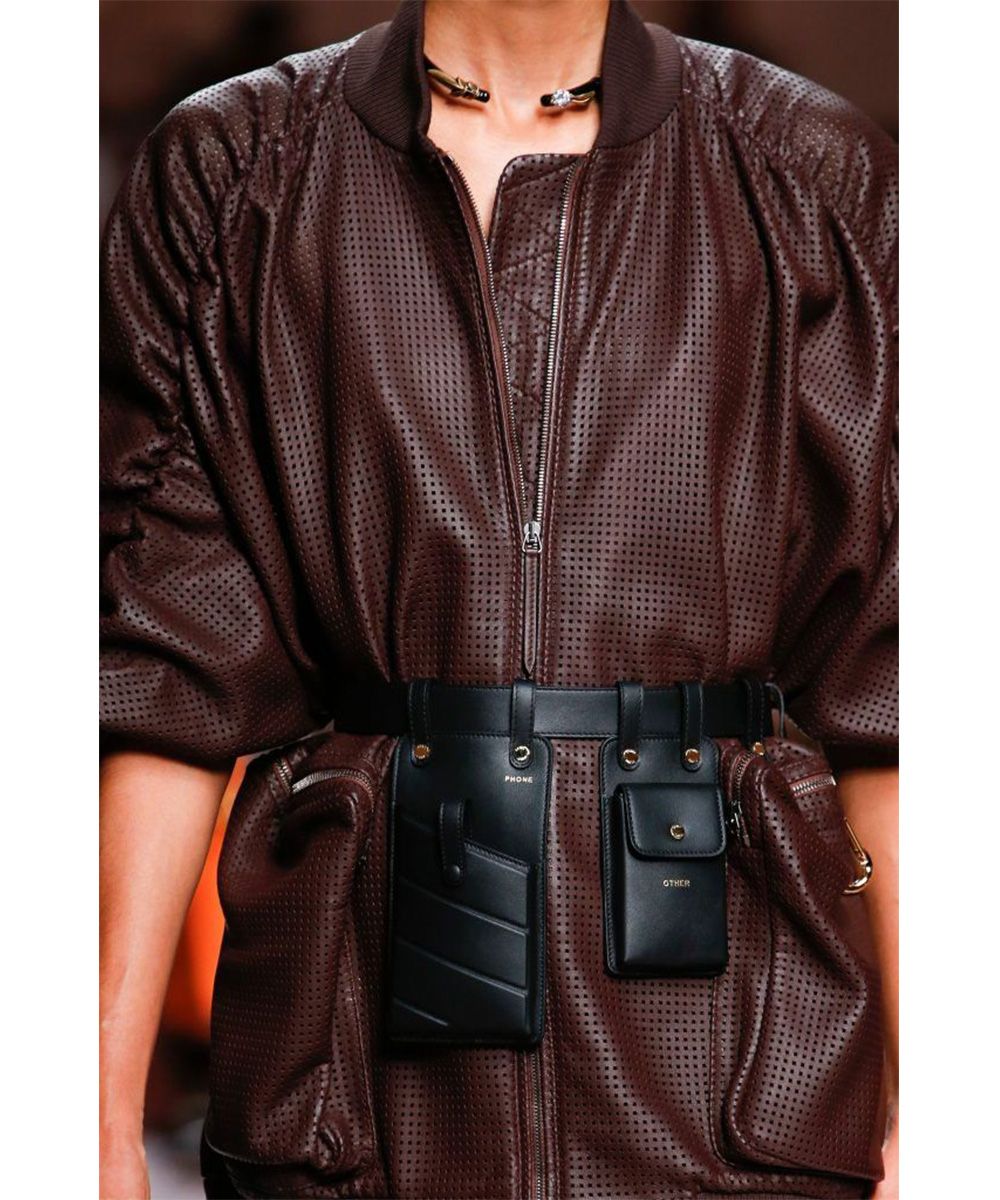
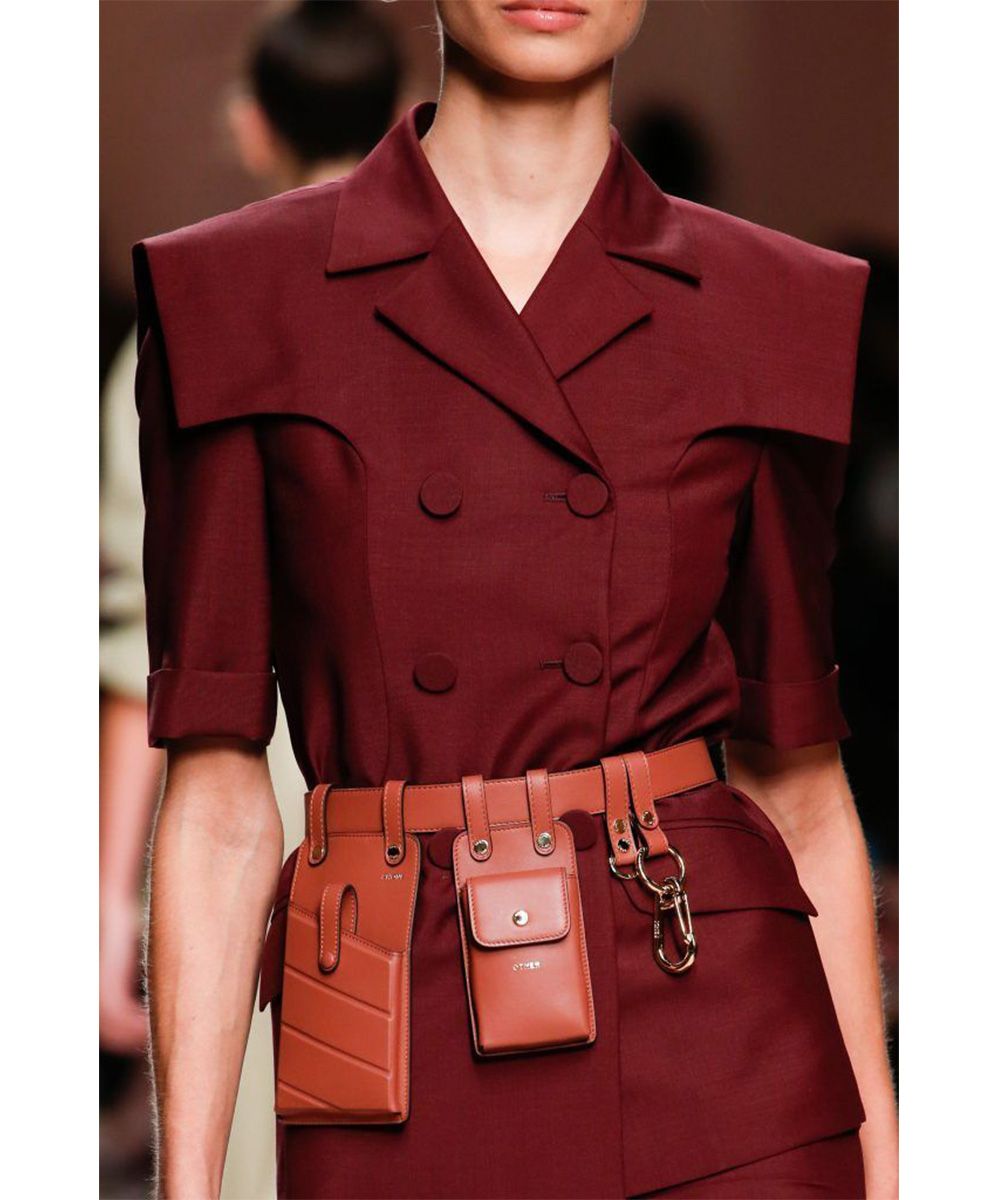
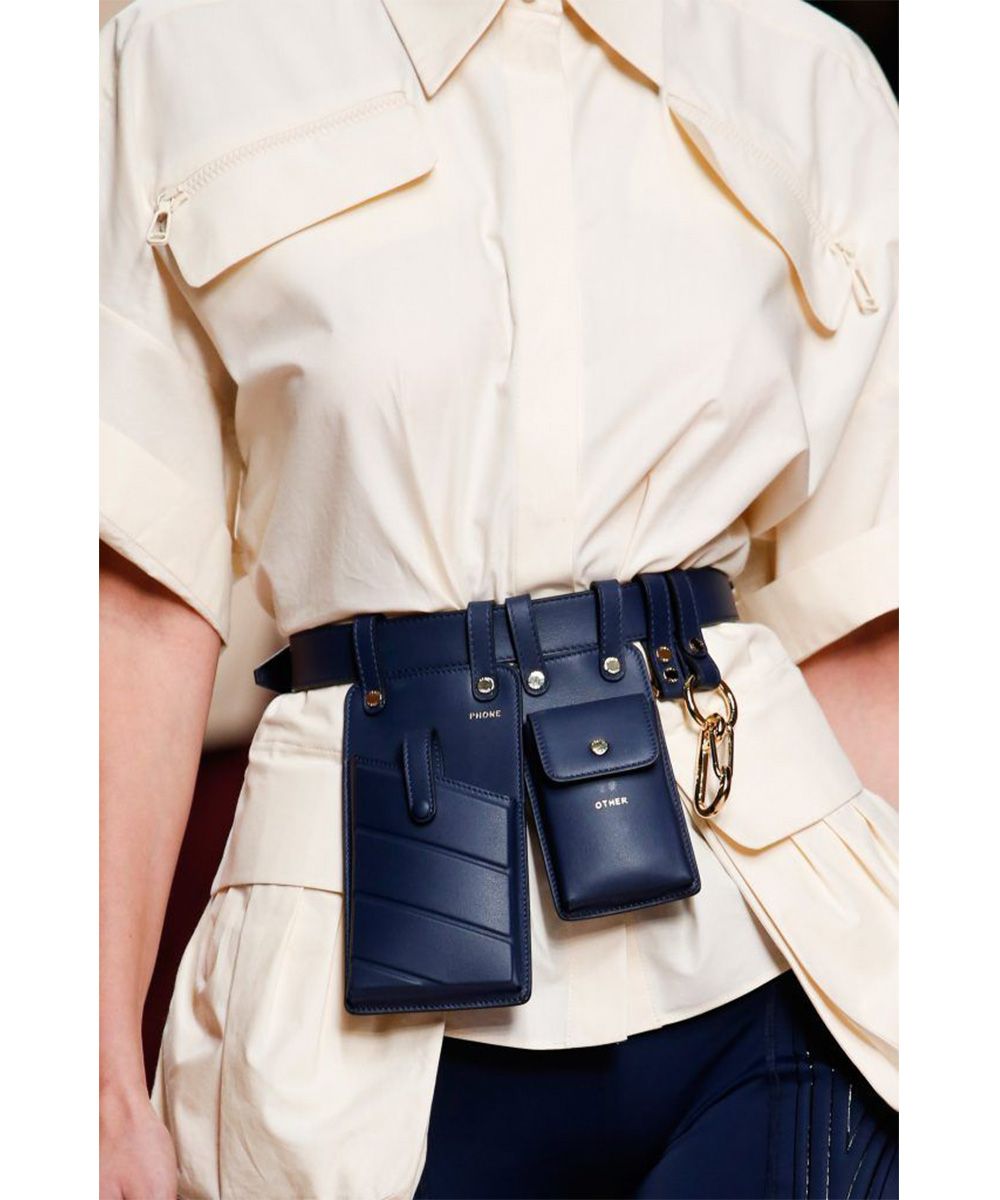
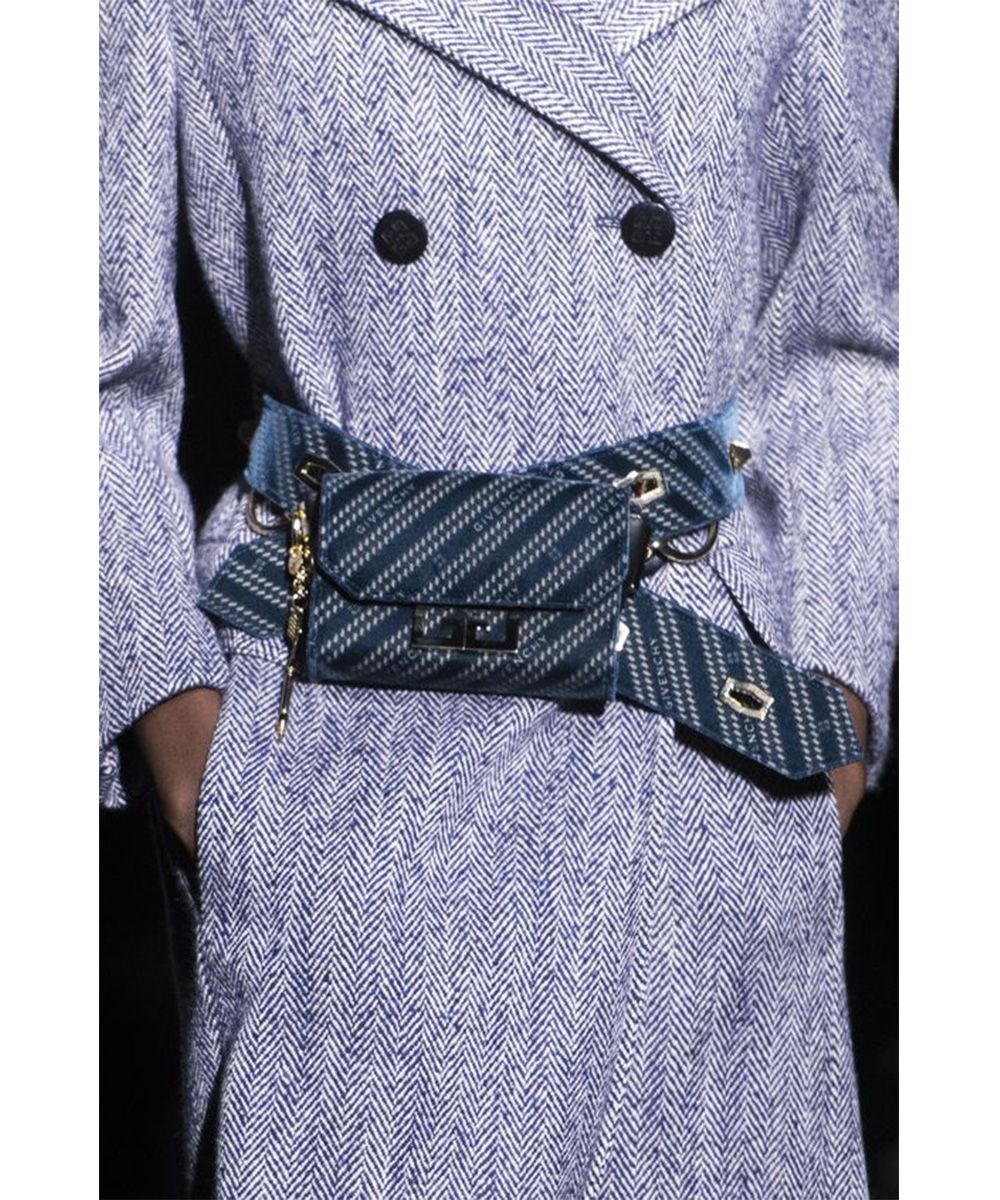
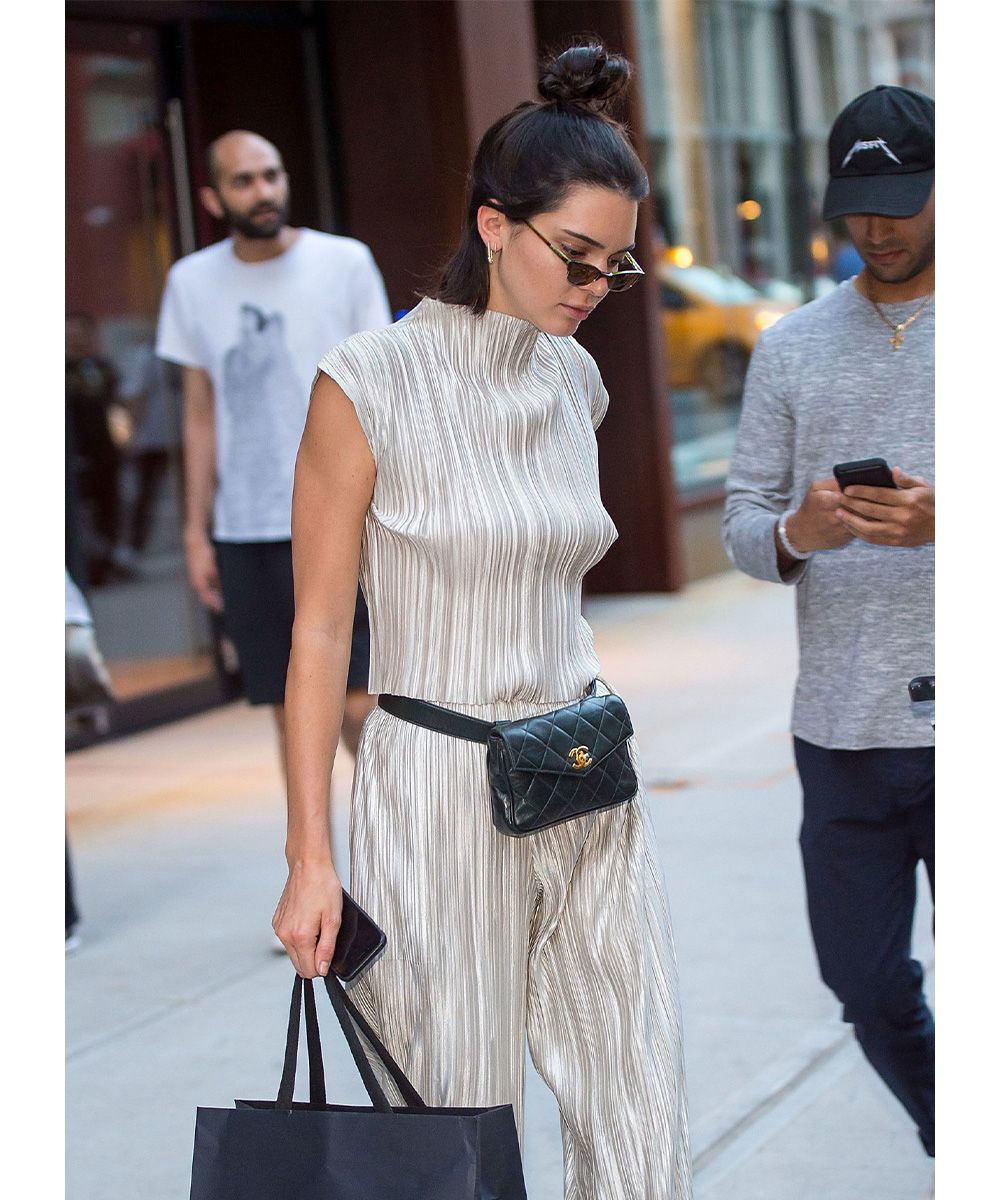

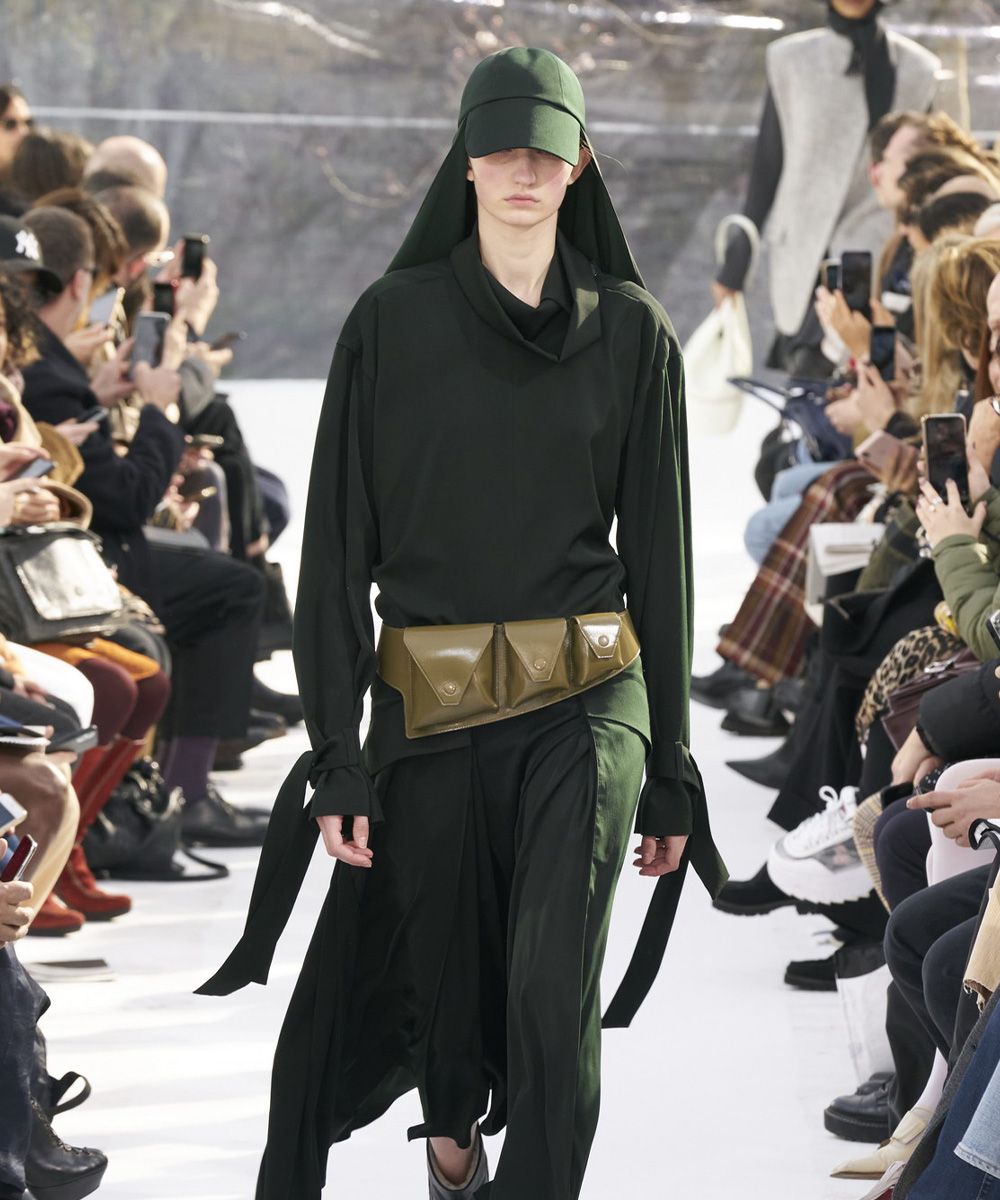
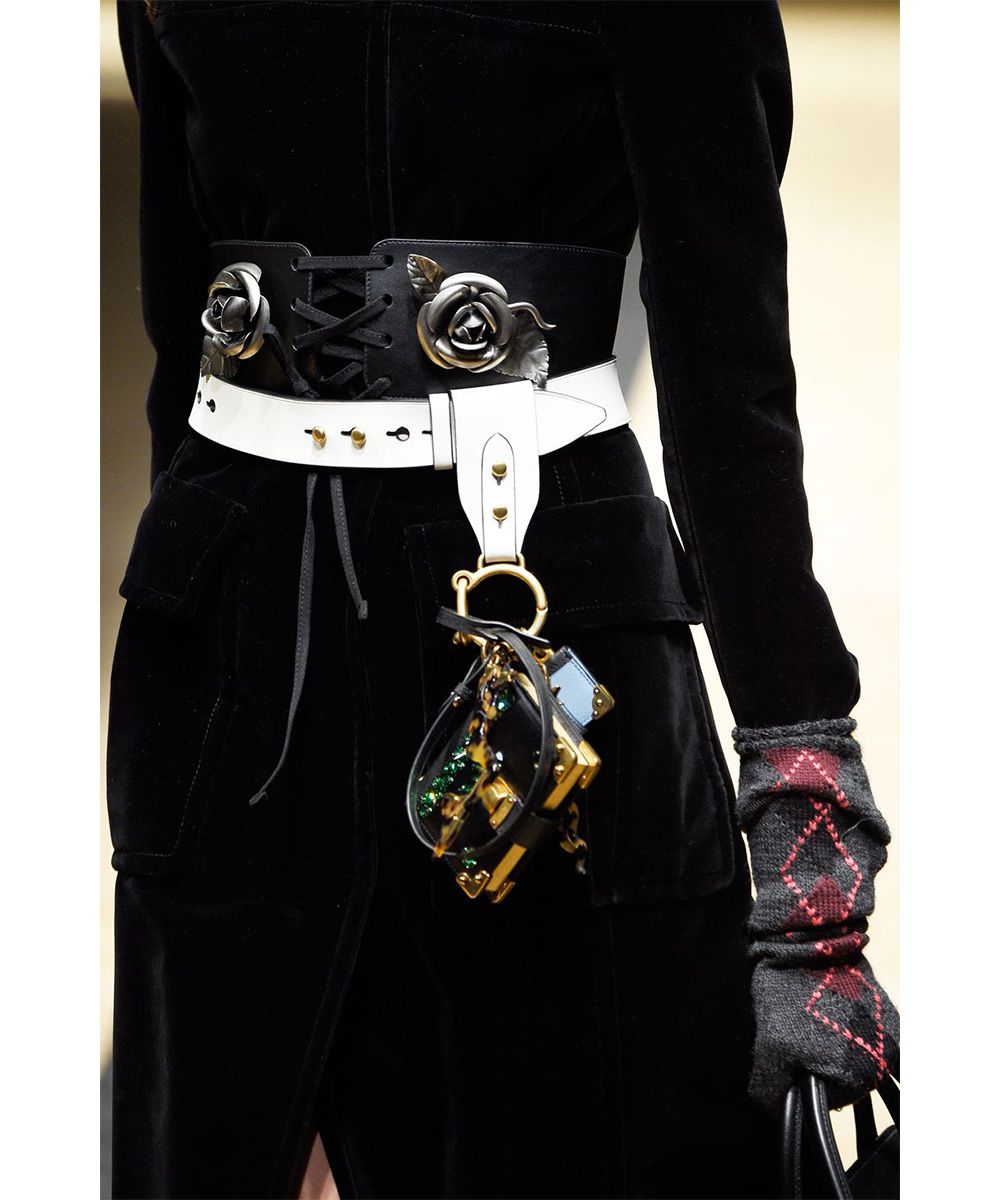
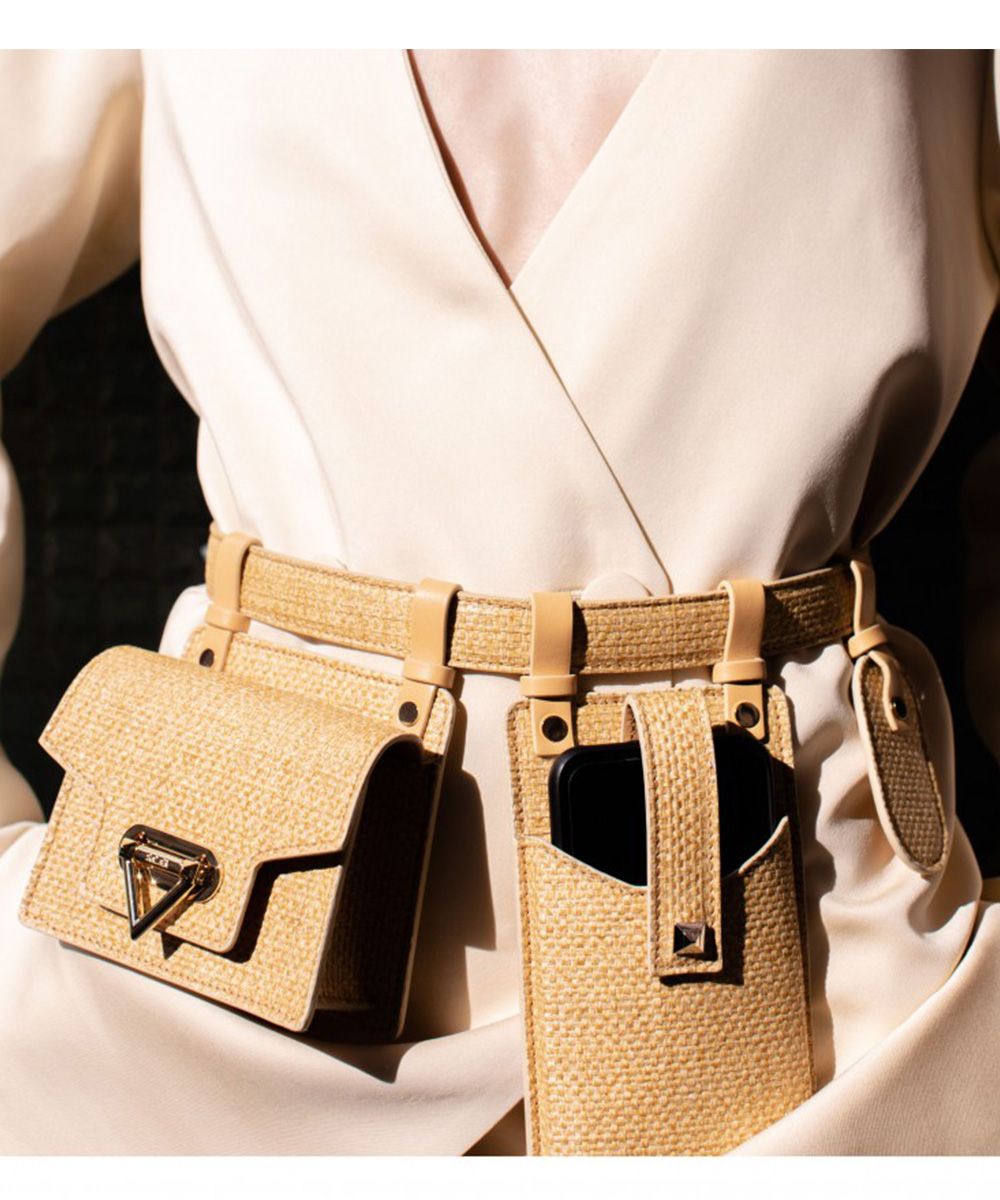
It looks like a fanny pack but it is much cooler, it is like a belt but more functional: it is the Belt Bag, a simple belt with a series of mini bags of different shapes and colors attached with hooks and straps. This is the perfect formula in order to transform an old belt into a fresh and youthful new accessory, able to make any look more eccentric, sporty and trendy at the same time. The Belt Bag is at the top of this season's must-haves; it is comfortable, practical and can be worn in any situation. There are all types, in a luxury version with precious fabrics and leathers, prints and particular shapes, like those of Kenzo, Marni and Prada; and in a simpler way with classic, pastel and fluorescent colors, like those of Salvatore Ferragamo, Valentino and Fendi.
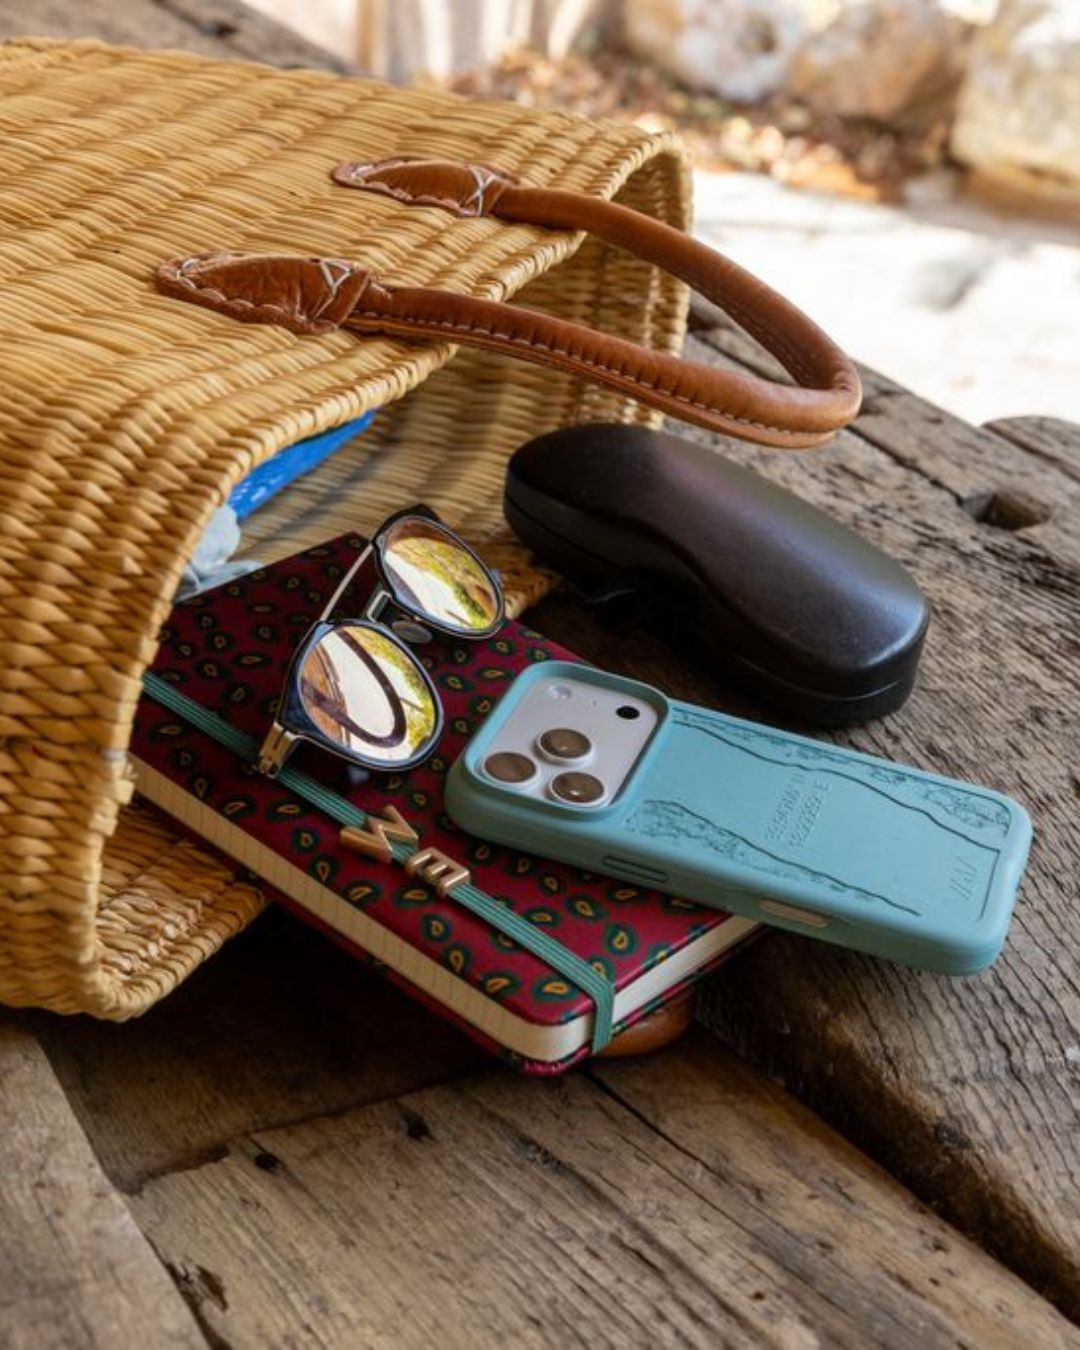
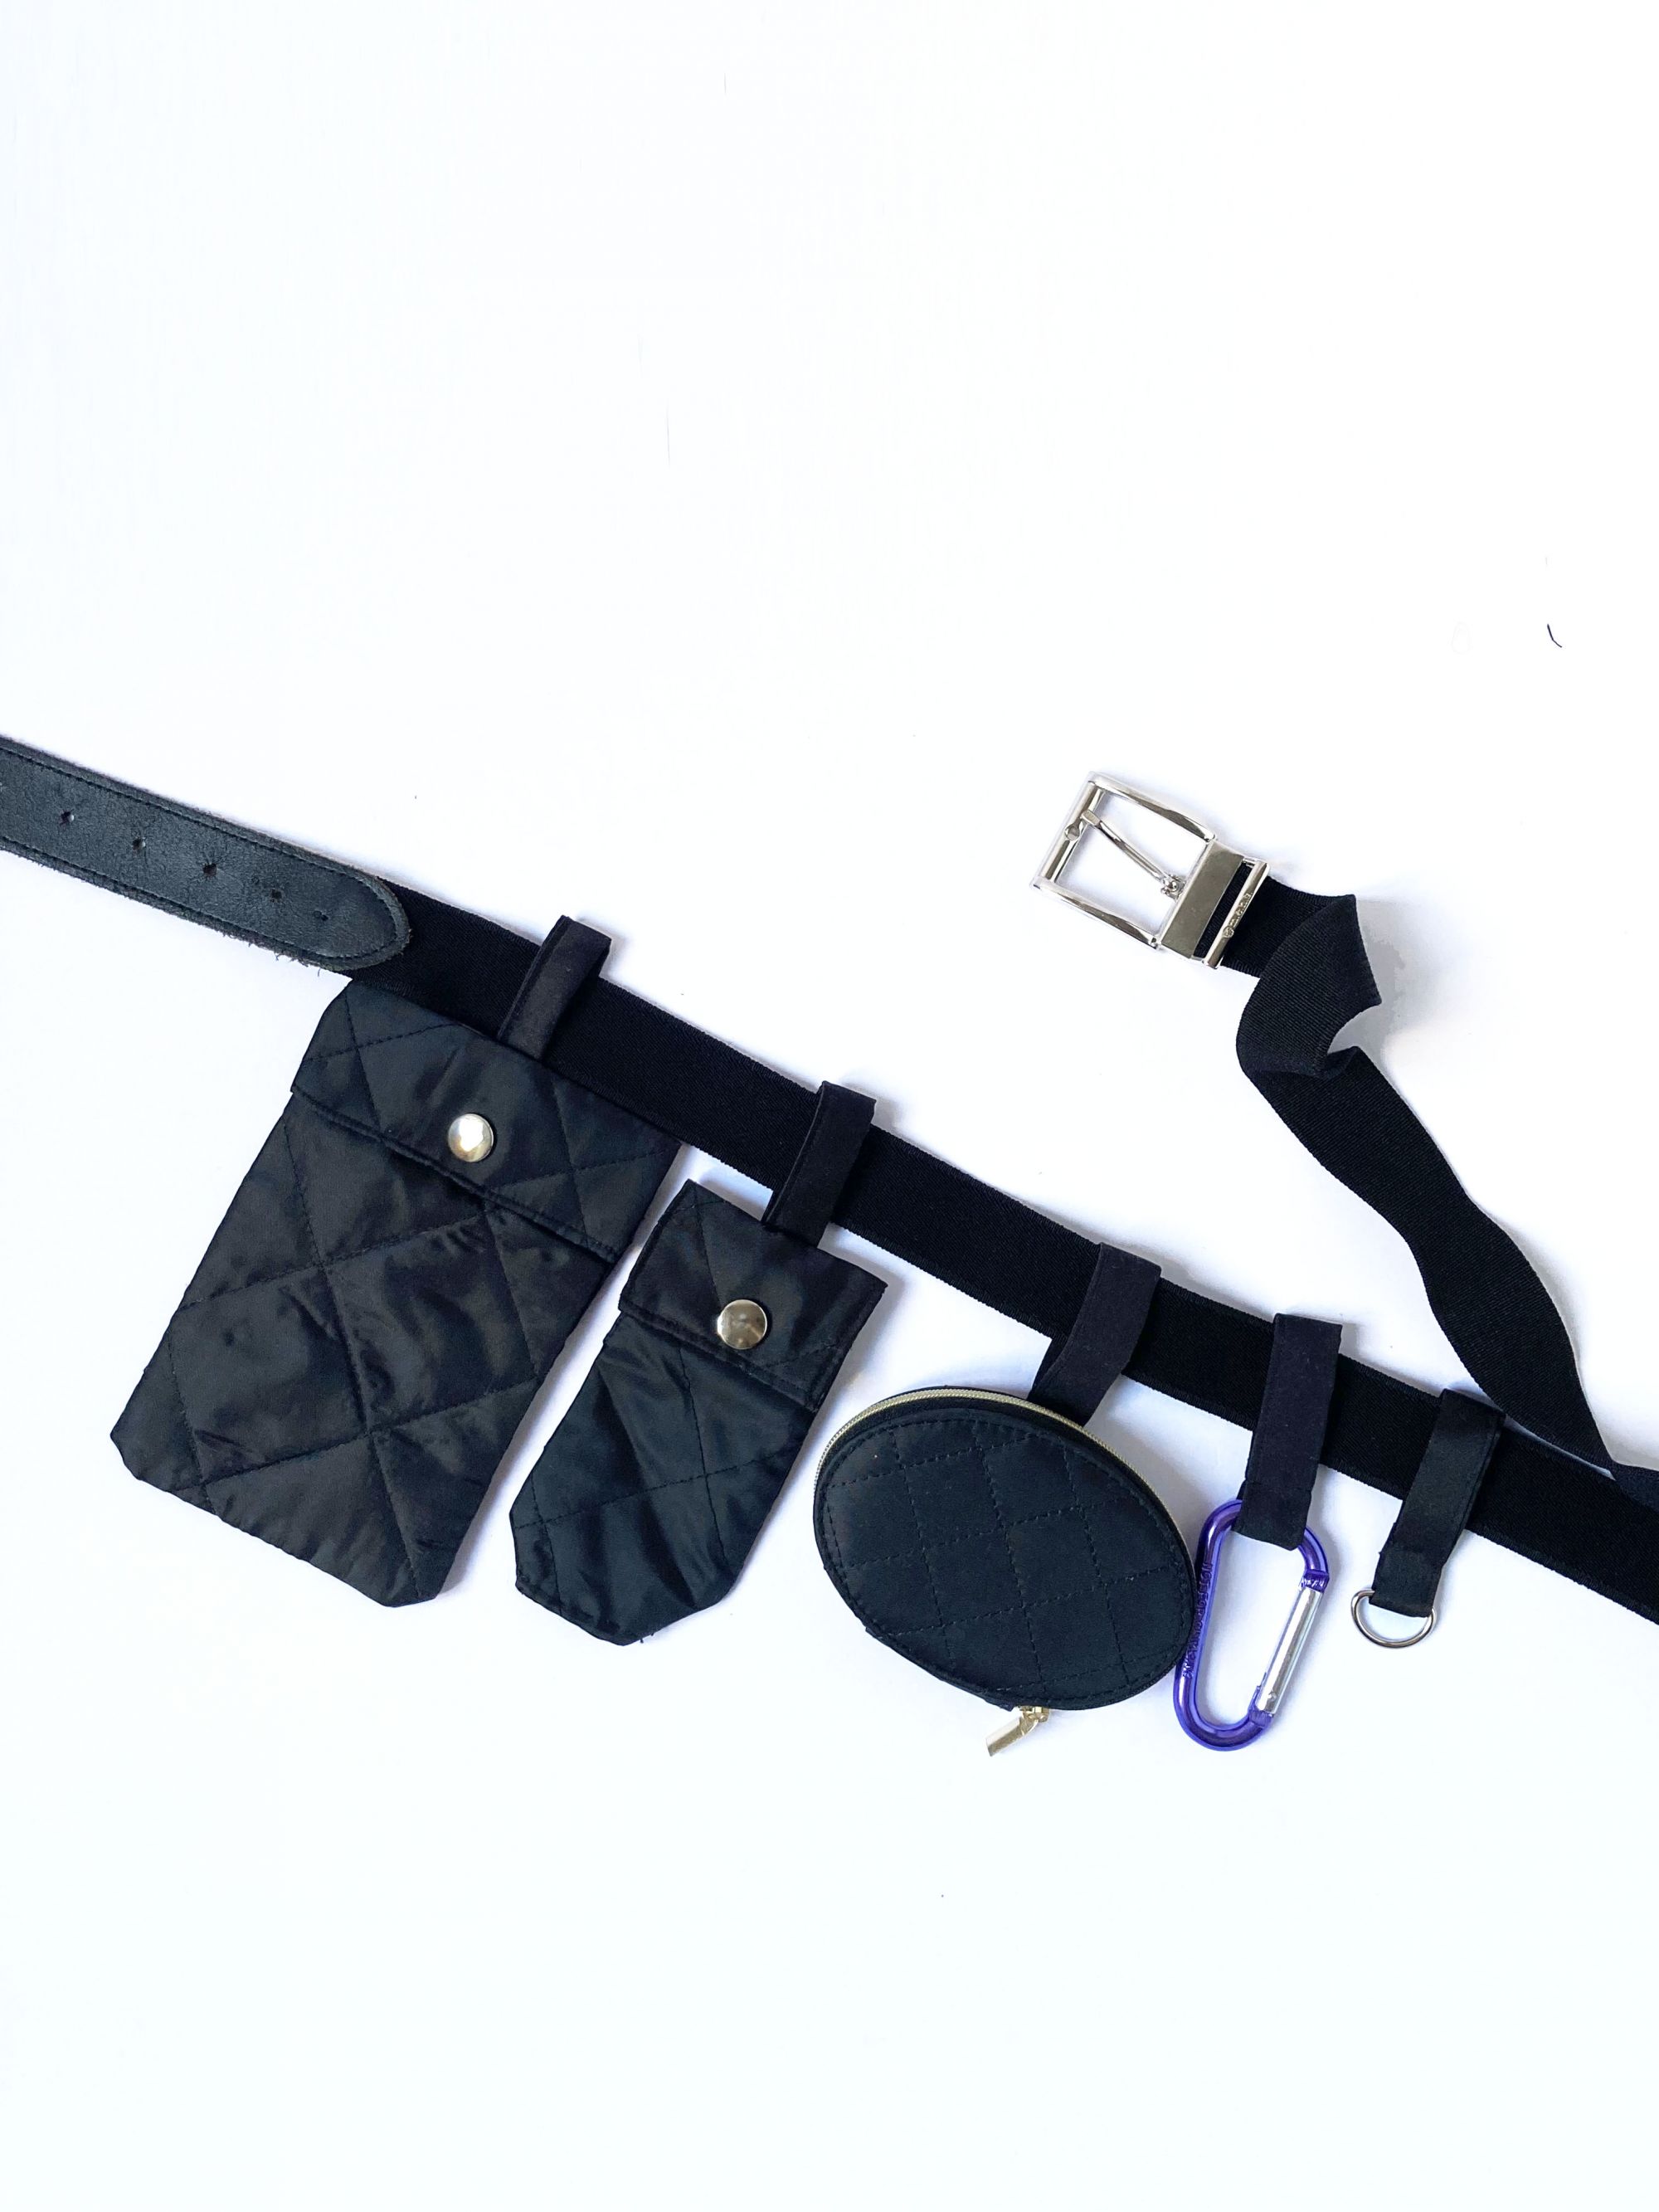
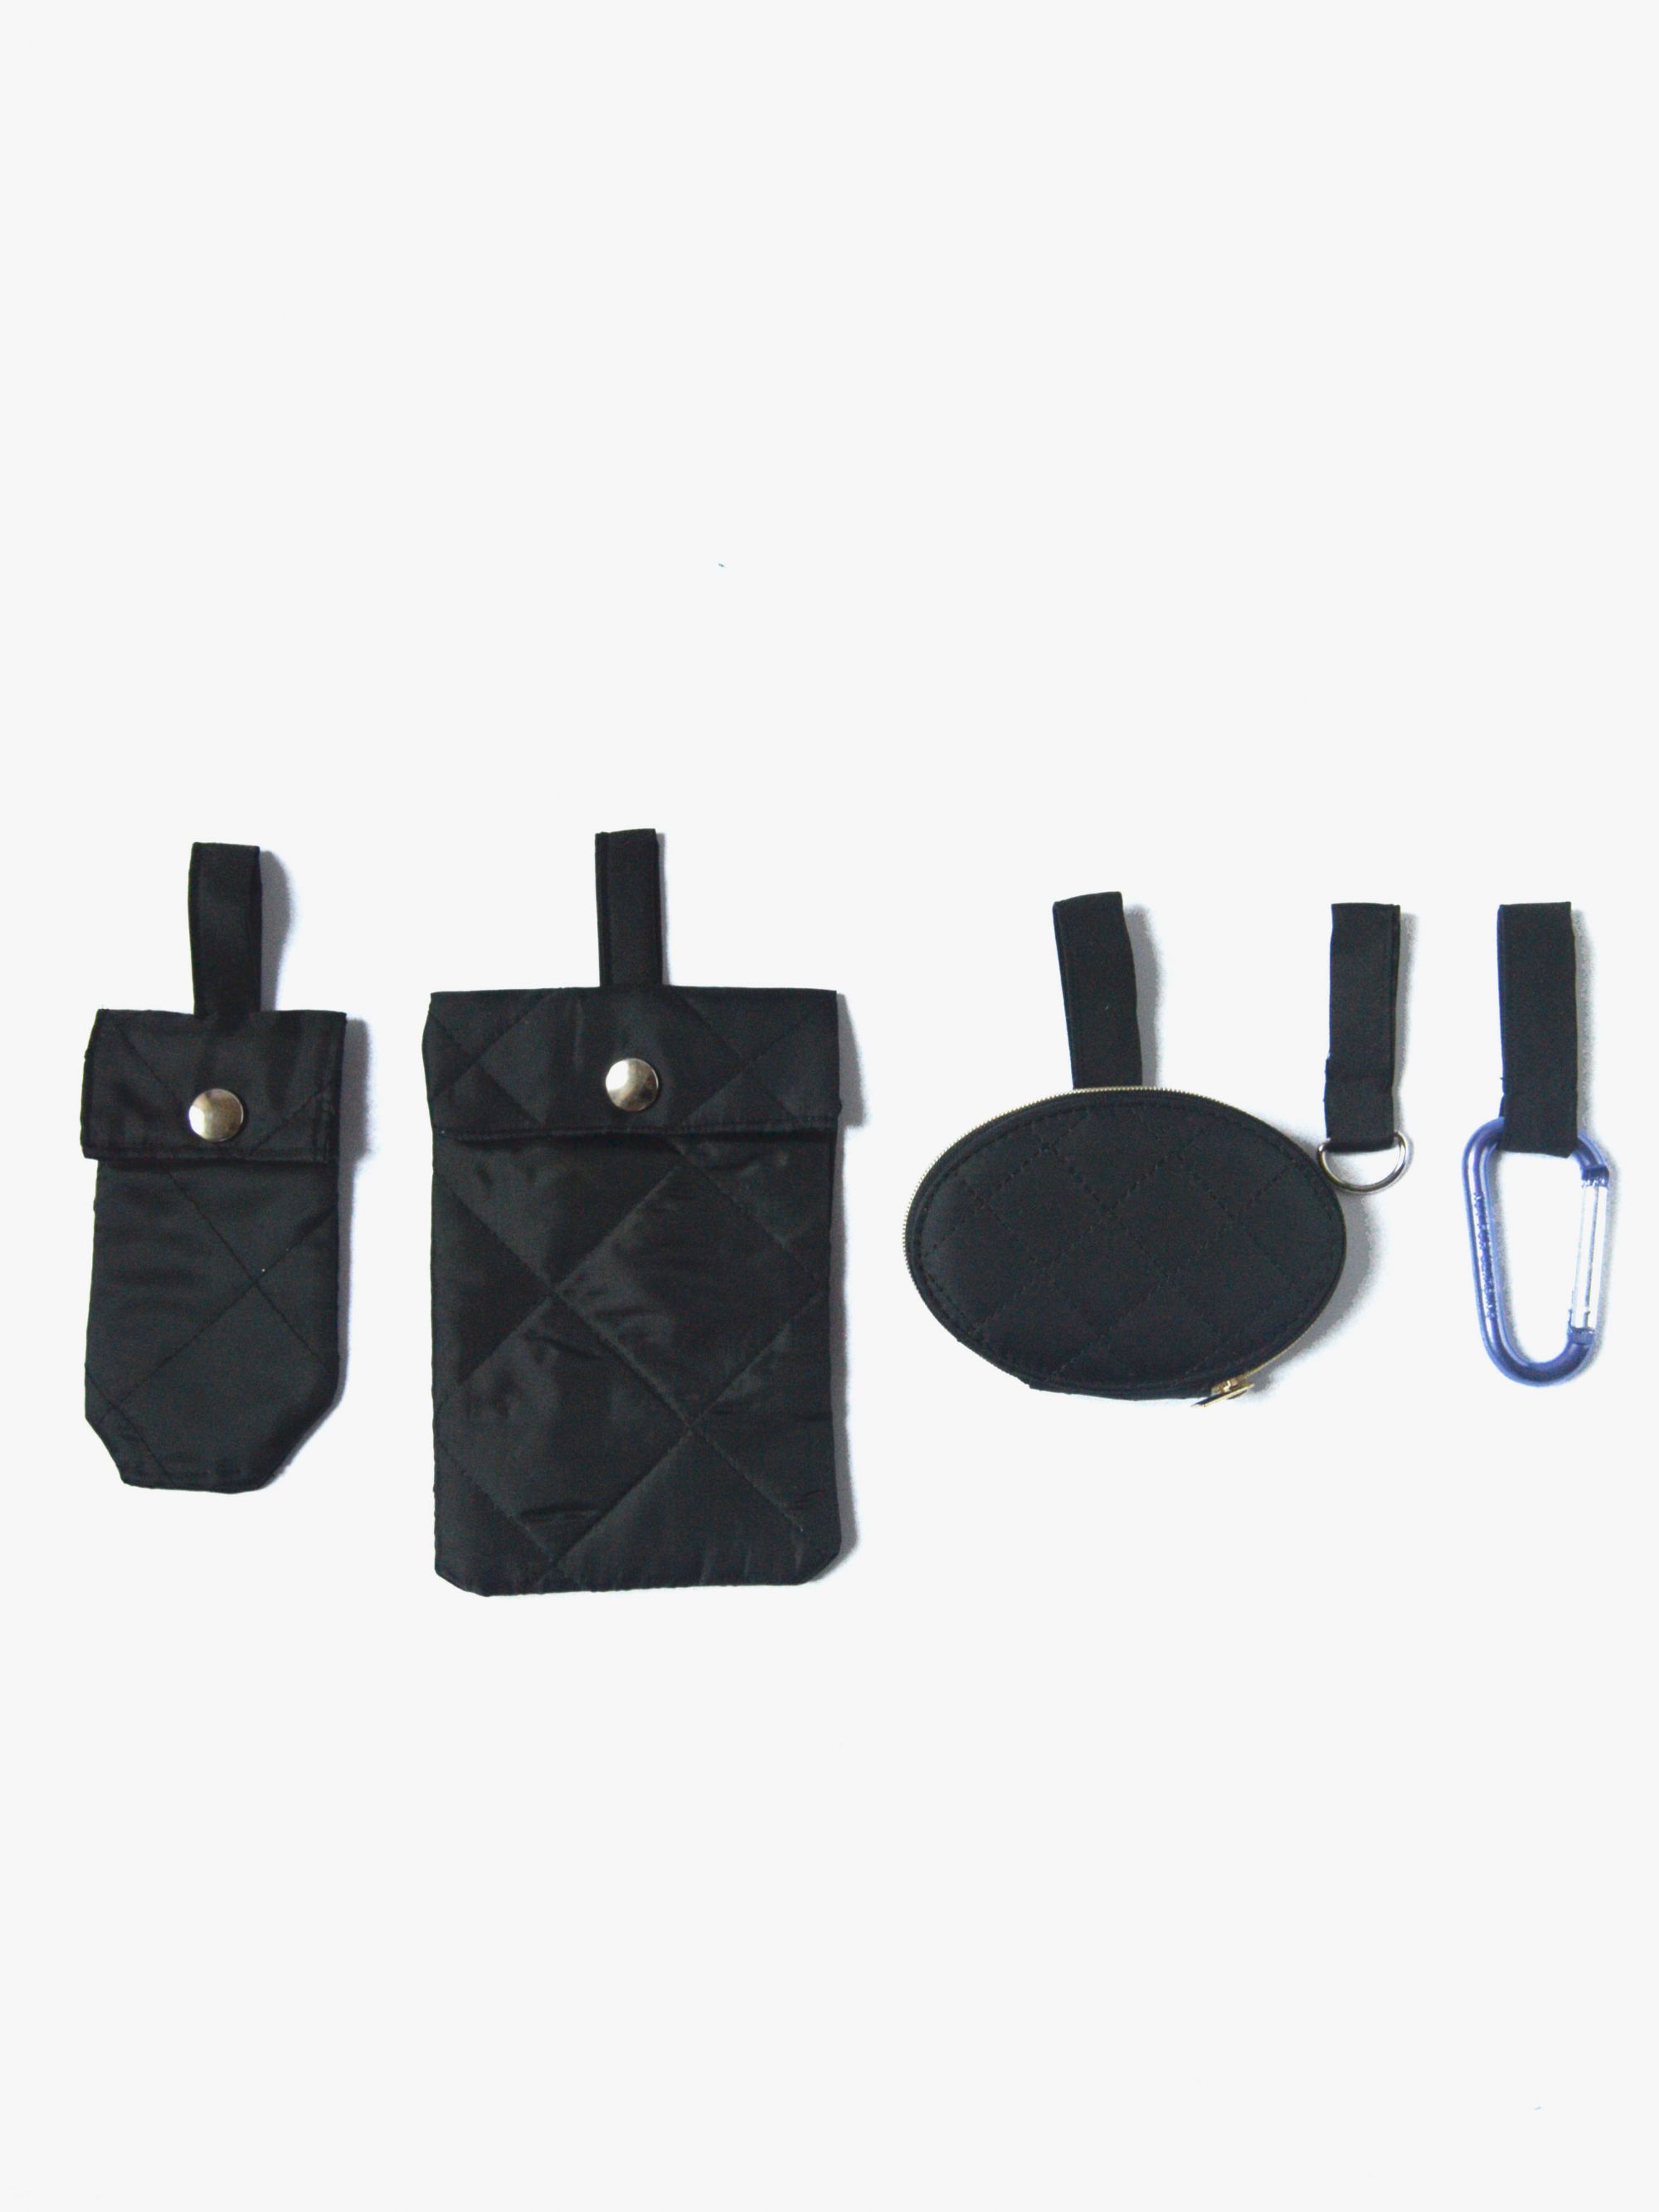
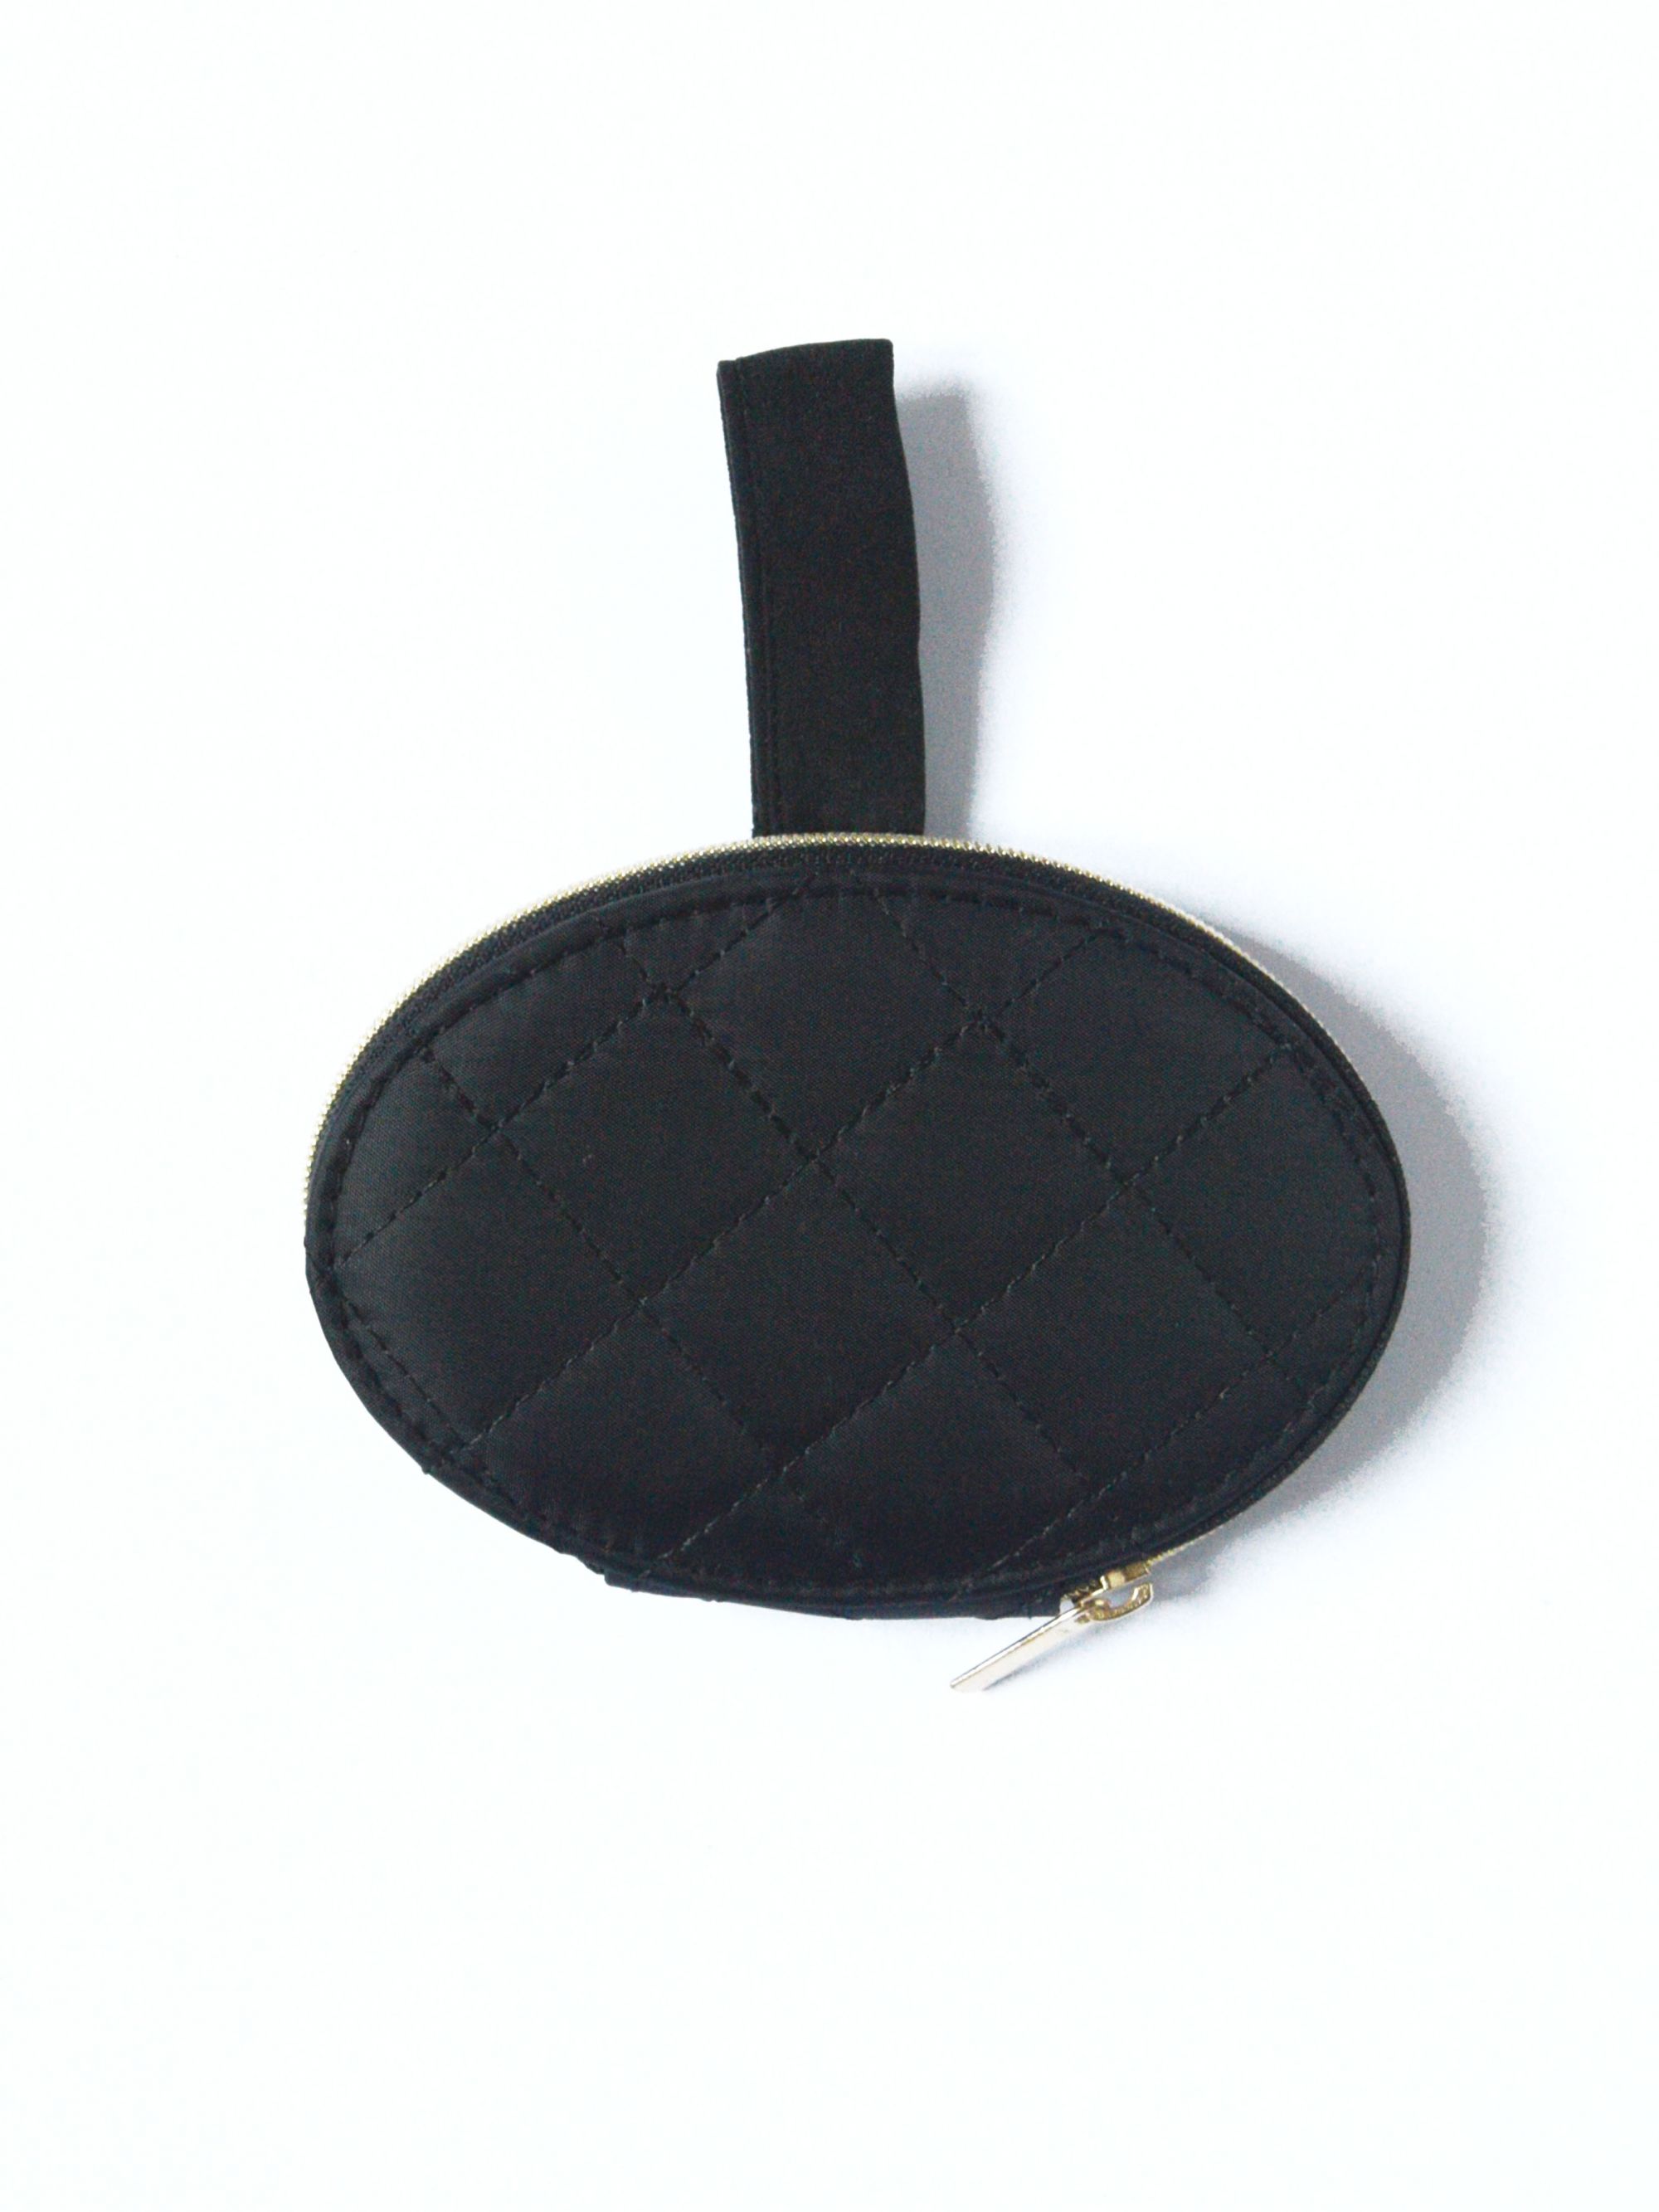
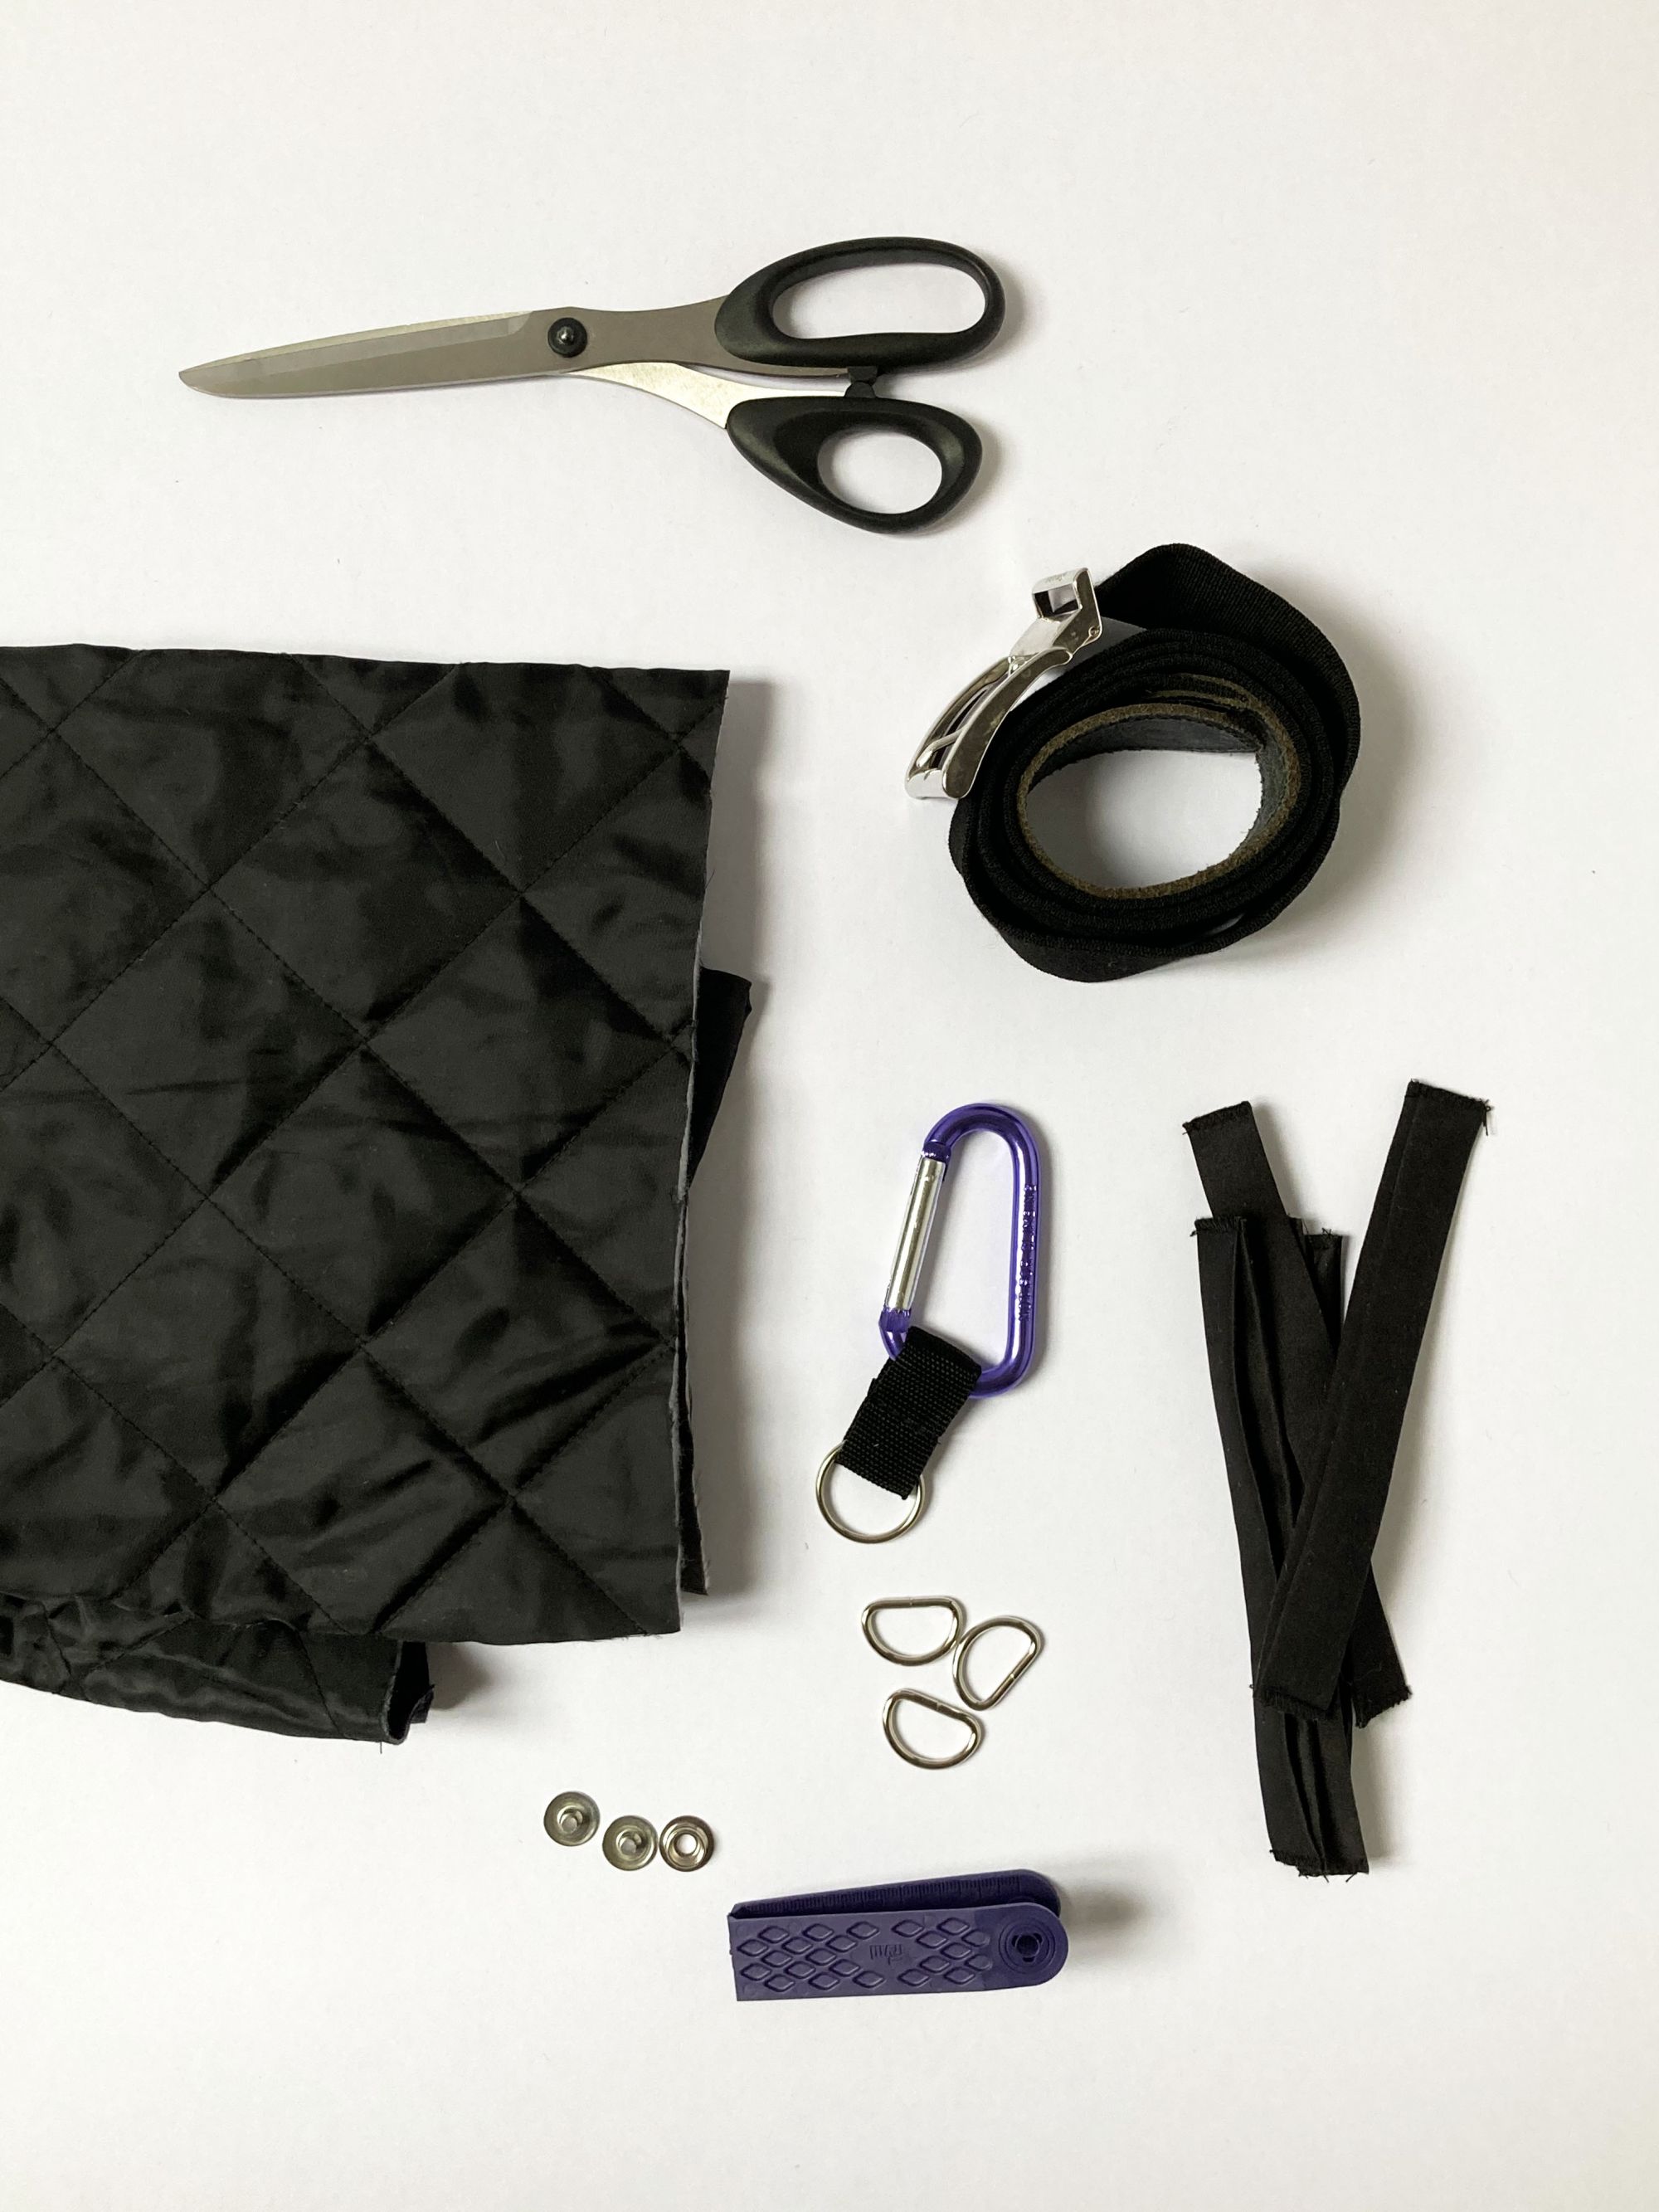
No more maxi bags, the minimalism with the Belt Bag becomes a lifestyle. It's time to learn to take with you only the essentials! In the experiment we used an old belt, too large to be worn but minimal enough to be reused, indeed rethought in a cooler and even more practical way. We wanted to exaggerate and add as many bags and hooks as possible to the belt: 5 in total. To make the bags, we recycled an old black duvet, in match with the color of the belt, with hooks and carabiners at will. Staying in line with the minimalist mentality, what are the 5 essential items to always have at hand at this time: hand sanitizer, cell phone, manicure kit, house keys and sunglasses. Do try this at home!
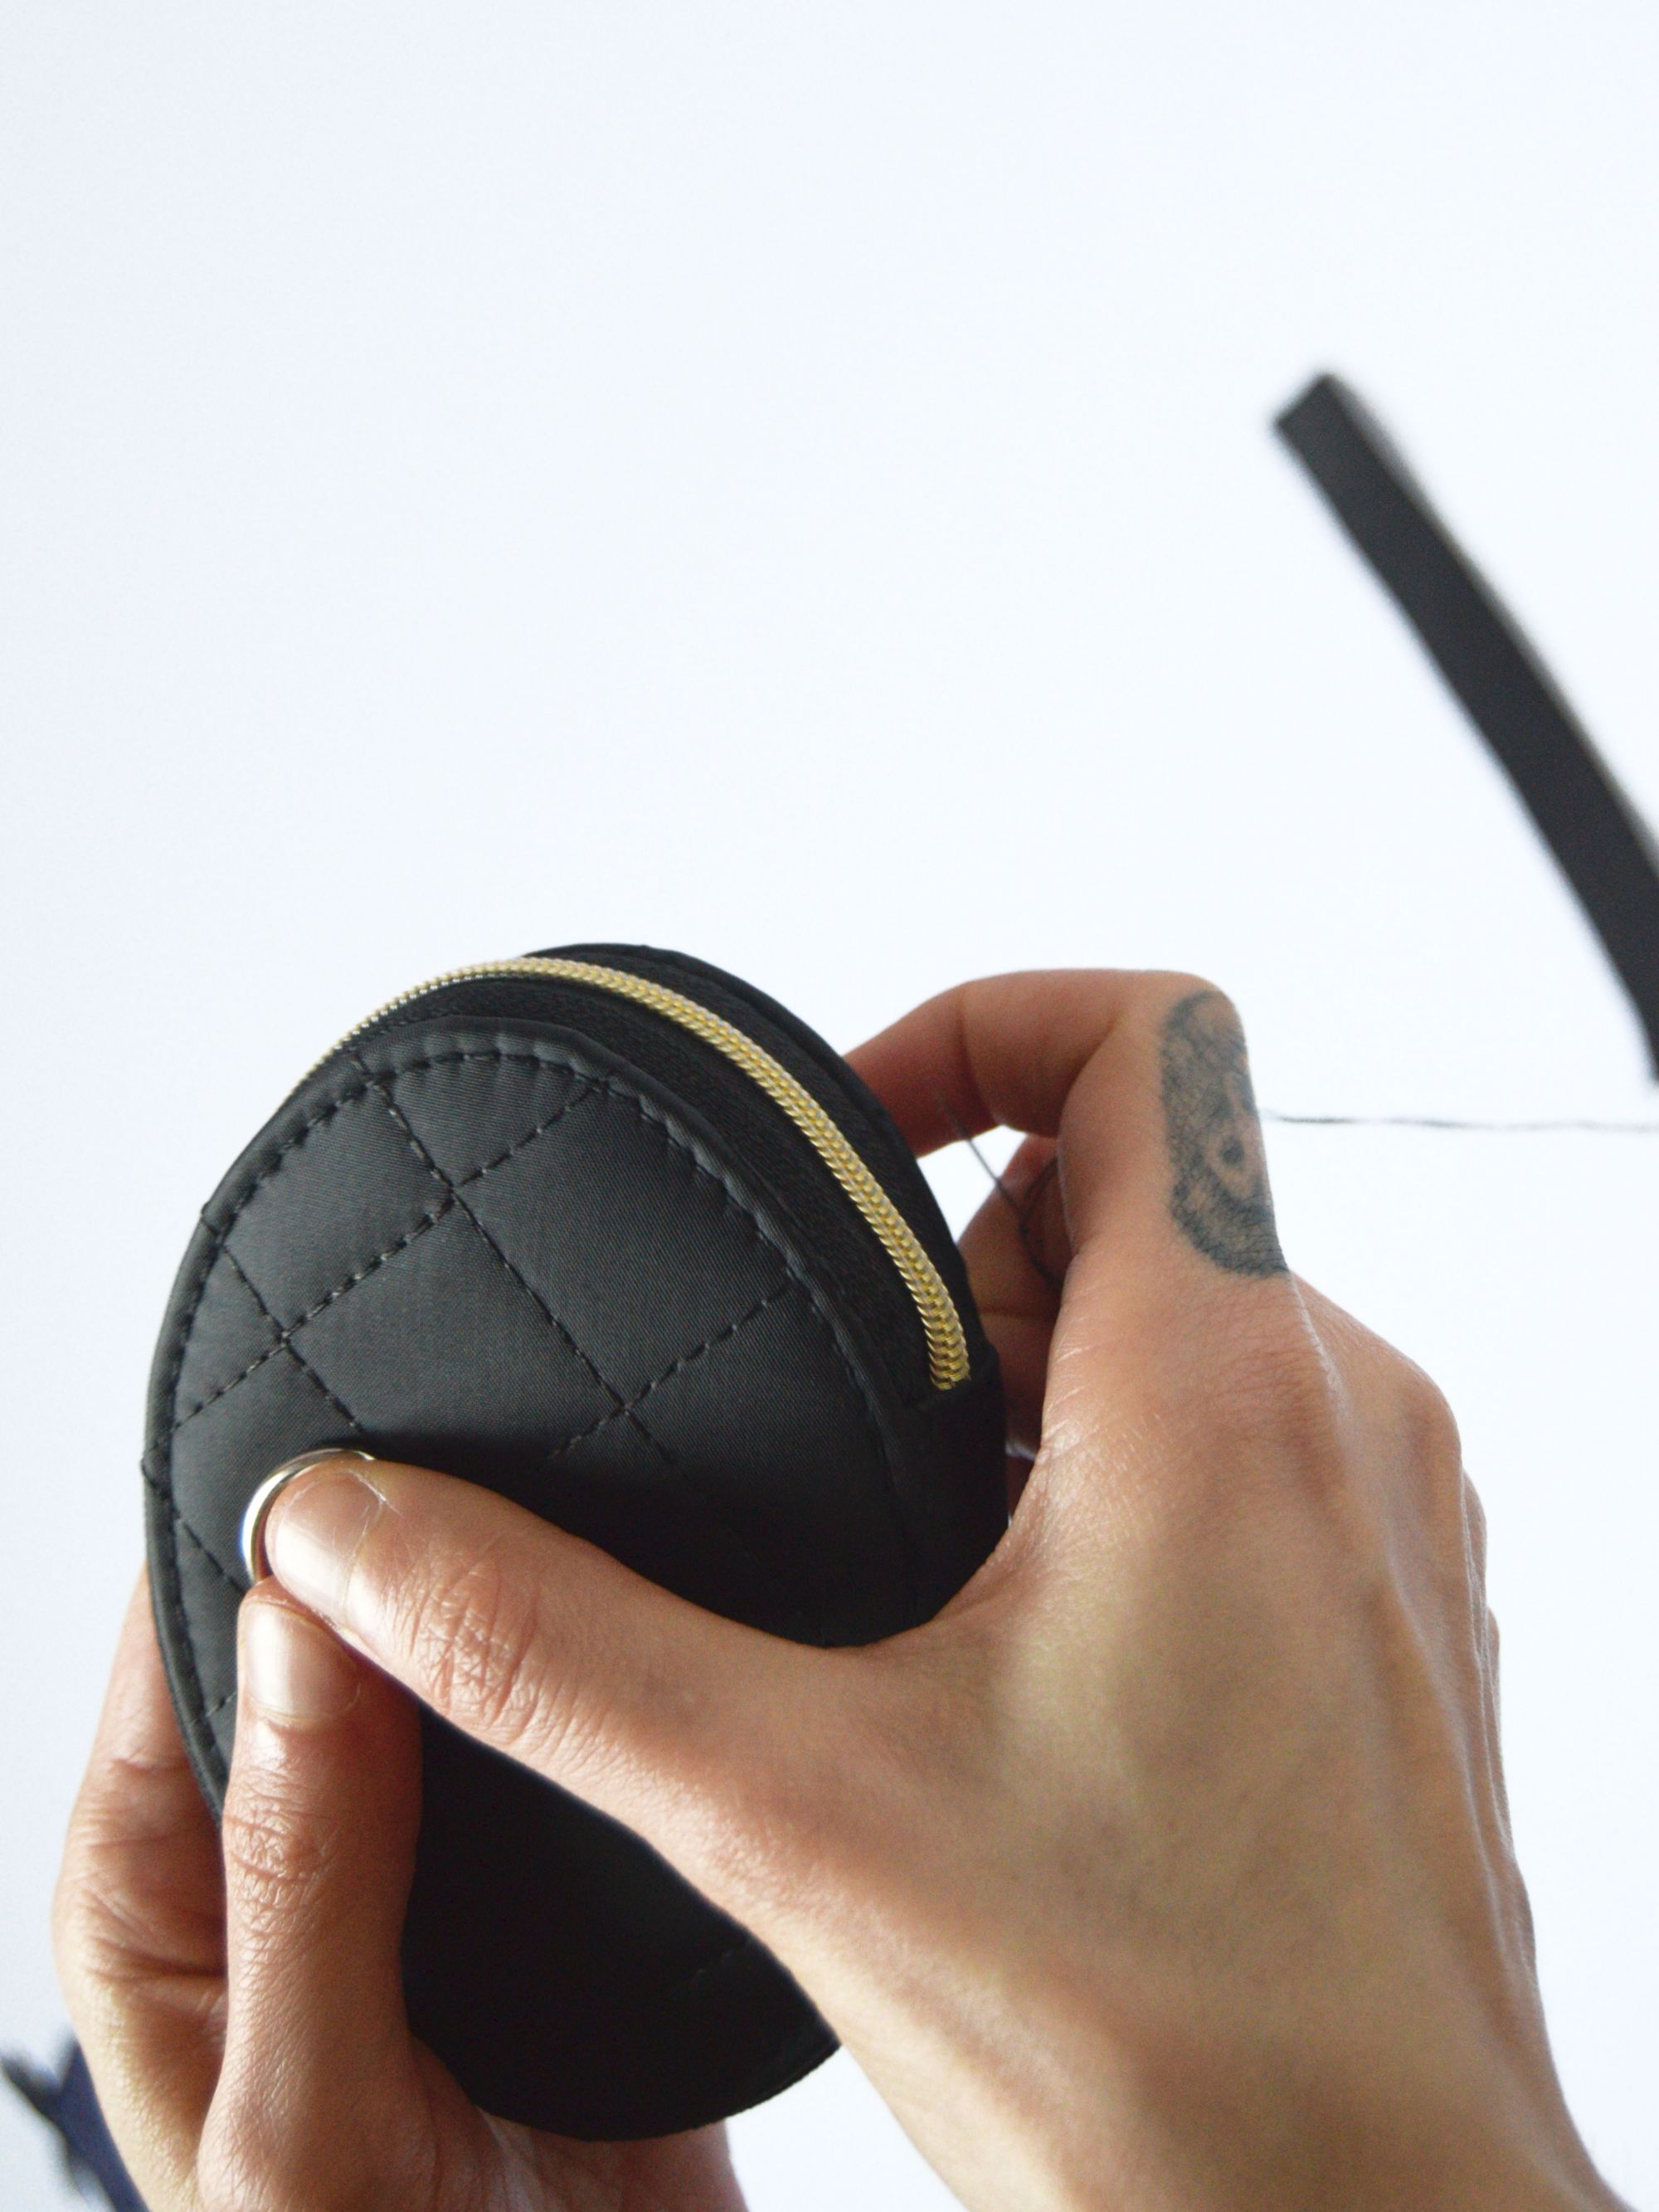
What you need
A belt, scraps of fabric, loops, hooks, carabiner, snaps, scissors, needle and thread, sewing machine.
STEP 1-2
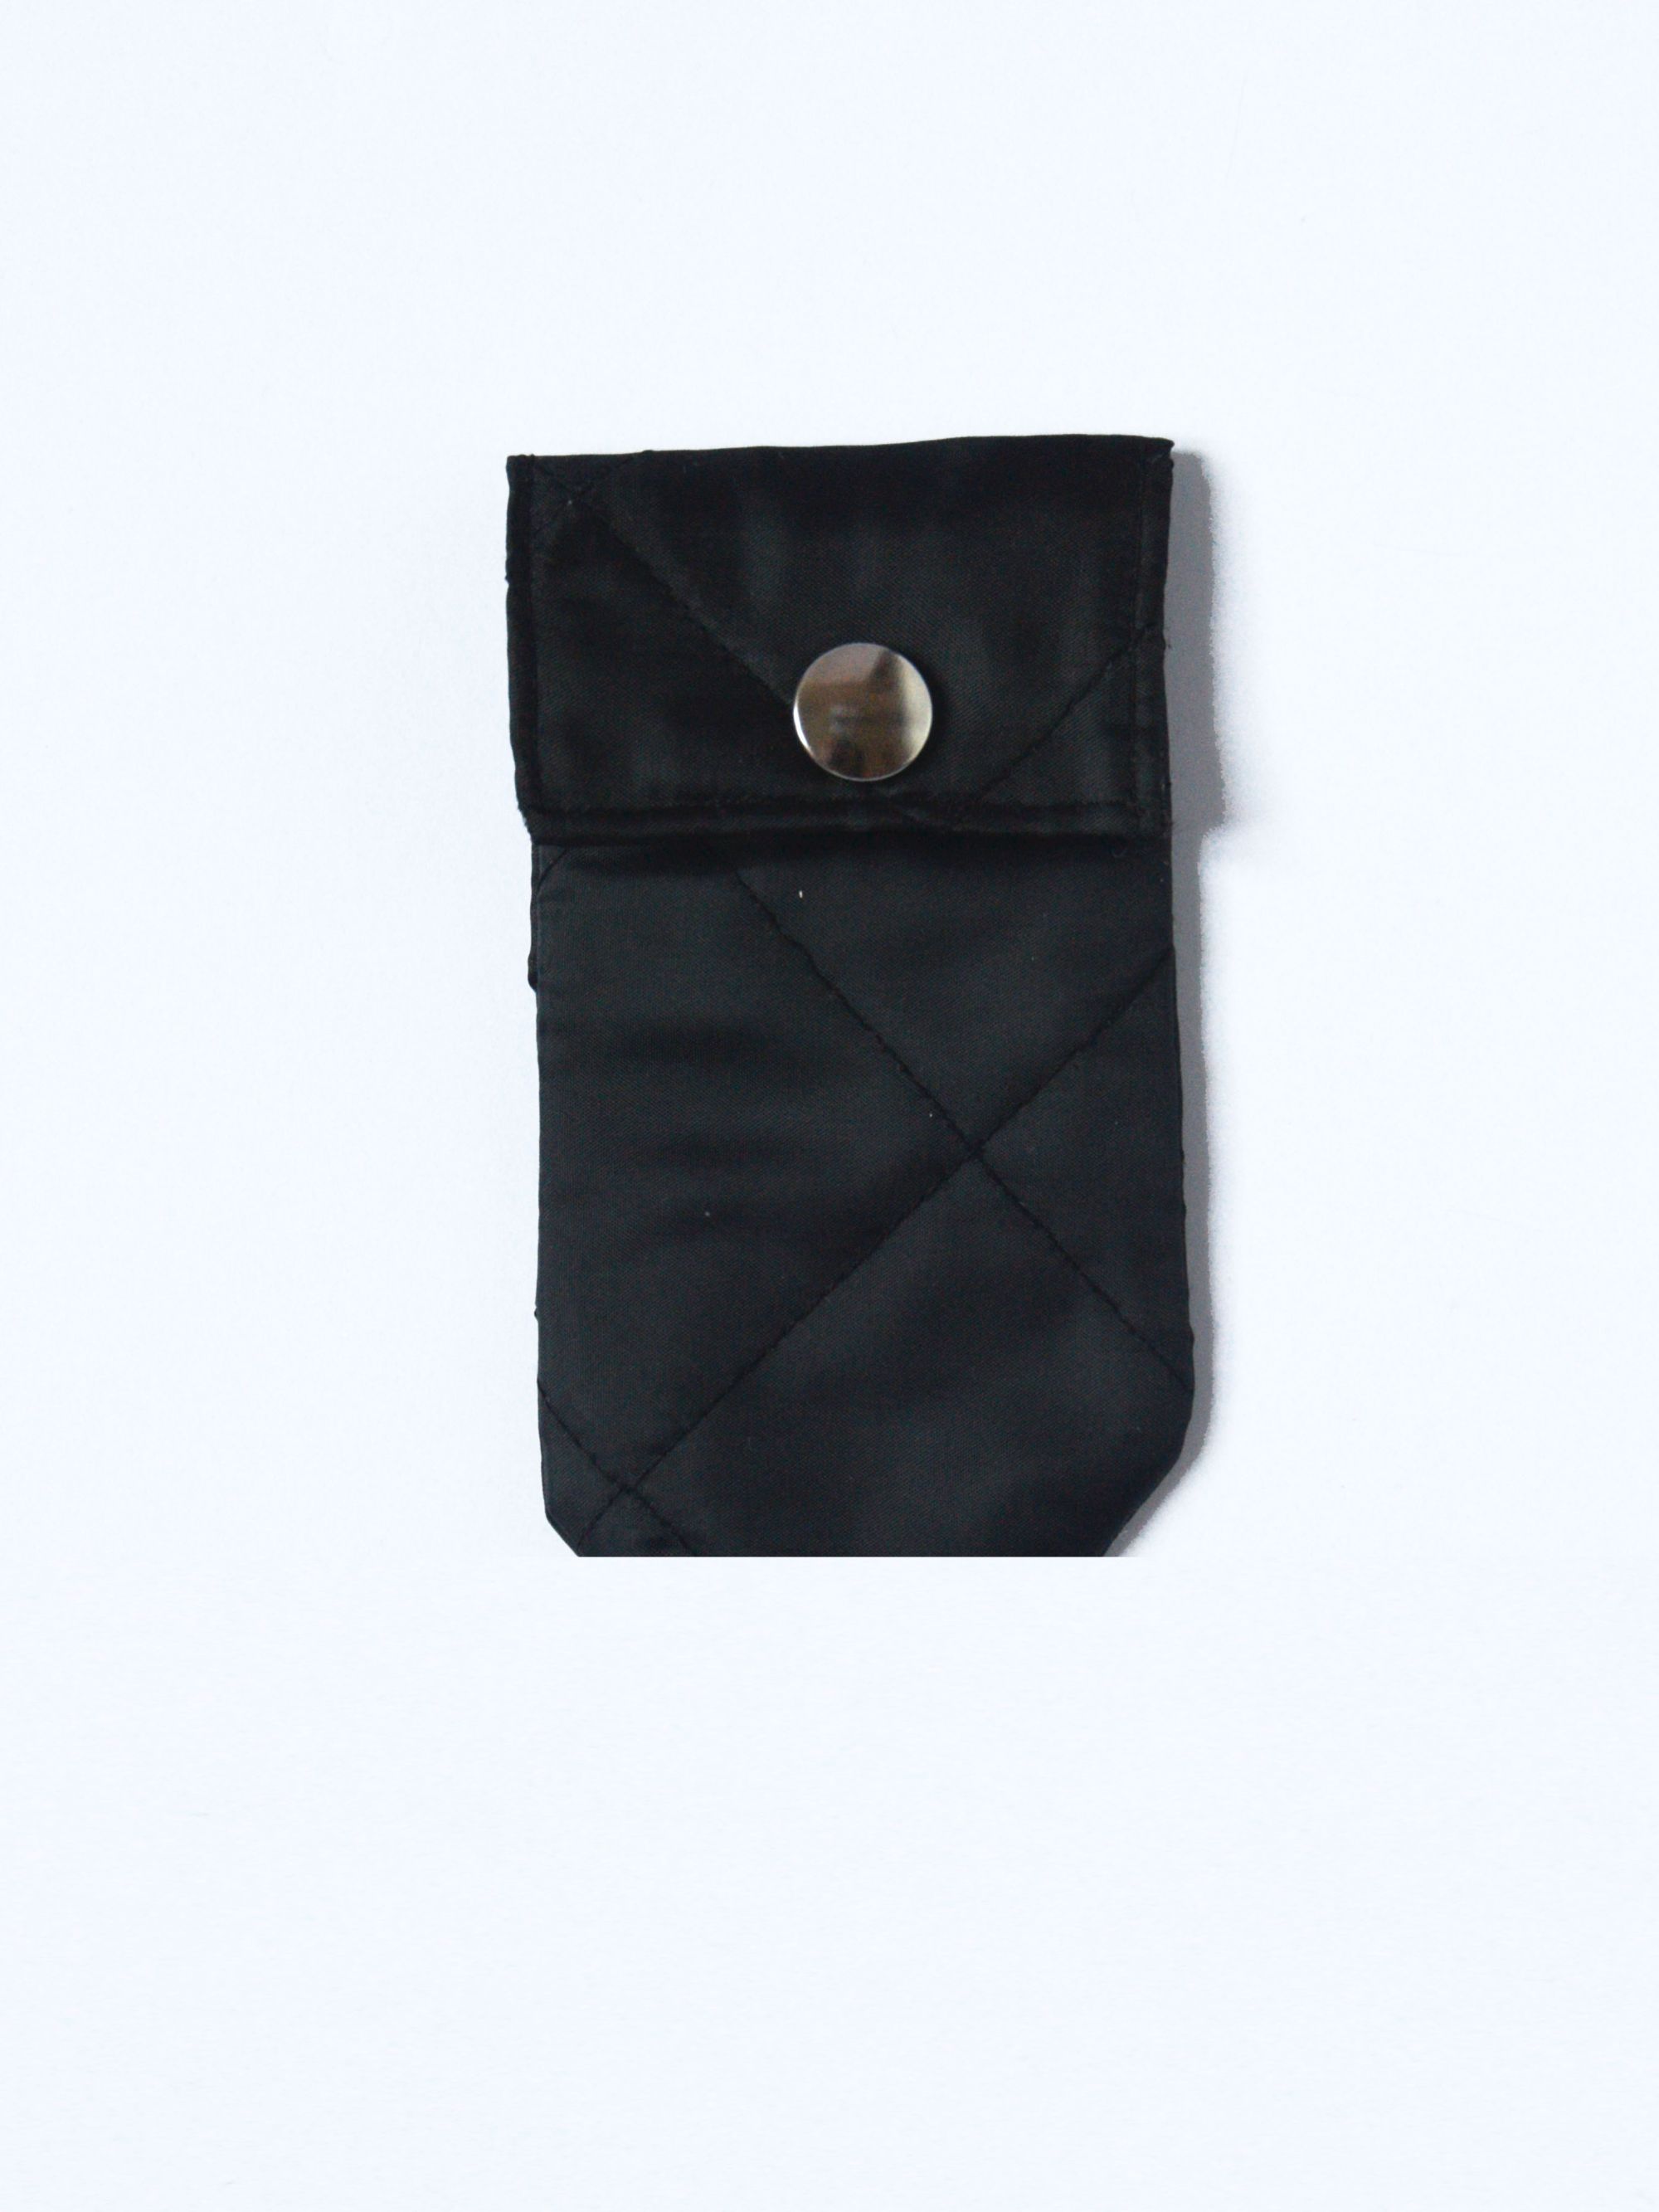
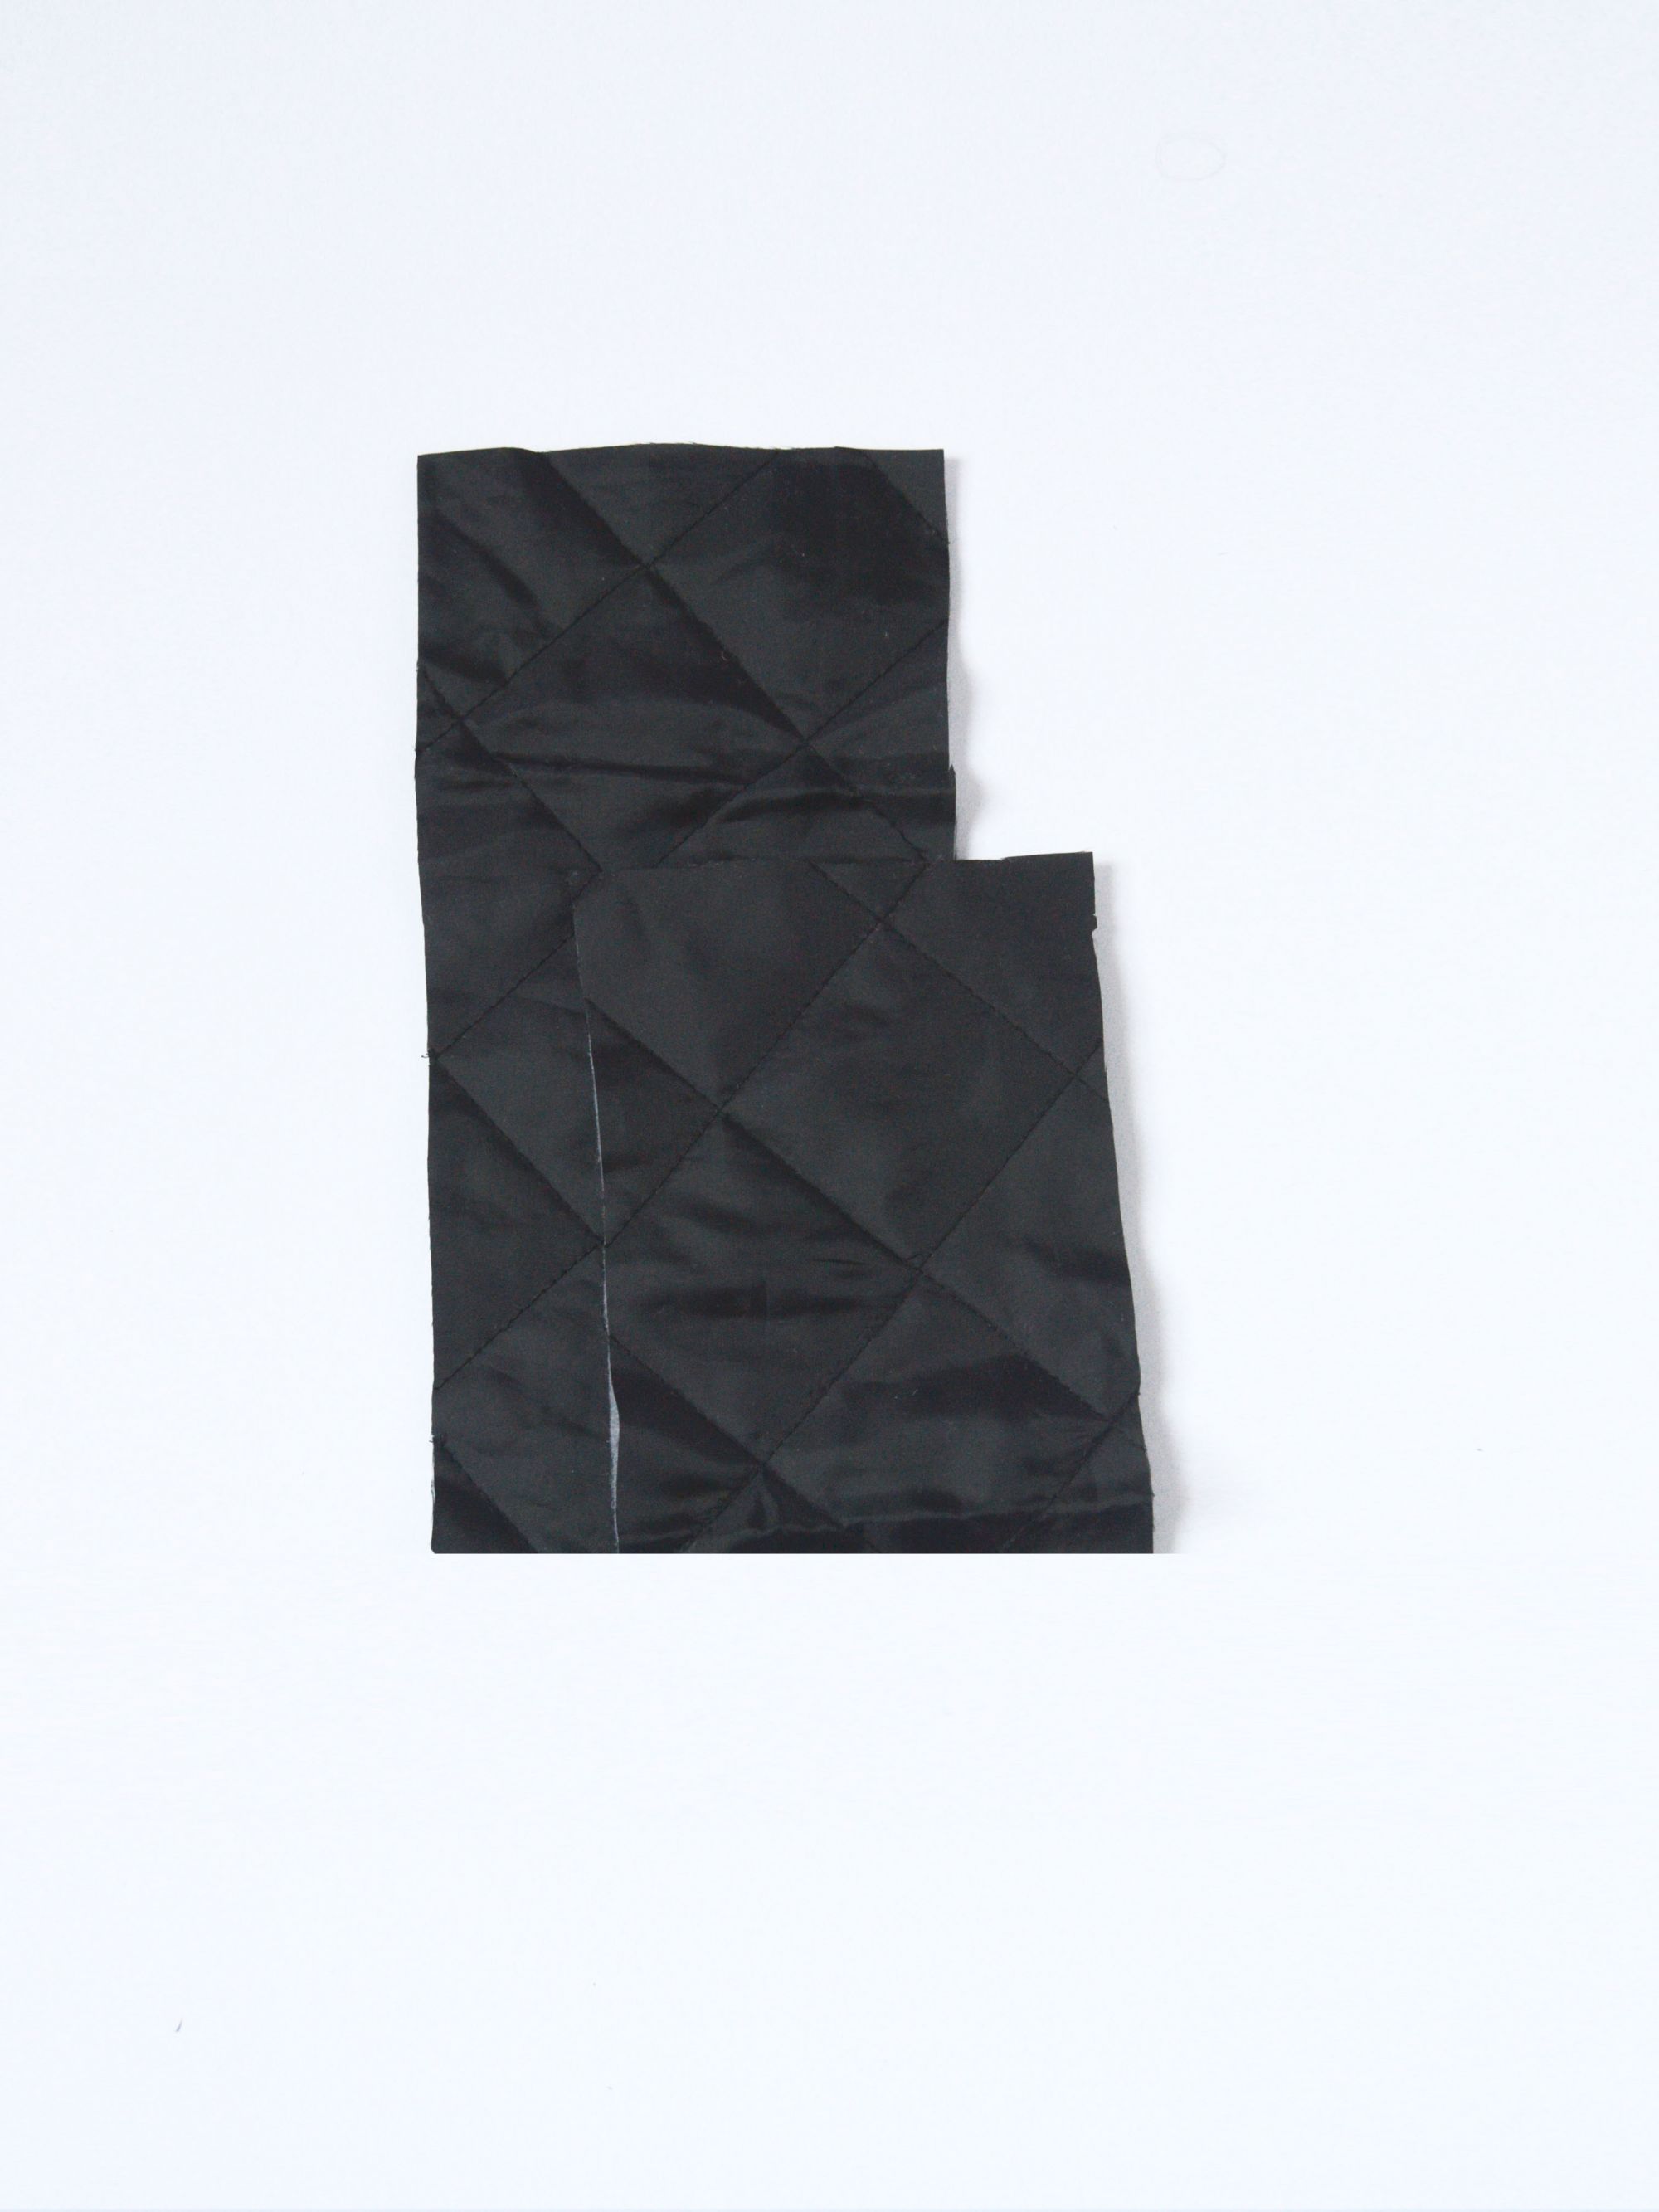
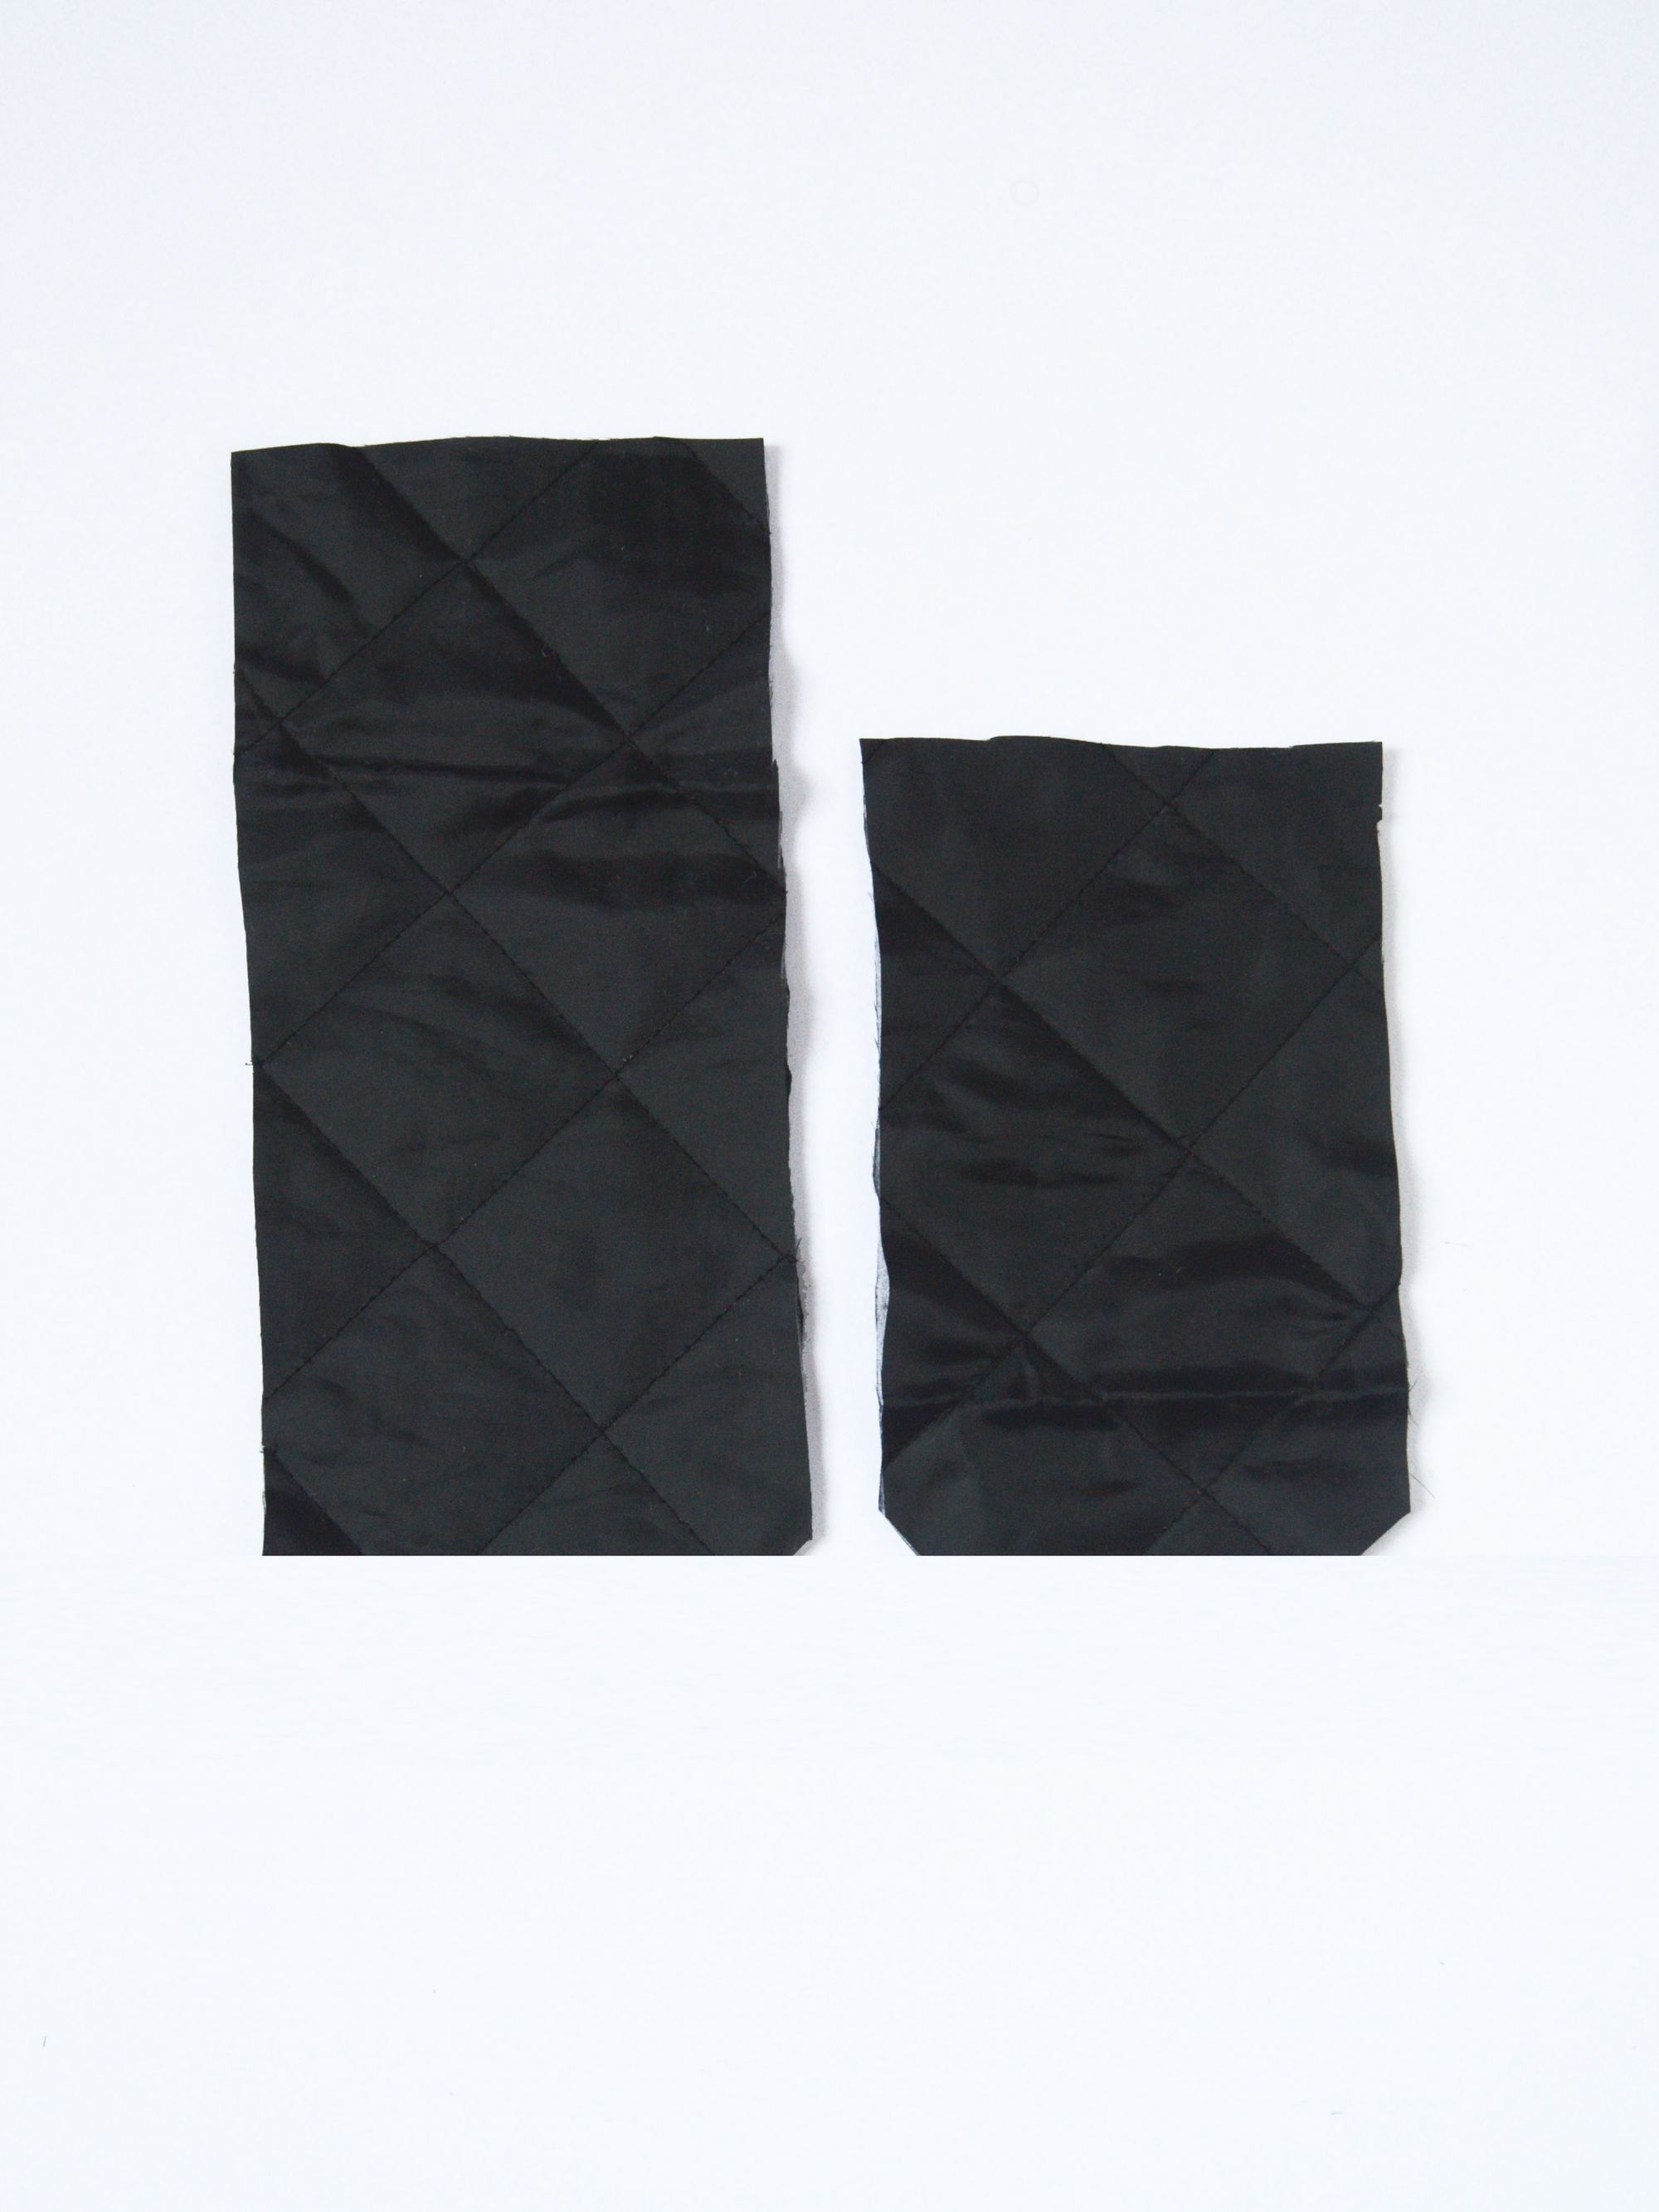
Take the remnants and cut two rectangles: the first of 25cmX8.5cm and the second of 18cmX8.5cm (height x width). Attention the dimensions may vary depending on the size of the handbag you want.
Overlap the smaller rectangle on top of the larger one and sew them together with a U-seam, leaving only the top side free. Once sewn, face everything right, folding the sides in well.
STEP 3
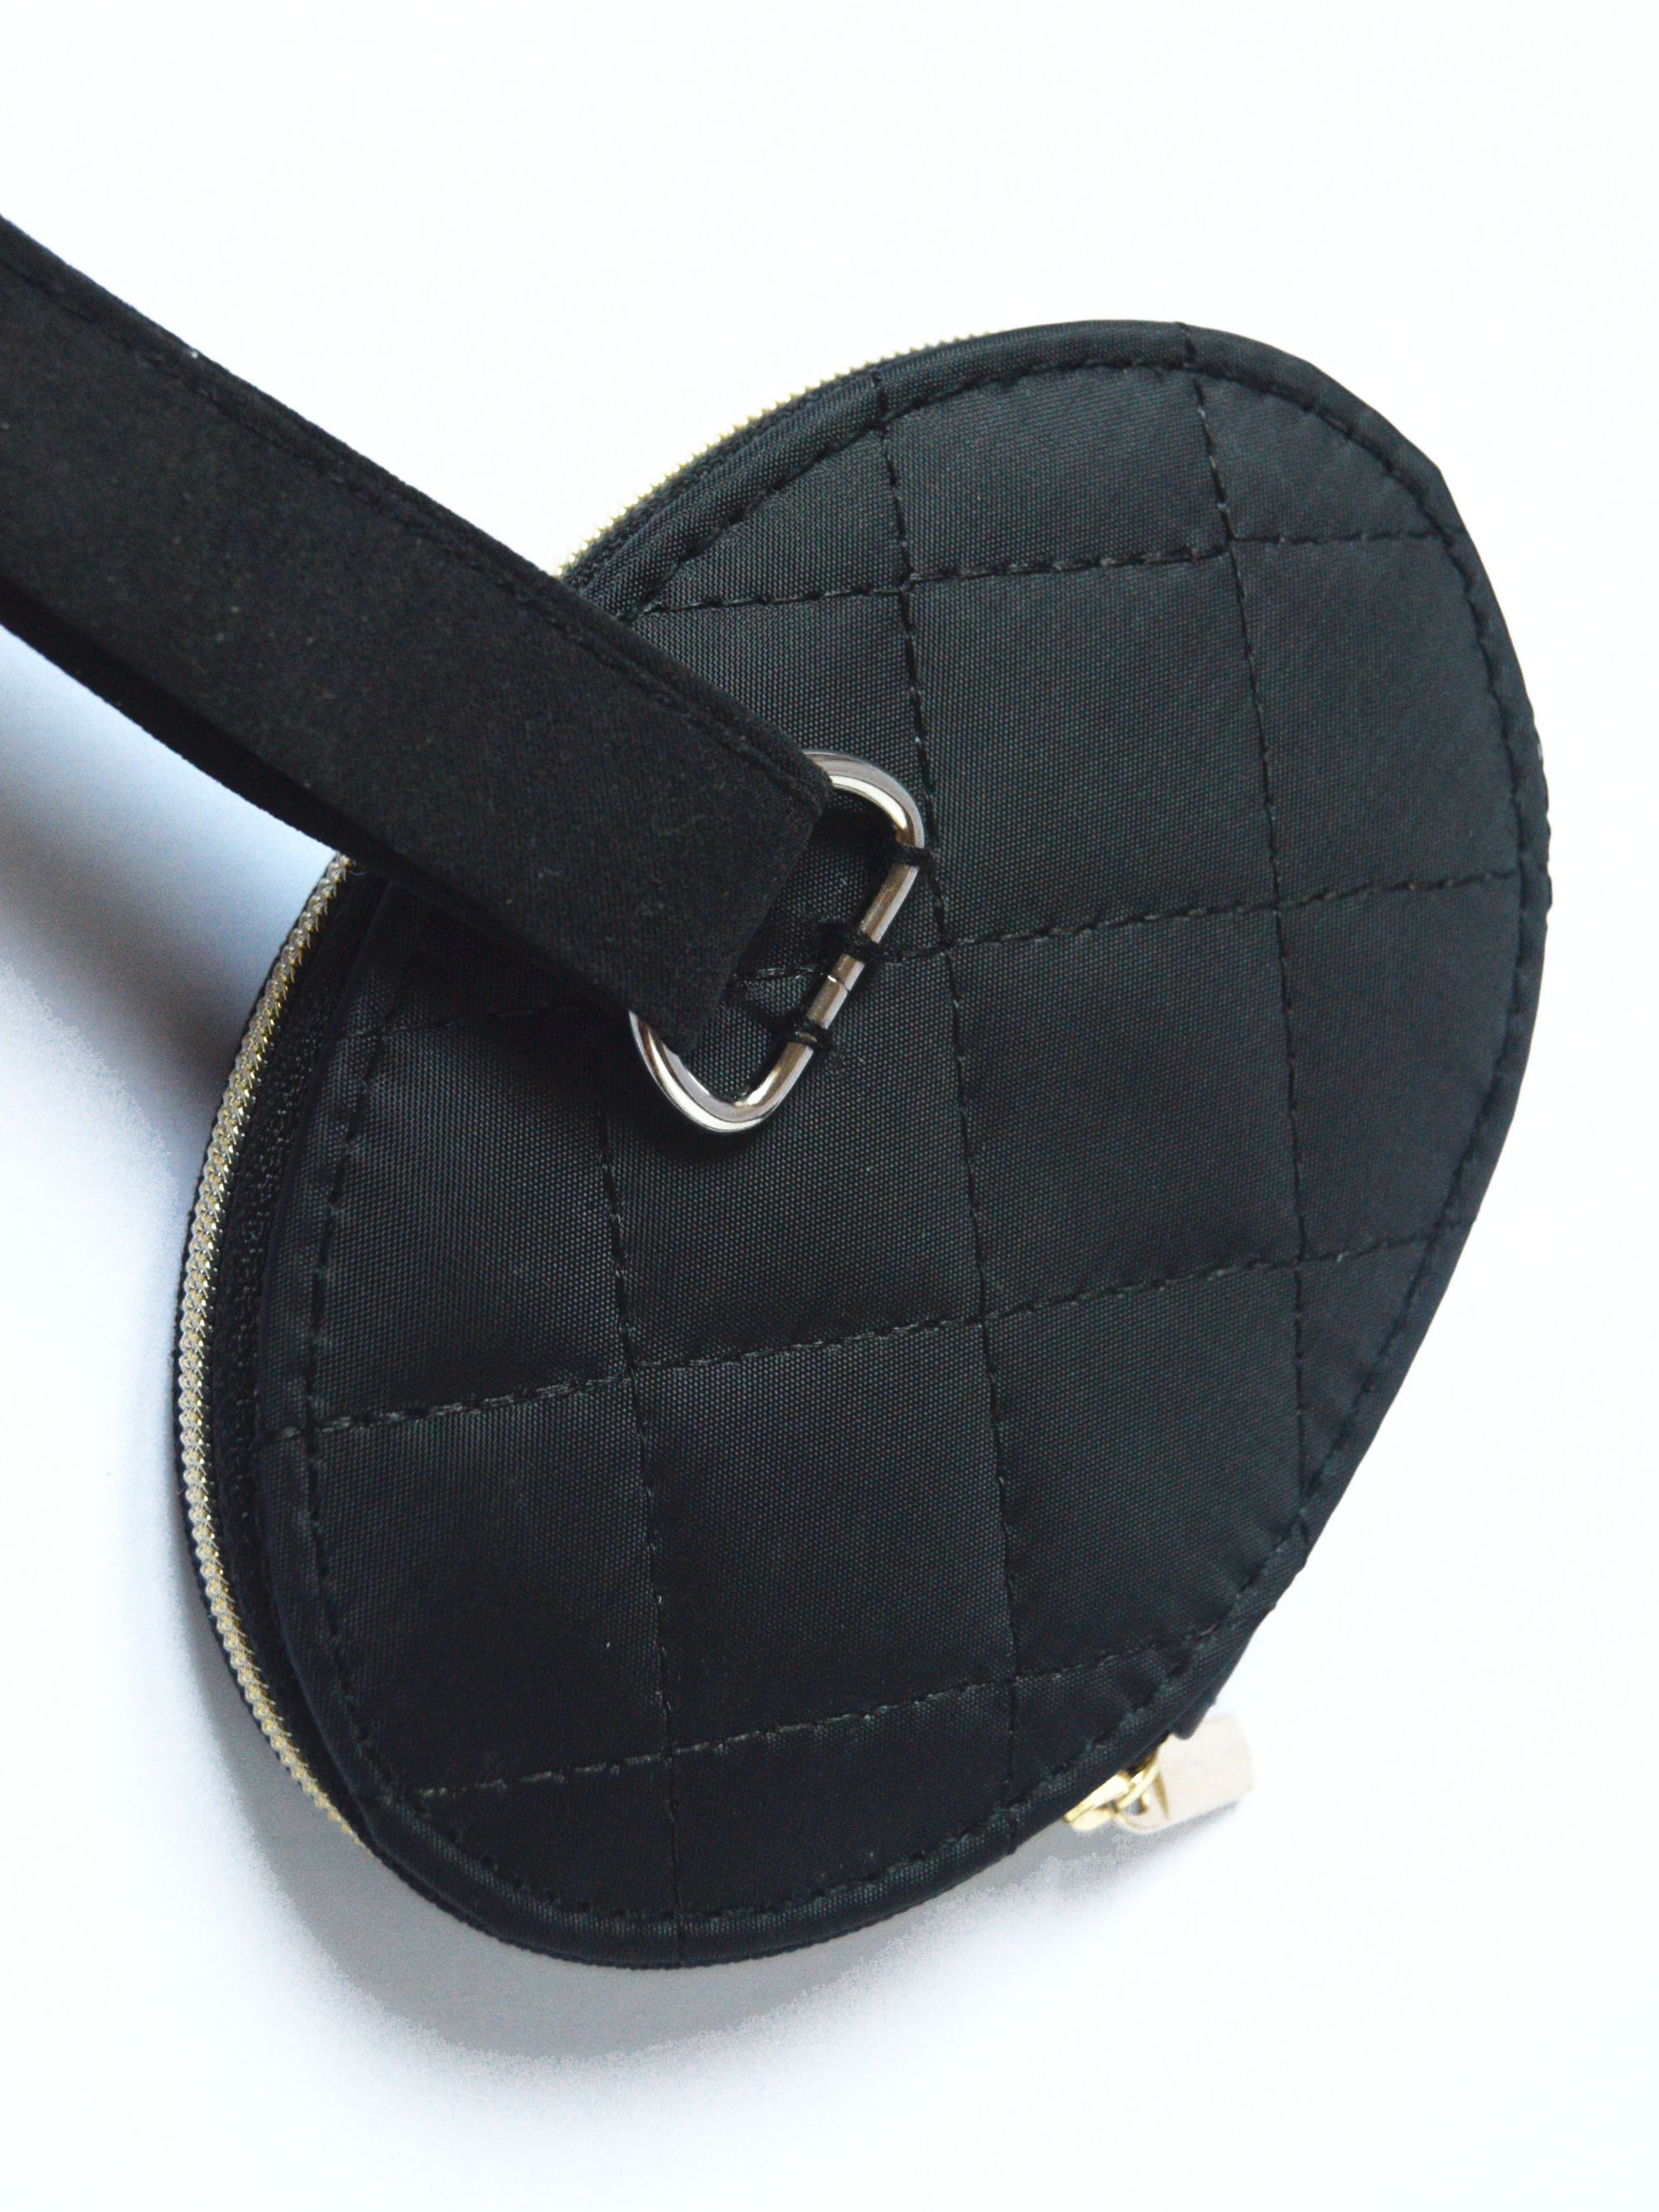
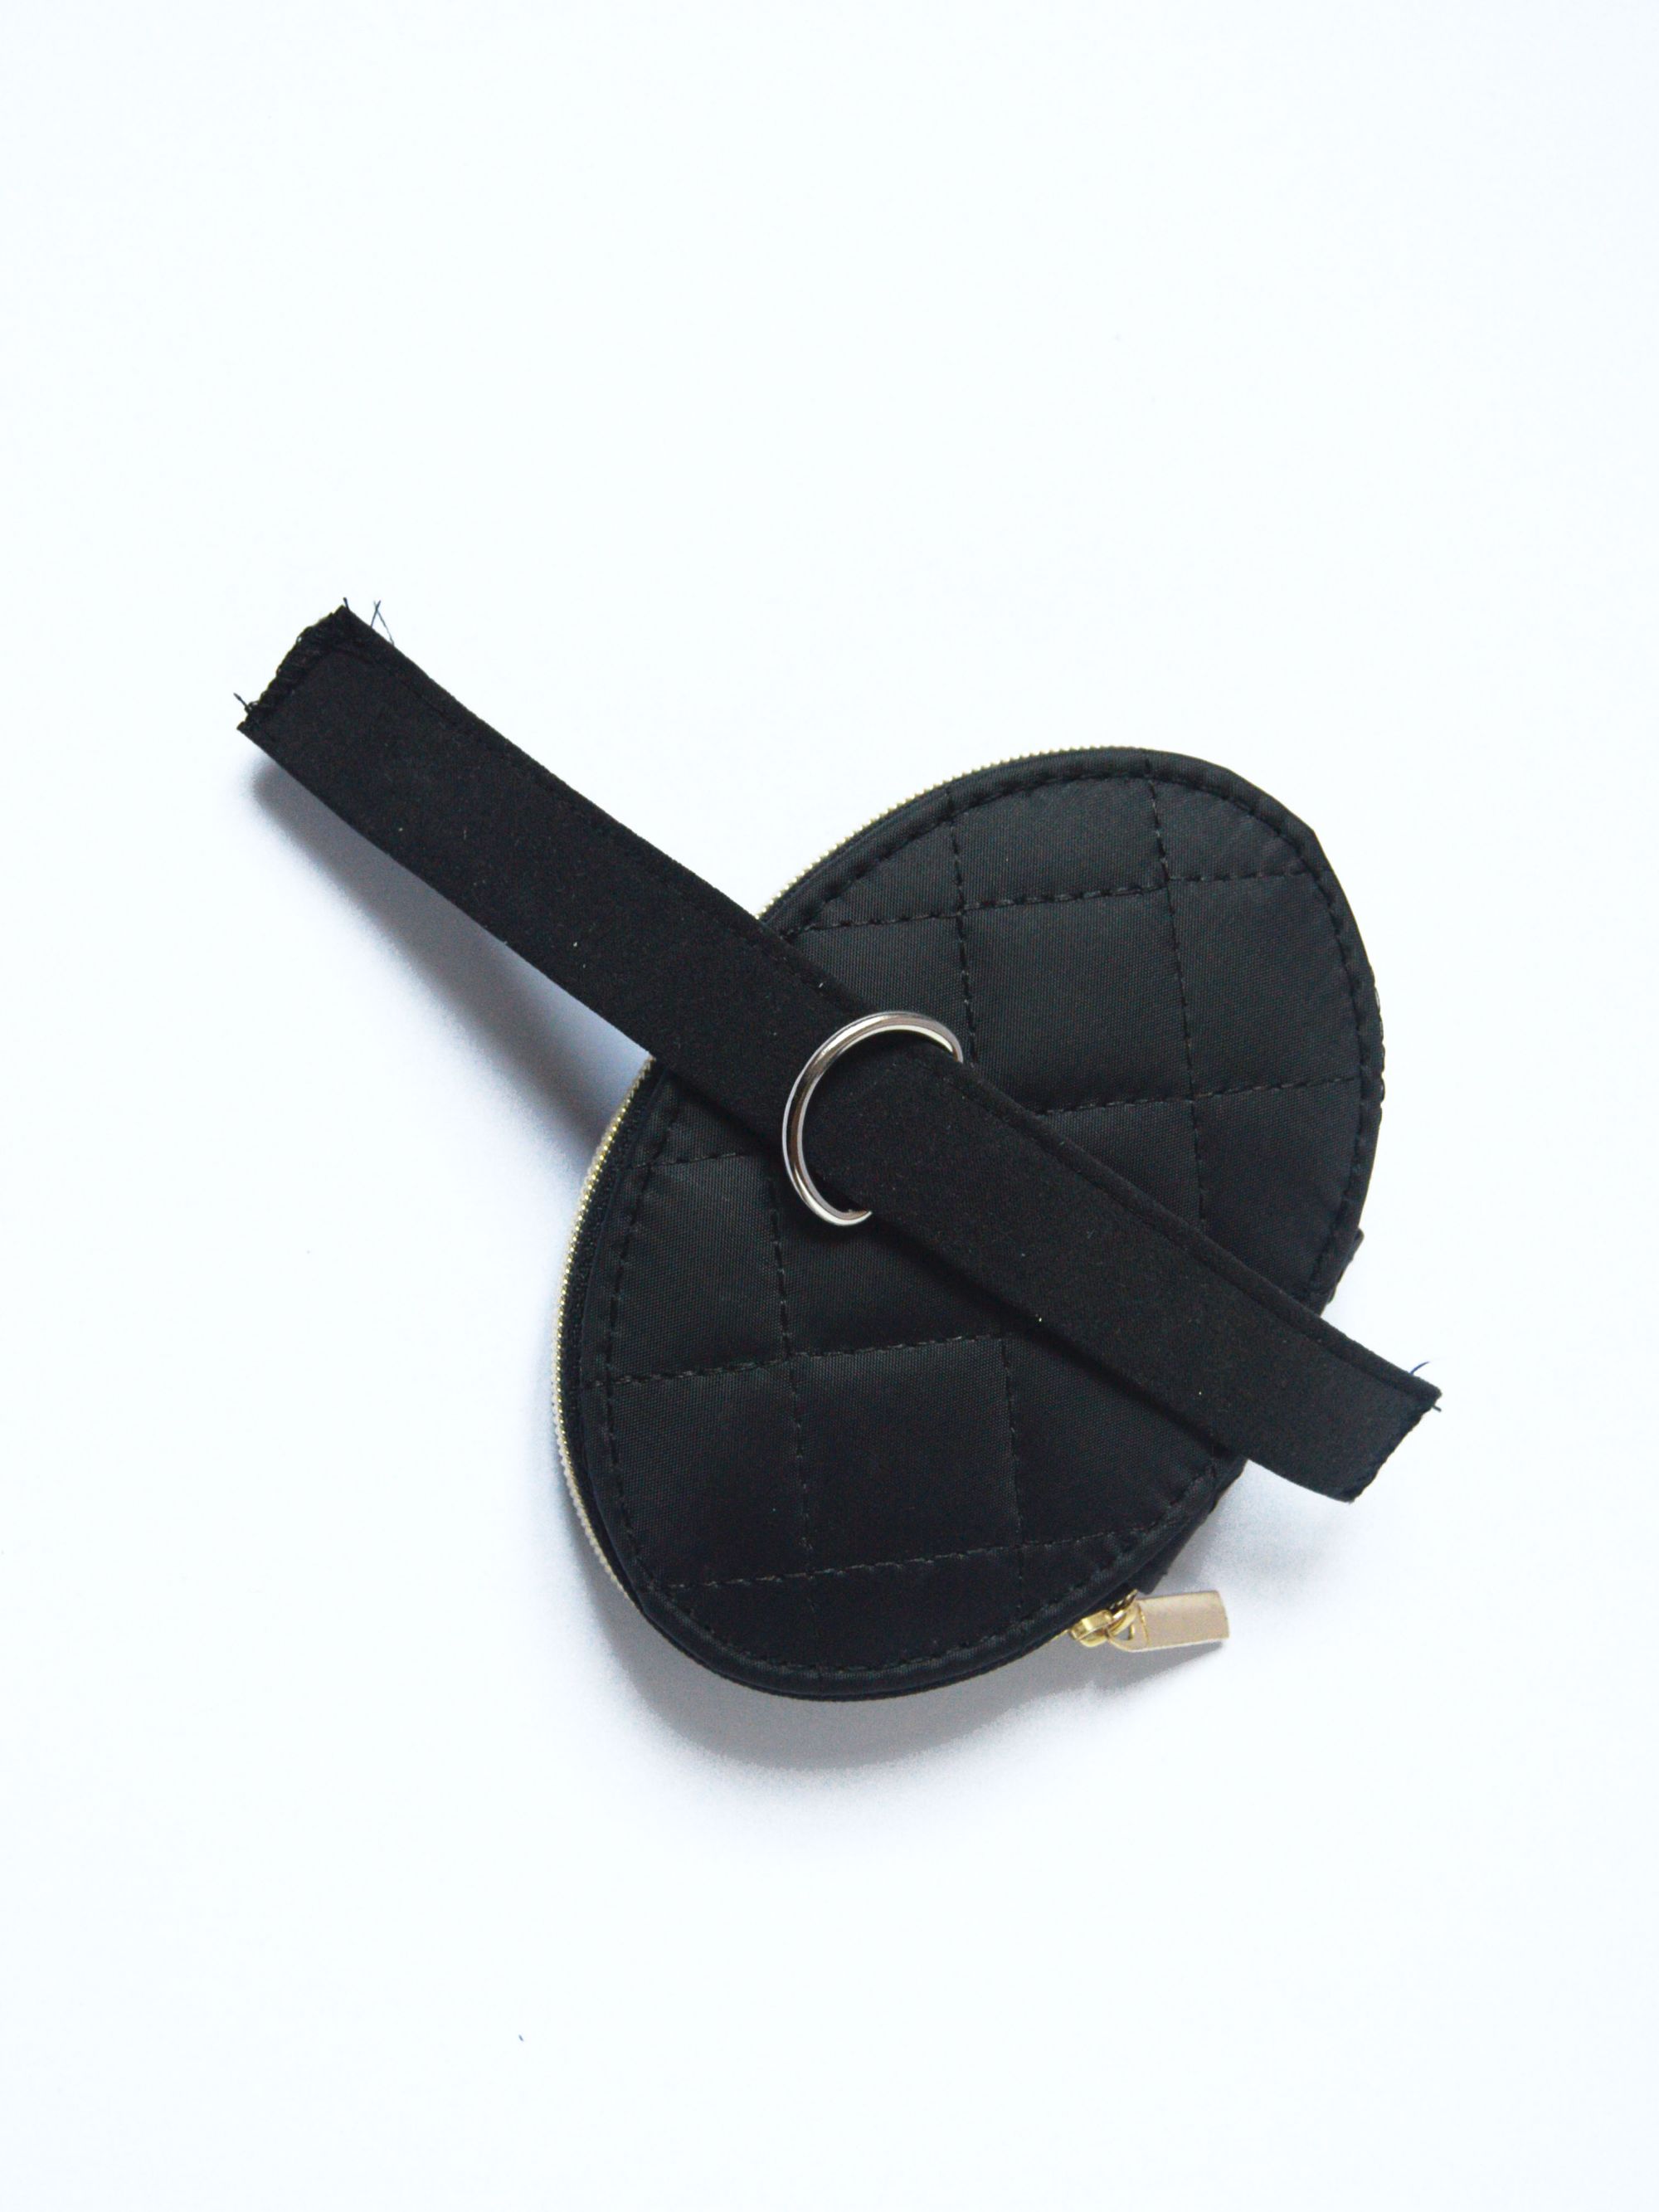
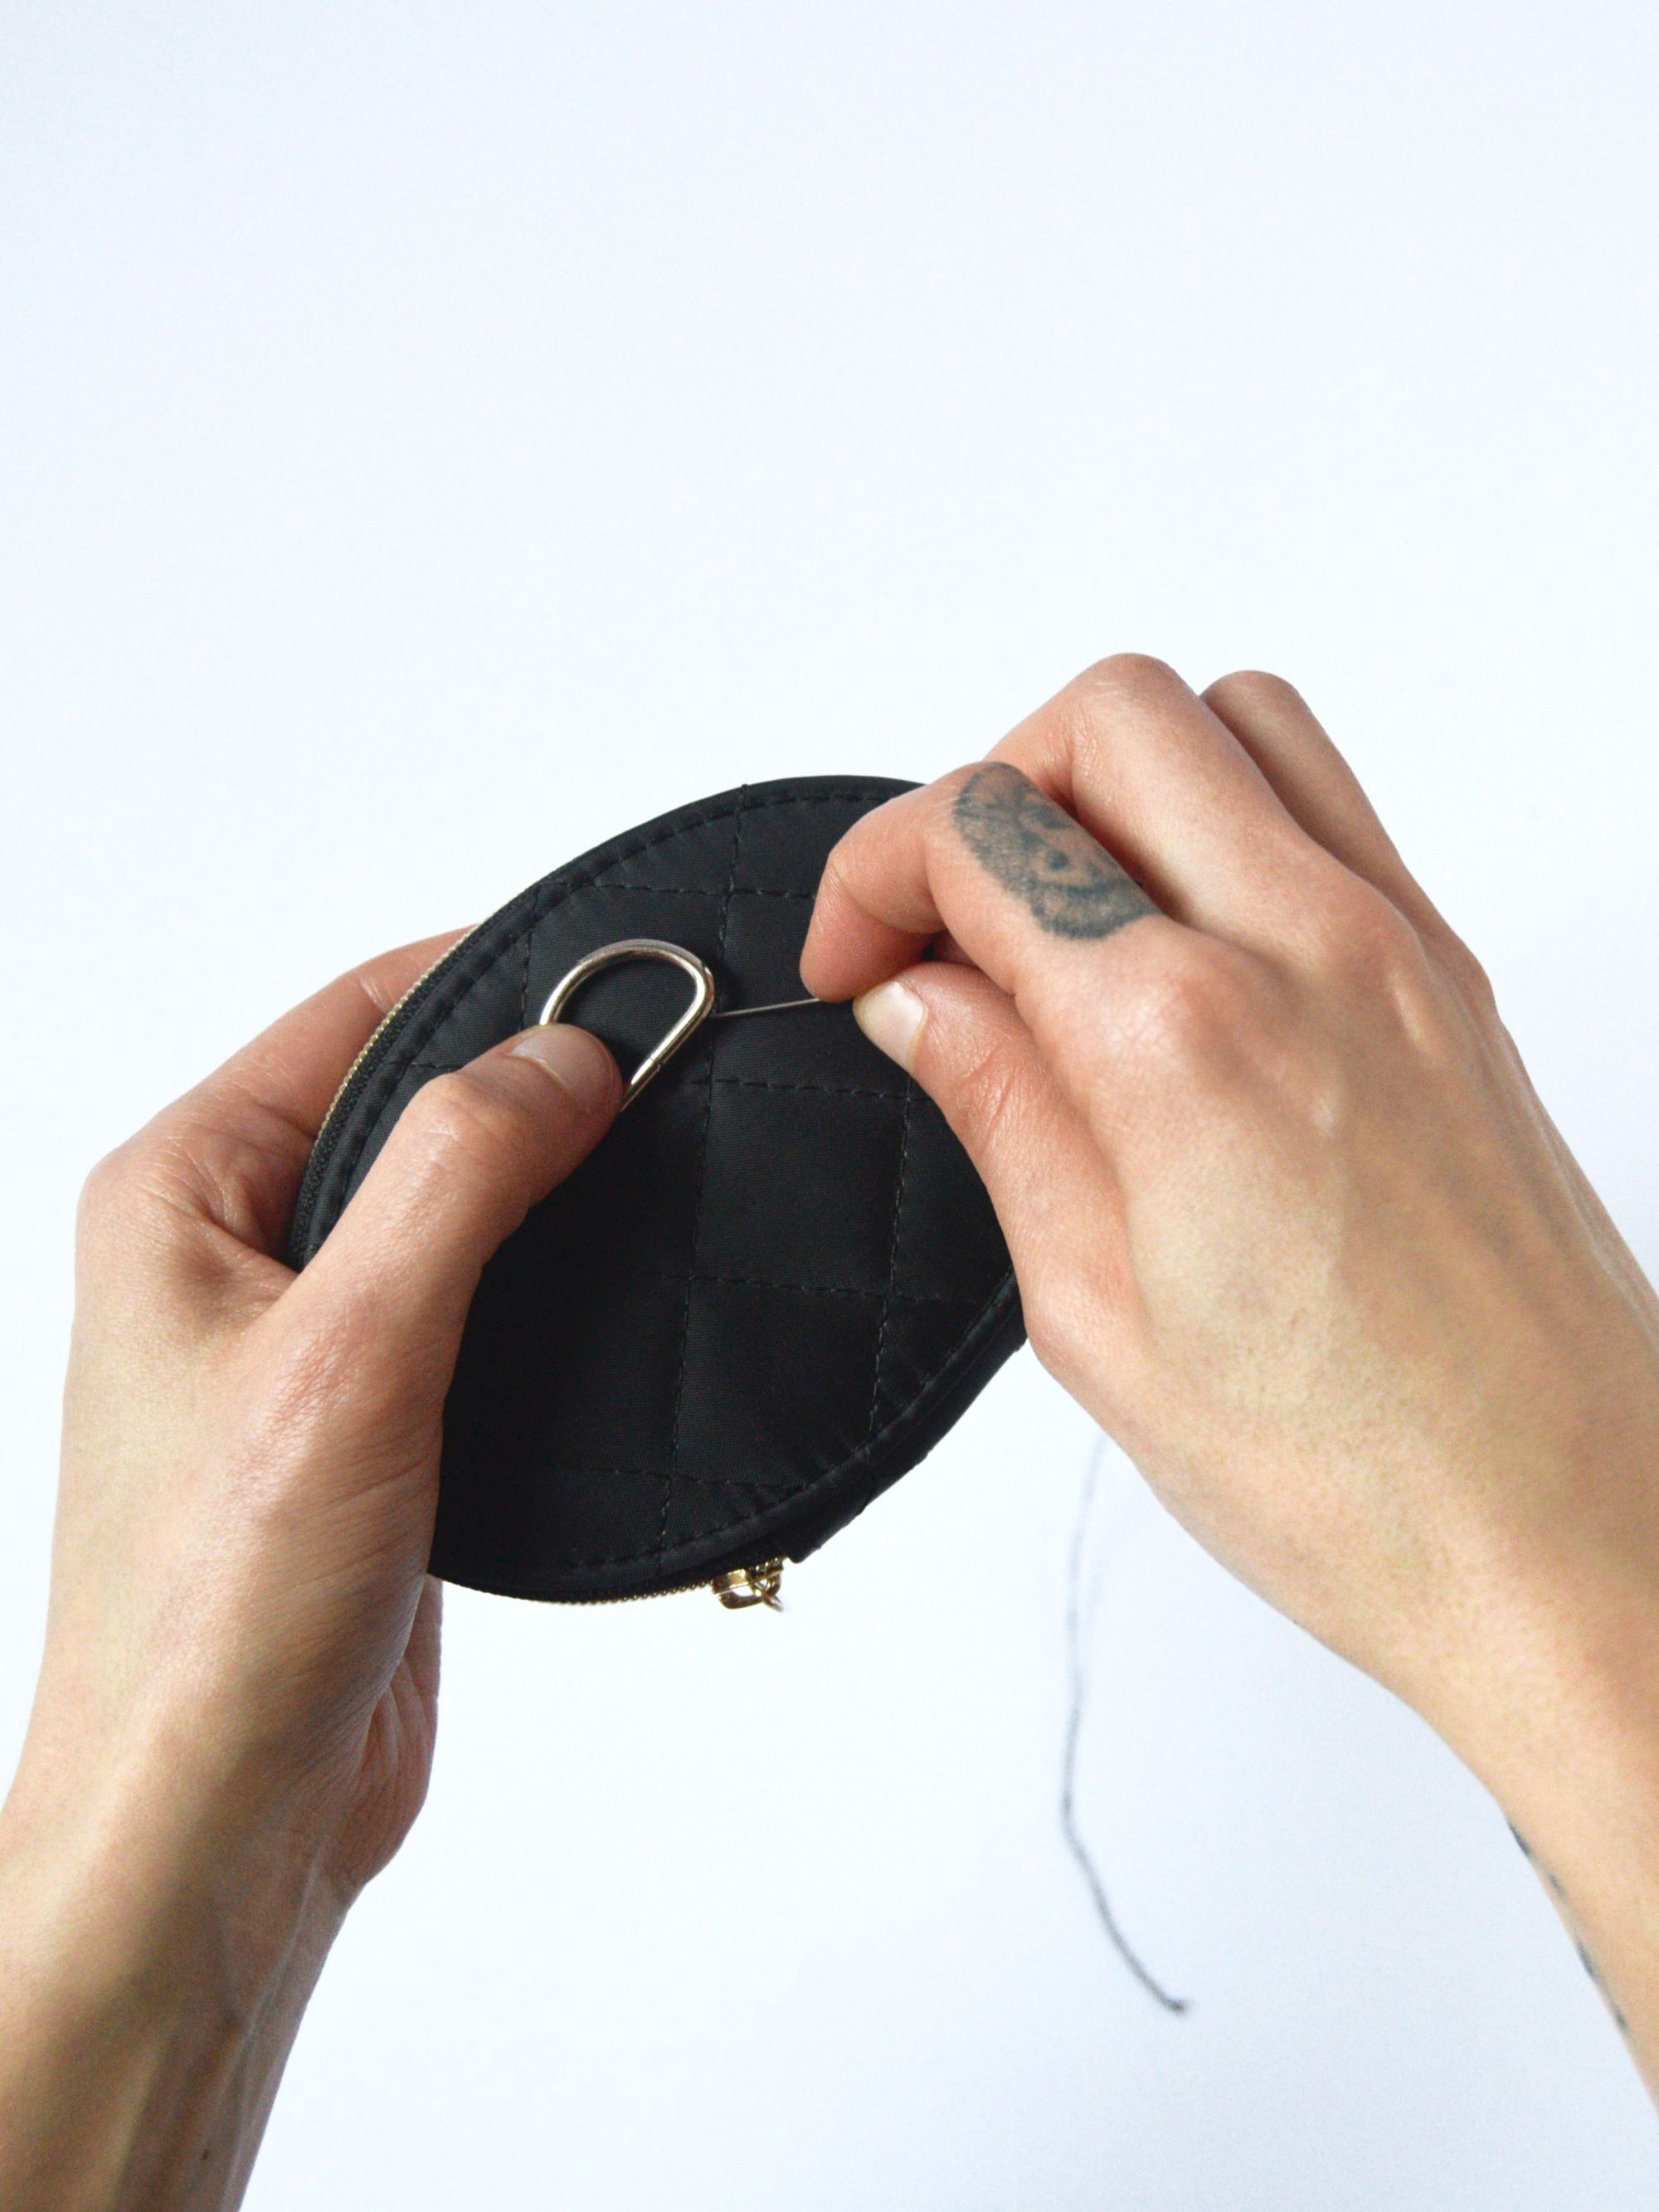
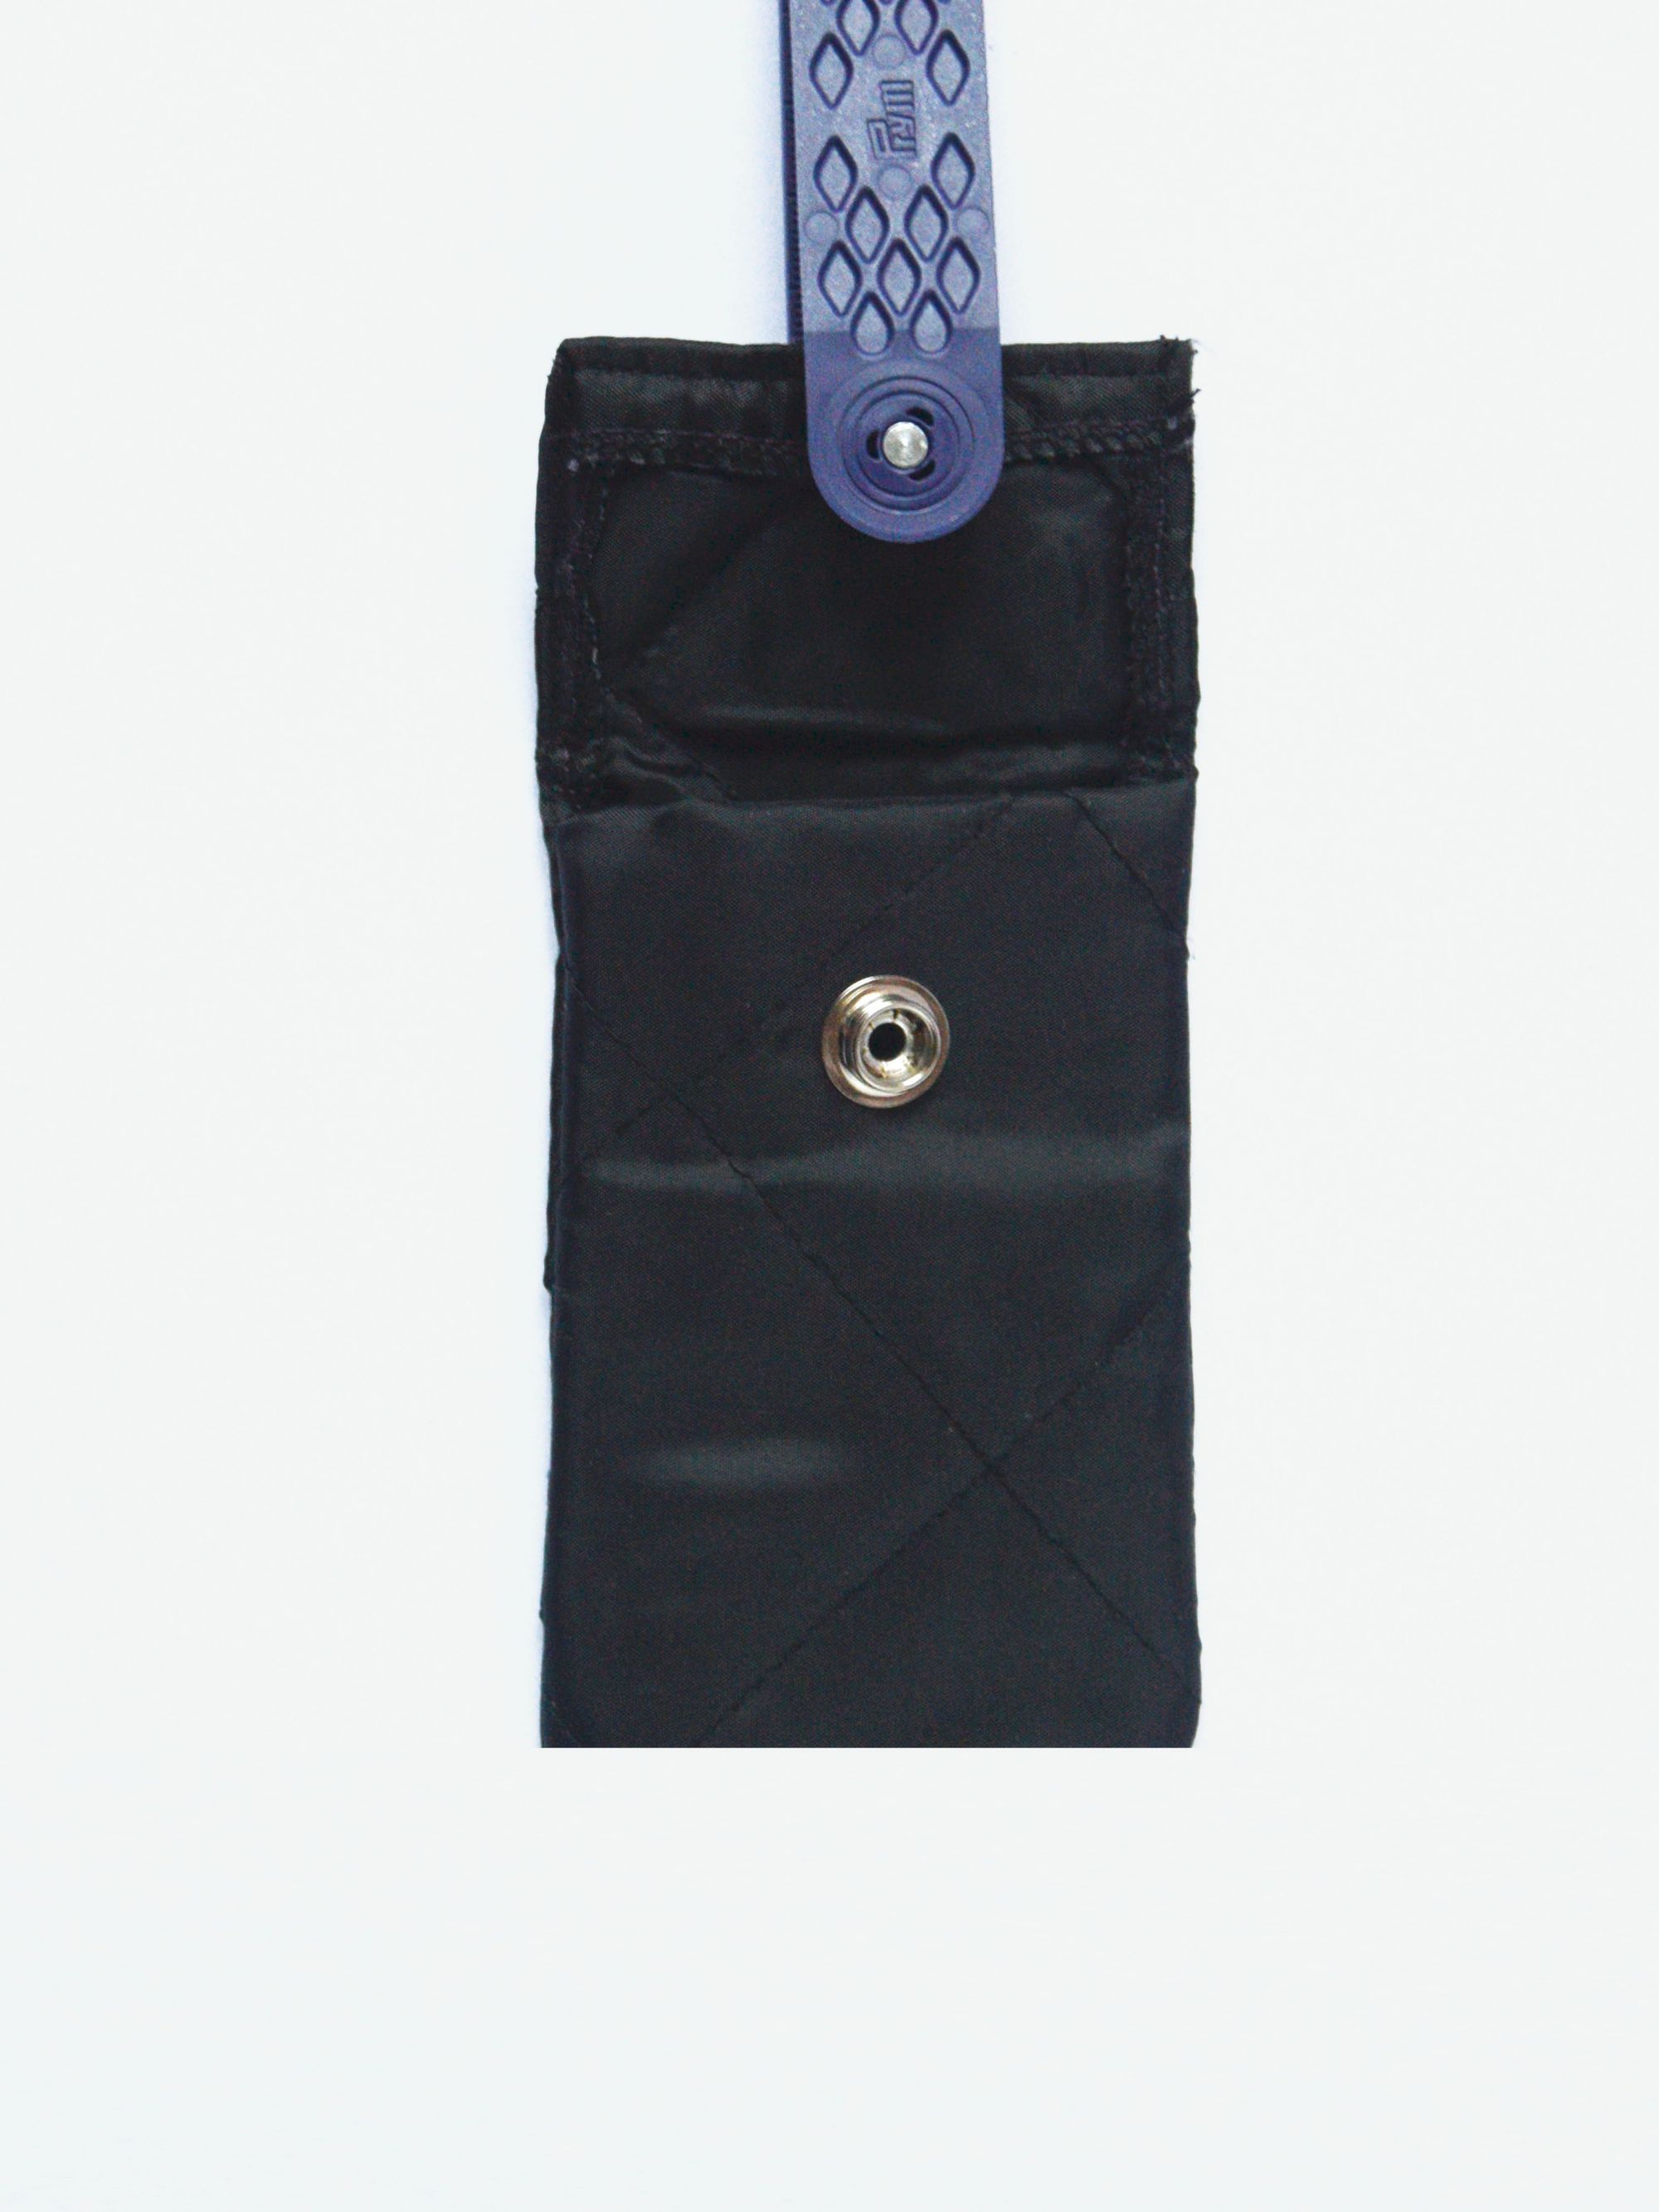
Now create the closure by applying a snap button. Fold the excess top of the first rectangle over the second and mark the position to put the button. Once applied, take the ring and sew it by hand to the back of the handbag. Take the loop and insert it inside the ring, then fasten with a hand seam.
STEP 4
Slip the loop into the belt and start filling your handbag!
Follow @nssgclub on Instagram to find out all the steps in the video tutorial to make the DIY belt bag.